5 Easy Ways How to Make Leaf Mold
Fungal hyphae colonize the forest floor in a silent, methodical breakdown of cellulose and lignin. This process produces a dark, friable substrate with a distinct scent of geosmin. Learning how to make leaf mold allows a grower to replicate this natural cycle within a controlled garden environment. The resulting material provides a high Cation Exchange Capacity (CEC) that improves soil structure without significantly altering the existing NPK balance. It is a slow, cold aerobic process driven by fungi rather than the high-heat bacterial action found in traditional composting. A finished batch of leaf mold can hold up to five times its weight in water; this increases the turgor pressure of plants during periods of drought. By harvesting deciduous litter and managing moisture levels, you convert seasonal waste into a biological powerhouse for the rhizosphere.
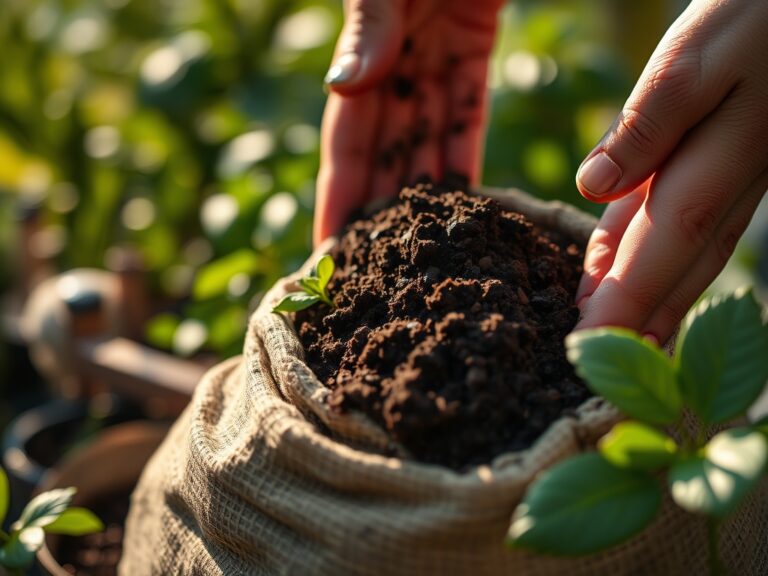
Materials:
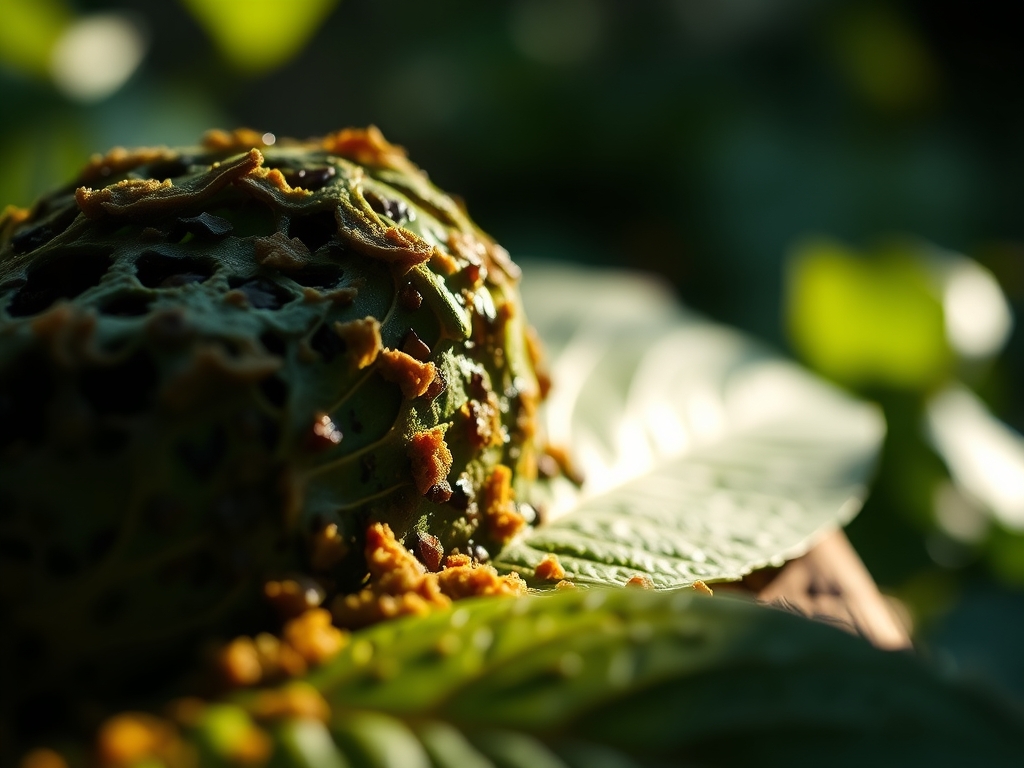
The primary substrate consists of deciduous leaves with a Carbon-to-Nitrogen (C:N) ratio typically ranging from **60:1 to 80:1**. Unlike green compost, which requires high nitrogen to fuel thermophilic bacteria, leaf mold relies on basidiomycete fungi. Oak and beech leaves are ideal but possess high tannin levels that slow decomposition; they result in a final product with a **pH of 4.5 to 5.5**. Maple and ash leaves break down faster and yield a more neutral **pH of 6.0 to 7.0**.
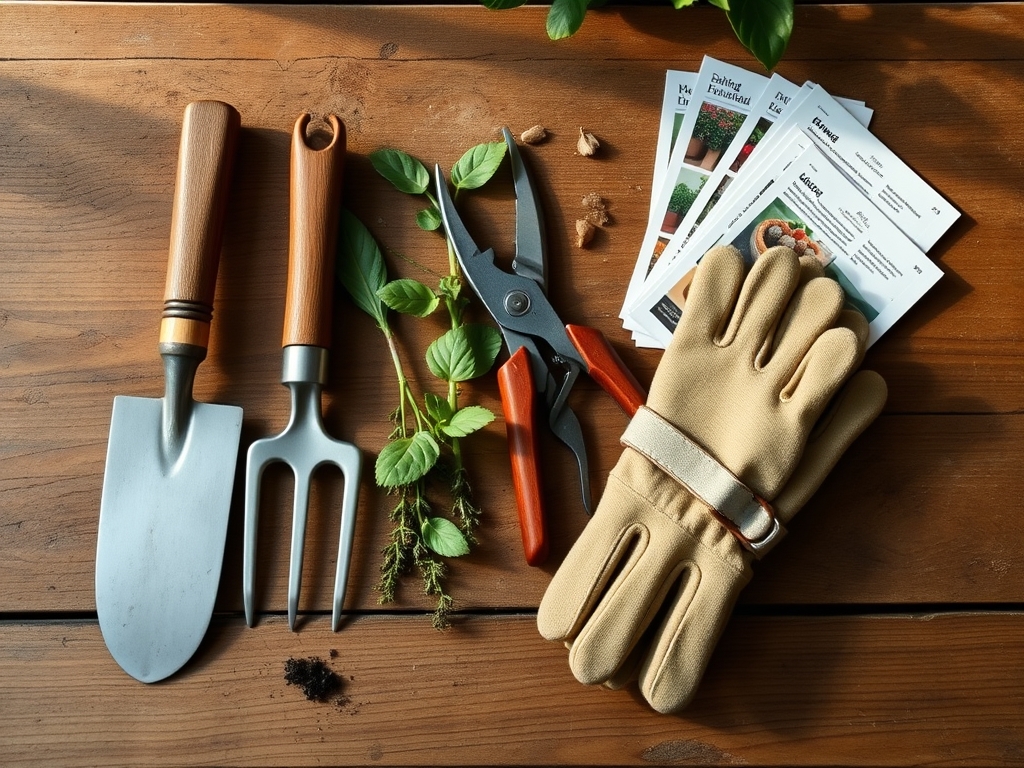
The ideal physical texture is a friable loam once fully processed. To achieve this, you require a containment system such as four-foot high galvanized poultry wire or thick 3-mil polyethylene bags. If using bags, they must be perforated to allow oxygen exchange. A soil moisture meter is necessary to ensure the pile remains at a 60 percent moisture saturation level. Avoid using coniferous needles in large quantities; their waxy cuticle and high acidity can drop the pH below the tolerance levels of most vegetable crops.
Timing:
The process follows a strict biological clock dictated by the onset of senescence in deciduous trees. In Hardiness Zones 4 through 7, the window for collection begins after the first hard frost, which typically occurs between October 15 and November 15. This timing ensures the leaves have withdrawn mobile nutrients back into the trunk, leaving behind the structural carbon.
The biological clock of the leaf mold pile is slow. In colder climates, fungal activity ceases when the internal temperature of the pile drops below 35 degrees Fahrenheit. Decomposition resumes in the spring as ground temperatures rise. For a rapid turnaround, shredding leaves reduces the surface area and allows fungi to colonize the material in 12 months. Unshredded leaves in a dry climate may take up to 36 months to reach full humification.
Phases:

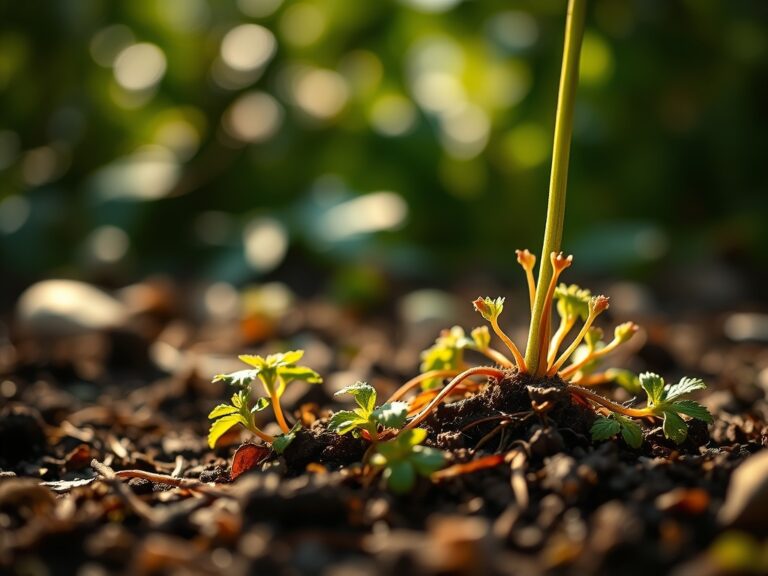
Sowing the Pile
Begin by saturating the ground where the pile will sit to encourage the migration of indigenous fungi from the soil into the leaf matter. Layer the leaves in 6-inch increments, spraying each layer with water until it reaches the consistency of a wrung-out sponge.
Pro-Tip: Introduce a thin layer of finished compost between every foot of leaves to inoculate the pile with specialized microbes. This triggers mycorrhizal symbiosis early, as the fungi immediately begin breaking down the complex lignins.
Transplanting the Process
If using the bag method, move the bags to a shaded location to prevent UV degradation of the plastic and to keep temperatures stable. If using a wire bin, ensure it is located away from drying winds. Every three months, use a garden fork to turn the outer edges toward the center.
Pro-Tip: Maintain a consistent moisture level to prevent the fungi from entering a dormant state. Fungal hyphae require a film of water to transport enzymes; without it, the metabolic rate of the pile stalls.
Establishing the Humus
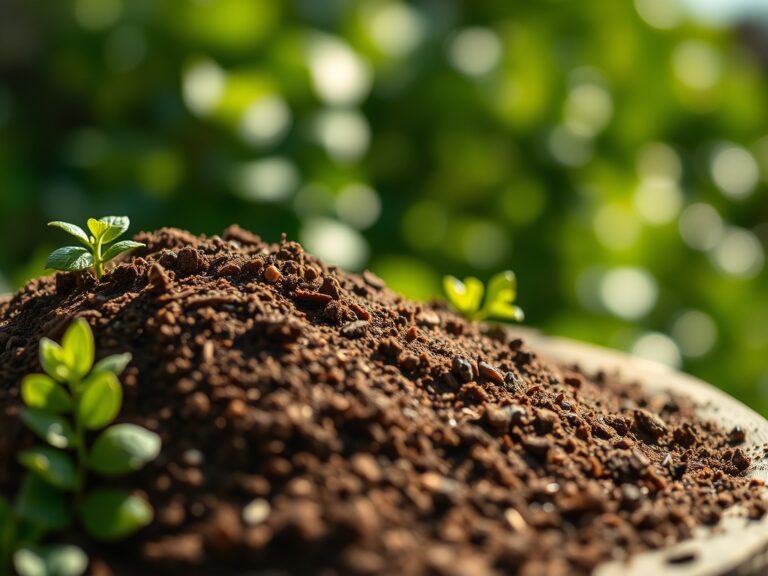
After one year, the leaves should appear dark brown and brittle. At this stage, the material is "young" leaf mold. It can be used as a mulch to suppress weeds and regulate soil temperature. For use as a soil conditioner or seed-starting medium, allow it to age until it is a uniform, black, crumbly texture.
Pro-Tip: Sift the finished mold through a half-inch mesh screen. This mechanical agitation breaks up remaining leaf skeletons and ensures a uniform pore space for air and water movement in the final soil mix.
The Clinic:
Physiological disorders in the pile are usually related to moisture or oxygen levels rather than nutrient imbalances.
- Symptom: Putrid, sulfurous odor (rotten eggs).
- Solution: This indicates anaerobic conditions caused by excessive water and lack of air. Turn the pile immediately with a garden fork to introduce oxygen and add dry, shredded leaves to absorb excess moisture.
- Symptom: Leaves remain intact and dry after six months.
- Solution: The pile lacks the moisture required for fungal colonization. Re-hydrate the pile until it reaches 60 percent saturation.
- Symptom: Presence of white, thread-like filaments.
- Solution: This is not a disorder; these are actinomycetes and fungal hyphae. This is a sign of a healthy, active decomposition process.
Fix-It: If the finished leaf mold causes Nitrogen chlorosis (yellowing of lower leaves) in plants, it means the carbon has not fully stabilized. Add a high-nitrogen organic amendment like blood meal at a rate of 0.5 pounds per 100 square feet to balance the C:N ratio.
Maintenance:
A successful pile requires minimal but precise intervention. Monitor the moisture levels weekly using a soil moisture meter. The pile should receive the equivalent of 1.5 inches of water per week, either through rainfall or manual irrigation. Use a hori-hori knife to cut into the center of the pile once a month to check the depth of decomposition.
If the pile is located under a tree canopy, use bypass pruners to clear any low-hanging branches that might interfere with turning the pile. Do not allow the pile to become compacted; the fungi involved in this process are aerobic and will die if the air spaces are crushed. If the pile settles more than 20 percent in a month, turn it to fluff the material and re-introduce oxygen.
The Yield:
Harvesting leaf mold is a matter of selection. For mulch, harvest when the leaves are partially decomposed but still recognizable. For a soil amendment, wait until the material passes the "squeeze test." When squeezed in the hand, the mold should hold its shape but crumble easily when touched.
To maintain "day-one" freshness and biological activity, do not allow the finished leaf mold to dry out completely. Store it in a shaded area or under a breathable tarp. If using it for seed starting, mix it with perlite or vermiculite at a 1:1 ratio to improve drainage while retaining the high CEC benefits of the mold.
FAQ:
Can I use any type of leaf?
Most deciduous leaves work well. Avoid walnut leaves due to juglone, a chemical that inhibits growth in other plants. Thicker leaves like oak take longer to break down but produce a high-quality, acidic mold perfect for ericaceous plants.
How do I speed up the process?
Mow over the leaves with a mulching mower before piling them. Reducing the particle size increases the surface area for fungal attachment. Maintaining a constant 60 percent moisture level and turning the pile monthly also accelerates the biological breakdown.
Is leaf mold better than compost?
They serve different functions. Compost provides a rapid NPK boost and high bacterial activity. Leaf mold is superior for improving soil structure, water retention, and fungal diversity. It is the ideal amendment for long-term soil health and moisture management.
Does leaf mold attract pests?
The cold fermentation process does not typically attract scavengers. It may harbor beneficial insects like ground beetles or earthworms. If unwanted rodents appear, it usually indicates the pile is too dry and providing a nesting site rather than decomposing.