6 Accurate Ways to Use a Garden Line for Precise Rows
Using a garden line for planting vegetable rows transforms chaotic seed placement into disciplined geometry. The taut cord creates a visual reference that guides the hoe blade, the seed drill, or the trowel in a laser-straight path. Each vegetable row begins with two stakes driven into prepared soil, the line stretched between them at tension sufficient to eliminate sag. This method reduces plant competition, optimizes irrigation efficiency, and allows cultivation equipment to move cleanly between rows without damaging root zones.
Precision planting increases photosynthetic exposure across the canopy. When carrots, lettuce, or bush beans occupy parallel lines at uniform spacing, air circulation improves and fungal pathogens find fewer opportunities to establish. The garden line serves as both physical guide and mental discipline for the grower committed to maximizing yield per square foot.
Materials and Soil Preparation
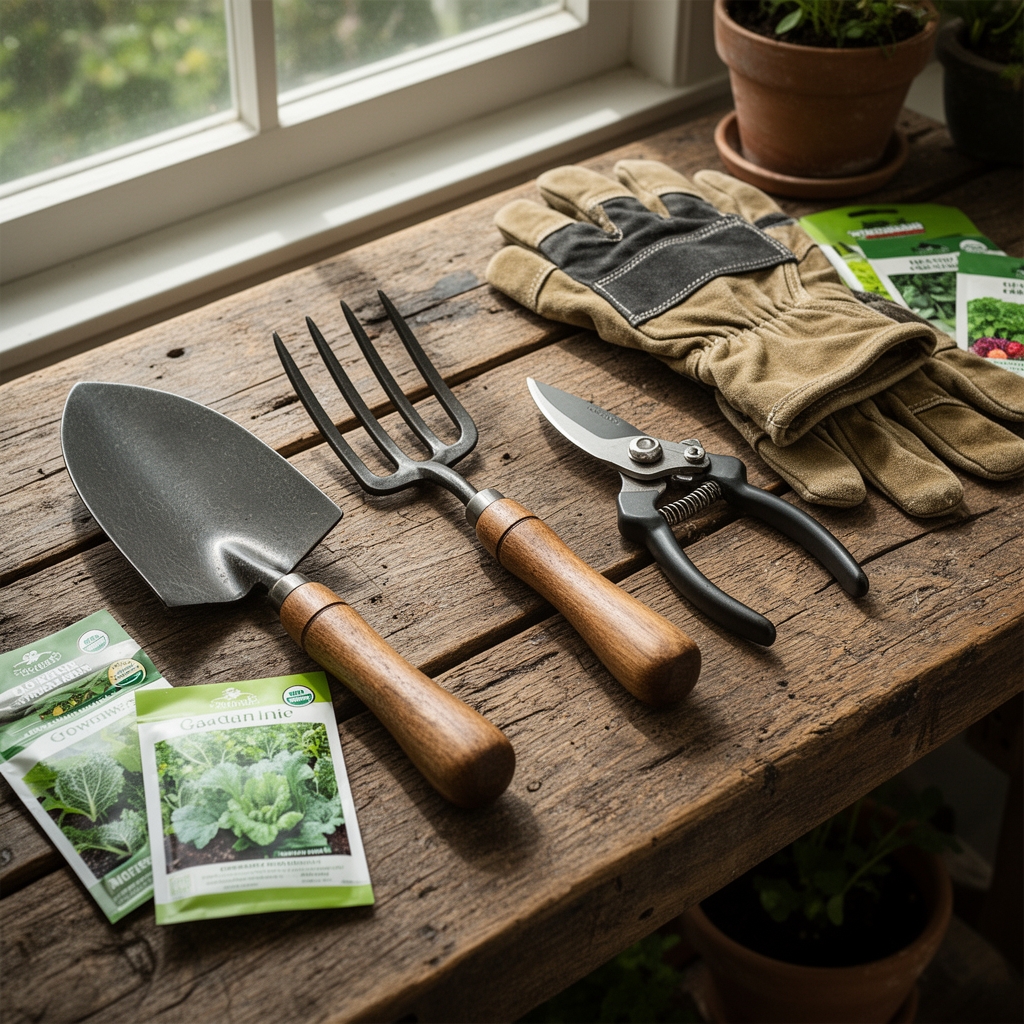
Select a braided polyethylene cord rated for outdoor use or twisted nylon mason's line in high-visibility yellow or orange. Stake diameter should measure 3/8 inch minimum with lengths from 18 to 24 inches. Metal stakes resist rot and drive cleanly into dense clay loam. Wooden stakes perform adequately in sandy soils with pH between 6.0 and 7.0.
Soil amendments require matching to crop demands. Brassicas and alliums thrive when beds receive 4-4-4 organic meal at 2 pounds per 100 square feet, broadcast and incorporated to 6 inches depth. This balanced NPK supports vegetative growth while maintaining cation exchange capacity. For fruiting crops like tomatoes and peppers, shift to 5-10-10 granular fertilizer, applied at 1.5 pounds per 100 square feet. The elevated phosphorus promotes root establishment and flower set.
Test soil pH before staking rows. Lime raises pH by 0.5 units per 5 pounds per 100 square feet when incorporated 30 days before planting. Elemental sulfur lowers pH by 1 unit per 1 pound per 100 square feet over 90 days. Measure amendments with precision. Guesswork leads to nutrient lockout and stunted crops.
Timing and Hardiness Zones
In USDA Hardiness Zones 5 through 7, direct-sow cool-season crops when soil temperature reaches 45°F at 2-inch depth. This typically falls 4 weeks before the last spring frost date. Peas, spinach, and radishes tolerate cold soil and benefit from early establishment. Mark rows with the garden line while soil retains spring moisture but has dried enough to avoid compaction.
Warm-season crops require soil temperatures above 60°F. In Zone 6, tomato transplants go into lined rows between May 10 and May 25. Beans and squash follow 2 weeks later when soil hits 65°F consistently. Zone 8 gardeners can plant warm-season rows by April 1. Zone 4 growers wait until June 1 for frost-sensitive species.
Fall planting windows open when daytime temperatures drop below 75°F. In Zone 6, establish lettuce, kale, and turnip rows between August 15 and September 1 for October harvest. The garden line remains functional in cooler soil that holds moisture longer and resists crusting.
Phases of Row Establishment
Sowing Phase
Drive the first stake at the bed's edge, leaving 6 inches exposed. Walk the length of the intended row with the line unspooled, then drive the second stake. Pull the line taut enough to eliminate droop but not so tight it bows the stakes. The cord should hover 1 inch above soil surface.
Create a furrow along the line using a hoe blade drawn at 30-degree angle. Furrow depth depends on seed size. Lettuce needs 1/4 inch. Beans require 1 inch. Corn goes to 2 inches. Drop seeds at intervals specified on the packet. Cover with fine soil and tamp lightly to ensure seed-to-soil contact.
Pro-Tip: Coat large seeds like peas and beans with mycorrhizal fungi inoculant before sowing. Glomus intraradices species colonize root hairs within 10 days, extending phosphorus uptake radius by 15 inches.
Transplanting Phase
For crops started indoors, the garden line marks transplant positions. Measure spacing with a ruler or pre-marked stake. Tomatoes require 24-inch centers. Peppers perform well at 18 inches. Brassicas need 12 to 15 inches depending on cultivar.
Dig holes 2 inches deeper than the root ball. Transplant during overcast afternoons to reduce transplant shock. Water each hole with 1 cup of dilute fish emulsion (1 tablespoon per gallon). Position the transplant so the soil line matches the stem's original depth. Firm soil around roots to eliminate air pockets.
Pro-Tip: Prune tomato transplants at 45-degree angle to remove lower leaves before setting. This reduces contact with soil-borne pathogens and directs auxin distribution upward.
Establishing Phase
Monitor rows for 14 days post-planting. Germination should occur within species-specific windows: radishes in 4 days, carrots in 12 days, parsnips in 21 days. Thin seedlings to final spacing when true leaves emerge. Remove weaker seedlings to prevent root disturbance in neighboring plants.
Apply row cover over newly established lines if flea beetles or cabbage moths are active. Support the fabric on wire hoops to prevent contact with foliage. Secure edges with soil or landscape staples.
Pro-Tip: Side-dress nitrogen 3 weeks after establishment for heavy feeders. Apply 1/4 cup of blood meal (12-0-0) per 10-foot row, scratched into soil 4 inches from stems.
Troubleshooting Common Issues
Symptom: Seeds germinate unevenly with gaps exceeding 6 inches.
Solution: Soil crusting prevents emergence. Spread 1/4 inch of vermiculite over furrows immediately after seeding to maintain surface moisture and reduce crust formation.
Symptom: Seedlings lean away from vertical within 7 days of germination.
Solution: Insufficient light causes etiolation. Transplants indoors require 14 hours of light at 6 inches distance. Outdoor seedlings leaning indicate row orientation is east-west rather than north-south, creating uneven solar exposure.
Symptom: Yellowing leaves with green veins on young plants.
Solution: Iron chlorosis linked to high pH. Drench soil with chelated iron solution (1 tablespoon per gallon) along the row. Retest pH and amend with sulfur for long-term correction.
Symptom: Cutworms sever stems at soil line overnight.
Solution: Wrap 3-inch cardboard collars around transplant stems, buried 1 inch deep. Bacillus thuringiensis var. kurstaki applied as soil drench controls larvae within 48 hours.
Symptom: Roots grow horizontally along compacted layer 4 inches deep.
Solution: Hardpan prevents downward growth. Break compaction with a broadfork worked perpendicular to row direction before next season. Incorporate compost at 2 cubic feet per 10 square feet to improve soil structure.
Maintenance Schedule
Water rows deeply once per week in the absence of rain, delivering 1 inch measured with a rain gauge. Sandy soils require irrigation every 4 days. Clay soils retain moisture for 10 days. Apply water at soil level using drip tape or soaker hoses positioned 2 inches from the row center.
Cultivate between rows weekly until plants reach 8 inches height. Use a stirrup hoe to sever weed seedlings at the soil surface without disturbing crop roots. Stop cultivation once plant canopies close to avoid root damage.
Mulch established rows with 2 inches of straw or shredded leaves when plants reach 6 inches. Organic mulch moderates soil temperature, suppresses late-season weeds, and retains moisture during peak growth. Keep mulch 3 inches from plant stems to prevent collar rot.
Scout for pests twice weekly. Remove hornworms by hand. Spray aphid colonies with insecticidal soap at 5 tablespoons per gallon. Apply early morning or late evening to prevent leaf burn.
FAQ
How far apart should rows be spaced?
Space rows based on mature plant width plus access needs. Lettuce rows can sit 12 inches apart. Tomato rows need 36 inches. Leave 24 inches minimum for wheelbarrow passage.
Can I reuse stakes and line between seasons?
Yes. Clean stakes with 10% bleach solution to eliminate pathogen carryover. Store line on a spool indoors to prevent UV degradation.
What is the optimal row orientation?
North-south orientation balances morning and afternoon sun exposure across both row sides, reducing shade competition in closely spaced plantings.
Do I need a garden line for transplants?
Yes. Uniform spacing improves air flow and simplifies pest monitoring. Consistent transplant placement also standardizes irrigation coverage.
When should I remove the line after marking?
Remove immediately after furrow creation or transplant hole digging. Leaving line in place creates trip hazards and interferes with mulch application.