6 Simple Steps to Pot a Nursery Plant in a Decorative Pot
The plastic nursery pot arrives wrinkled and root-bound, its drainage holes plugged with compacted peat. You peel back the rim and find a tight coil of white roots spiraling inward, searching for nutrients that ran out weeks ago. The steps for potting up a nursery-bought plant begin the moment you recognize this constraint: commercial growers optimize for shelf life, not long-term establishment. Your decorative container becomes the permanent home where root architecture, soil structure, and microbial colonization will determine whether the plant merely survives or genuinely thrives.
Materials
Select a decorative pot 2 to 4 inches wider than the nursery container. Glazed ceramic, terracotta, or resin composites all function adequately if they feature at least one drainage hole of 0.5 inches diameter. For soil media, blend 60% peat or coir (pH 5.5-6.5), 30% perlite or pumice for aeration, and 10% mature compost. Incorporate a slow-release organic fertilizer at 4-4-4 or 5-5-5 NPK ratio, applying 2 tablespoons per gallon of soil volume. This balanced formulation supports vegetative growth without excessive nitrogen that weakens cell walls.
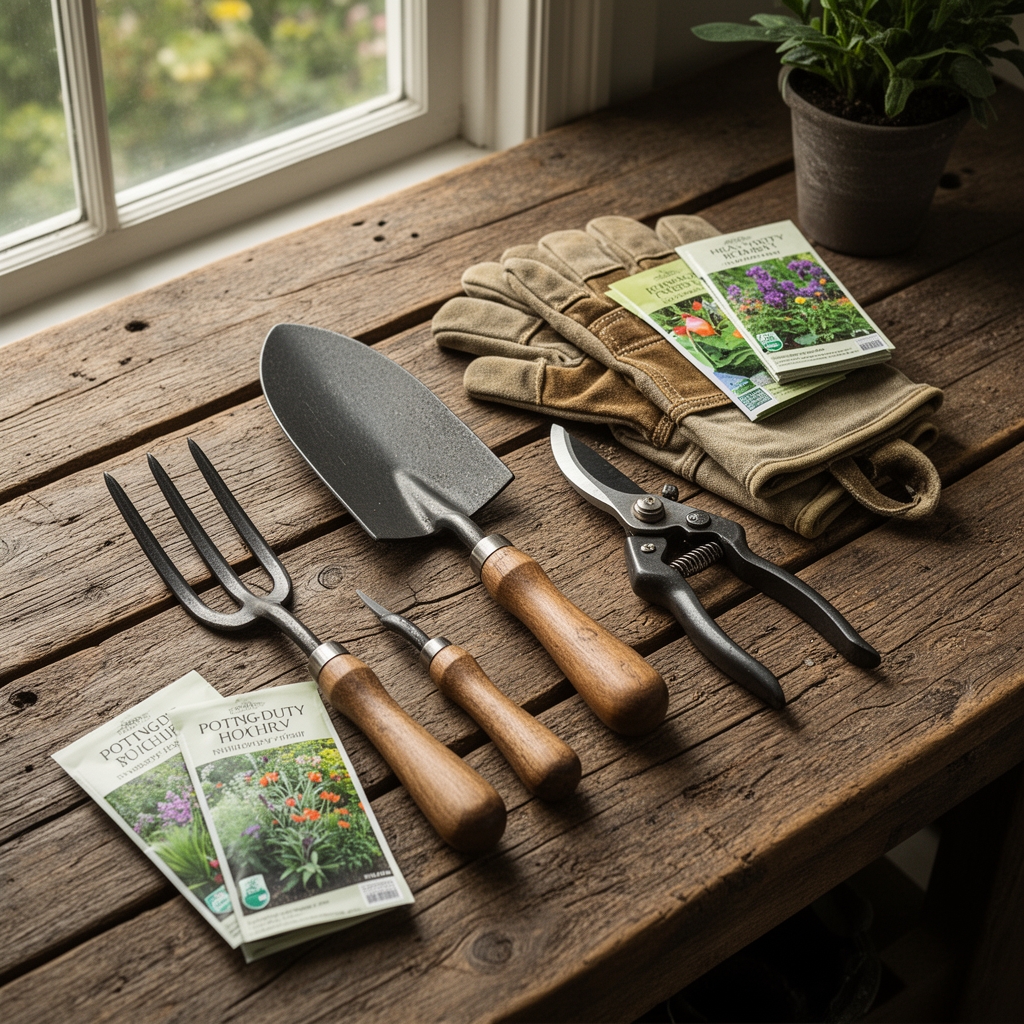
For acid-loving species like azaleas or blueberries, substitute pine bark fines and sulfur to lower pH to 4.5-5.5. Cacti and succulents require 50% inorganic grit (coarse sand, crushed granite) to ensure cation exchange capacity remains low and drainage stays immediate. Mycorrhizal inoculant powder, applied at 1 teaspoon per root ball, accelerates phosphorus uptake and drought tolerance. A hand trowel, pruning shears sterilized in 10% bleach solution, and a watering can with a rose head complete the kit.
Timing
Execute the steps for potting up a nursery-bought plant during the species' active growth phase. For temperate perennials and shrubs in USDA Hardiness Zones 5-9, transplant 4 to 6 weeks before the first fall frost or immediately after the last spring frost. This window allows roots to establish before temperature extremes arrive. In Zones 10-11, avoid mid-summer repotting when soil temperatures exceed 85°F; root growth stalls above this threshold.
Tropicals purchased from indoor nurseries tolerate year-round potting if indoor temperatures remain between 65°F and 75°F. Monitor the 10-day weather forecast and avoid transplanting within 48 hours of forecasted temperature drops below 50°F. Cold stress inhibits auxin distribution, the hormone governing root cell elongation.
Phases
Step 1: Assessment and Root Preparation
Water the nursery plant 12 hours before transplant to hydrate tissues without waterlogging the root ball. Invert the pot and tap the rim until the root mass slides free. Inspect for circling roots thicker than 0.25 inches. Use sterilized shears to make four vertical cuts, 0.5 inches deep, along the sides of the root ball. Tease apart the bottom third of the root mass with your fingers. This mechanical disruption redirects root tips outward.
Pro-Tip: Soak bare roots in a kelp extract solution (diluted 1:100) for 15 minutes. The cytokinins in kelp promote lateral root formation and reduce transplant shock.
Step 2: Container Preparation and Drainage Layer
Place a single layer of porous pottery shards or landscape fabric over the drainage hole to prevent soil loss while maintaining water egress. Add 1 to 2 inches of prepared soil mix to the pot bottom. Avoid gravel layers; they create a perched water table that suffocates roots.
Pro-Tip: Dust the drainage layer with activated charcoal at 1 tablespoon per 12-inch pot. Charcoal adsorbs organic acids and reduces anaerobic bacteria in stagnant moisture pockets.
Step 3: Positioning and Backfilling
Center the root ball so the original soil line sits 0.5 inches below the pot rim. This gap prevents runoff during irrigation. Fill around the sides with prepared mix, tamping gently every 2 inches to eliminate air pockets. Maintain contact between new soil and existing root ball; gaps cause desiccation at the interface.
Pro-Tip: For woody plants, ensure the root flare (where trunk widens at soil level) remains visible. Burying it promotes collar rot and girdling roots.
Step 4: Initial Watering and Settling
Water thoroughly until liquid drains from the bottom. The initial saturation collapses large air gaps and establishes hydraulic contact. Allow the pot to drain for 30 minutes, then add additional soil if settling creates depressions.
Pro-Tip: Apply water in three slow passes rather than one deluge. Rapid application channels through dry pockets without saturating the entire volume.
Step 5: Surface Treatment
Spread 0.5 inches of fine bark mulch or compost across the soil surface, keeping it 1 inch away from stems. Mulch moderates temperature swings and reduces evaporation by 30%.
Pro-Tip: For succulents, substitute top-dressing with 0.25 inches of crushed lava rock. Organic mulches retain moisture that encourages stem rot.
Step 6: Acclimation Period
Place the potted plant in indirect light for 7 to 10 days. Gradual exposure prevents photooxidative stress in leaves adapted to nursery greenhouse conditions. Increase light intensity by 2 hours daily until the plant reaches its permanent location.
Pro-Tip: Avoid fertilizing for 3 weeks post-transplant. Root hairs damaged during repotting cannot absorb nutrients efficiently and may suffer fertilizer burn.
Troubleshooting
Symptom: Leaf margins turn brown and crisp within one week.
Solution: Root damage combined with excessive transpiration. Prune 20% of foliage to reduce water demand. Increase ambient humidity to 50% with a pebble tray or room humidifier.
Symptom: Lower leaves yellow uniformly and drop.
Solution: Overwatering has created anaerobic conditions. Allow the top 2 inches of soil to dry completely before rewatering. Check that drainage holes are unobstructed.
Symptom: New growth emerges pale or stunted after 4 weeks.
Solution: Nitrogen deficiency or root-bound condition persists. Apply liquid fish emulsion at 5-1-1 ratio, diluted per label instructions. Verify roots are growing into new soil by gently excavating a 1-inch test hole at the pot edge.
Symptom: White, cottony masses appear on soil surface or stems.
Solution: Mealybugs or fungal mycelium. Isolate the plant. For mealybugs, swab with 70% isopropyl alcohol on a cotton tip. For saprophytic fungi on organic-rich soil, reduce watering frequency and increase air circulation.
Symptom: Wilting despite moist soil.
Solution: Root rot pathogens (Pythium or Phytophthora). Unpot immediately. Trim blackened, mushy roots to healthy white tissue. Repot in fresh, sterilized media with improved drainage. Drench with a biofungicide containing Trichoderma at label rates.
Maintenance
Provide 1 inch of water per week, adjusted for container size and environmental conditions. A 12-inch pot typically requires 0.5 gallons per irrigation event. Insert a finger 2 inches into soil; water when dry at that depth. Fertilize every 4 weeks during active growth with a balanced liquid fertilizer at half-strength (dilute 15-15-15 to approximately 7-7-7 effective rate).
Rotate the pot 90 degrees weekly to ensure even light distribution and prevent phototropic leaning. Leach accumulated salts every 8 weeks by running water through the pot for 5 minutes, allowing three times the pot volume to drain. Monitor for salt crust on the soil surface, a white or tan mineral deposit indicating excess dissolved solids.
Repot annually for fast-growing herbaceous species, every 2 to 3 years for woody perennials. Root systems that fill more than 80% of container volume become hydrophobic and nutrient-deficient.
FAQ
How soon after purchase should I repot a nursery plant?
Repot within 1 to 2 weeks if roots are visibly circling or protruding from drainage holes. If roots appear healthy and soil structure is intact, wait until the next active growth phase.
Can I reuse soil from the nursery pot?
No. Commercial peat-based mixes lose structure after 6 months and may harbor root pathogens. Discard or compost the old medium after breaking up the root ball.
What size pot is too large?
Avoid containers more than 4 inches wider than the root ball. Excess soil retains water the roots cannot access, creating anaerobic zones that foster disease.
Should I fertilize immediately after repotting?
No. Wait 3 to 4 weeks. Root hairs require time to regenerate after transplant disturbance. Premature fertilization can cause osmotic stress and burn developing roots.
Do all plants need mycorrhizal inoculant?
Most do. Brassicas, sedges, and members of Amaranthaceae do not form mycorrhizal associations. For these, skip inoculant and focus on bacterial biostimulants.