6 Simple Steps to Use Worm Castings
The scent of a healthy rhizosphere is unmistakable; it carries the deep, musk-heavy aroma of geosmin produced by Actinobacteria. When you press a leaf between your fingers, the high turgor pressure should make the tissue feel rigid and resilient. Achieving this level of plant vitality requires more than just water and sunlight. It requires a precise understanding of the steps to use worm castings to optimize soil structure and nutrient delivery. Worm castings, or vermicompost, are not merely fertilizer; they are a bioactive soil amendment that enhances the cation exchange capacity of your substrate. By integrating these castings into your management plan, you provide a slow-release source of micronutrients and beneficial microbes that facilitate better root development and systemic resistance. This guide focuses on the technical application of these "black gold" granules to ensure your crops reach their full genetic potential through scientific soil management.
Materials:
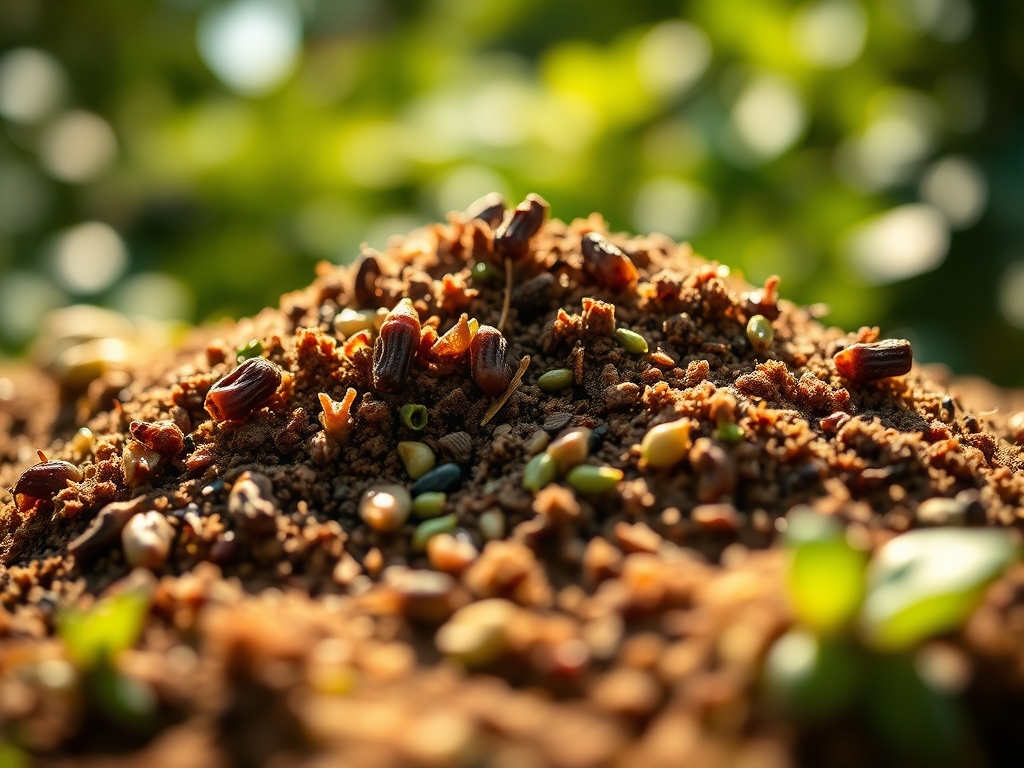
To begin, you must source or produce high-quality castings. The ideal substrate is a **friable loam** with a **pH between 6.5 and 7.2**. High-quality worm castings typically offer an **NPK ratio of approximately 1-0-0 to 5-0.5-0.3**, though their primary value lies in their microbial density rather than raw macronutrient volume. You will need a **1/4-inch mesh screen** to sift out any undigested organic matter. Ensure your base soil has a **Cation Exchange Capacity (CEC) above 15 meq/100g** to effectively hold the nutrients released by the castings. If your soil is sandy, the addition of castings will significantly improve moisture retention and nutrient buffering.
Timing:
Timing is dictated by your USDA Hardiness Zone and the specific photoperiod requirements of your cultivars. In Zones 5 through 7, the primary application window begins 2 to 4 weeks before the last spring frost, typically when soil temperatures consistently reach 55 degrees Fahrenheit. This aligns with the biological clock of the plant as it transitions from dormancy to active vegetative growth. For perennial crops, apply castings just as the buds begin to swell but before full leaf-out. For annuals, timing must coincide with the transition from the nursery environment to the field to mitigate transplant shock. Avoid application during the late senescence phase, as late-season nitrogen spikes can interfere with the hardening-off process required for winter survival.
Phases:

Sowing
When starting seeds, incorporate castings into your seed-starting mix at a ratio of 1 part castings to 4 parts base media. This provides the emerging radicle with immediate access to humic acids, which stimulate rapid cell division.
Pro-Tip: The presence of humic acids in castings triggers a physiological response that increases seed germination rates. This occurs because the acids increase the permeability of the seed coat, allowing for faster imbibition of water.
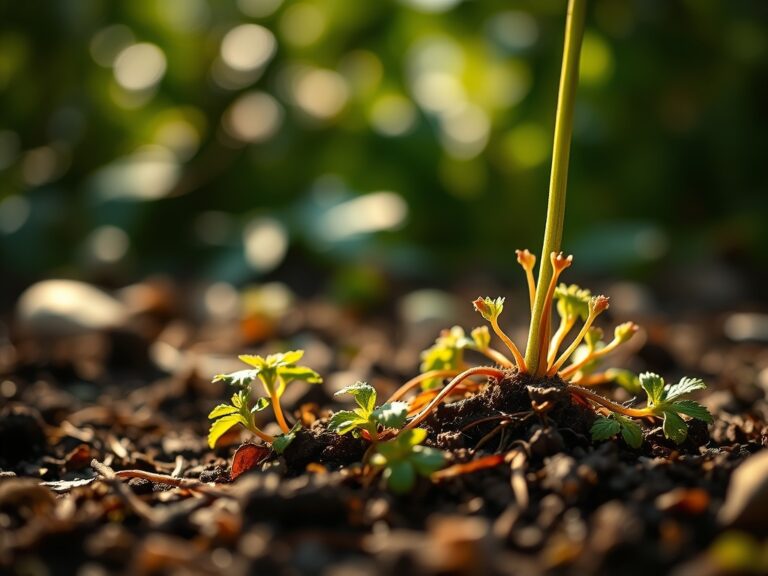
Transplanting
During the transplanting phase, place 1/2 cup of pure worm castings directly into the planting hole. This ensures the root ball makes immediate contact with beneficial microbes. This contact is vital for establishing a robust symbiotic relationship between the roots and the surrounding soil biology.
Pro-Tip: Direct contact encourages the development of a dense network of fine root hairs. This is driven by auxin suppression in the presence of concentrated nutrients, which prevents the plant from becoming "leggy" and instead focuses energy on subterranean structural integrity.
Establishing
Once the plant is established, use a top-dressing method. Apply a 1-inch layer of castings around the drip line of the plant every 60 days during the active growing season. Lightly scratch the castings into the top half-inch of soil using a hori-hori knife to prevent the sun from desiccating the microbial life.
Pro-Tip: Top-dressing facilitates mycorrhizal symbiosis. As water filters through the castings, it carries soluble nutrients and fungal spores down into the root zone, extending the effective surface area of the root system by up to 100 times.
The Clinic:
Physiological disorders often stem from a lack of microbial diversity or mineral imbalances. Use this diagnostic guide to identify and fix issues using worm castings and related soil adjustments.
Symptom: Interveinal Chlorosis (yellowing between leaf veins).
Solution: This typically indicates a Magnesium or Iron deficiency.
Fix-It: Apply a worm casting tea (steep 1 pound of castings in 5 gallons of aerated water for 24 hours). The chelated minerals in the tea are more readily available for foliar uptake, bypassing soil lock-out issues.
Symptom: Blossom End Rot in Solanaceous crops.
Solution: This is a Calcium transport issue, often caused by inconsistent moisture levels.
Fix-It: Increase the organic matter in the soil by mixing in 20 percent worm castings by volume. The high humus content stabilizes soil moisture, ensuring a steady flow of calcium to the developing fruit.
Symptom: Stunted growth with purple-tinted stems.
Solution: This suggests Phosphorus deficiency, often exacerbated by cold soil temperatures.
Fix-It: Top-dress with a blend of worm castings and bone meal. The phosphatase enzymes in the castings help break down the bone meal into a plant-available form even in cooler temperatures.
Maintenance:
Precision is the hallmark of a professional horticulturist. Use a soil moisture meter to ensure the substrate remains at 60 percent to 70 percent of field capacity. For most garden crops, this equates to 1.5 inches of water per week, delivered at the drip line rather than the base of the stem to prevent crown rot. Utilize bypass pruners to remove any necrotic tissue or suckers that divert energy from the main terminal bud. If you observe soil compaction, use a broadfork to aerate the soil without inverting the horizons; this preserves the delicate fungal hyphae established by the worm castings. Monitor the soil pH quarterly; if it drifts below 6.0, the availability of Phosphorus and Magnesium will drop sharply.
The Yield:
Harvesting should occur when the plant reaches peak secondary metabolite production. For leafy greens, harvest in the early morning when turgor pressure is at its highest. For fruiting bodies, wait until the abscission layer begins to form at the base of the fruit. Use a sharp, sterilized blade to make clean cuts; ragged edges are entry points for pathogens. Post-harvest, submerge leafy crops in 40-degree Fahrenheit water for 15 minutes to remove field heat. This "hydro-cooling" process preserves "day-one" freshness by slowing down the rate of respiration and preventing the breakdown of cellular structures.
FAQ:
Can I use too many worm castings?
While worm castings are gentle, using them as 100 percent of your growing medium can lead to drainage issues. The high water-holding capacity may cause anaerobic conditions. Limit castings to 20 to 30 percent of your total soil volume for optimal aeration.
Do worm castings expire?
Castings do not expire in a traditional sense, but the microbial populations will decline if the material dries out completely. Store castings in a cool, dark place and maintain a moisture level of roughly 30 percent to keep the biology active for up to a year.
How do I make worm casting tea?
Suspend 1 pound of castings in a porous bag inside 5 gallons of non-chlorinated water. Use an aquarium bubbler to aerate the mixture for 24 to 48 hours. Apply the liquid immediately to the soil or as a foliar spray to boost immunity.
Are worm castings safe for all plants?
Yes, worm castings have a neutral pH and a low salt index, making them safe for even the most sensitive seedlings and salt-sensitive species like ferns or orchids. They will not burn plant tissue like synthetic fertilizers or "hot" manures.