6 Steps to Build a Dry Stone Wall with Stacking Techniques
The cold weight of fieldstone in your hands connects you to millennia of agrarian engineering. Farmers across temperate zones have relied on dry stone walls to define pastures, stabilize slopes, and create microclimates for frost-sensitive crops. The steps for building a dry stone wall demand patience and an understanding of load distribution, but the resulting structure can endure for centuries without mortar or synthetic binders. Each stone becomes a living interface: lichens colonize the surface, nitrogen-fixing microbes inhabit the crevices, and the thermal mass moderates temperature swings for adjacent perennial beds.
Materials
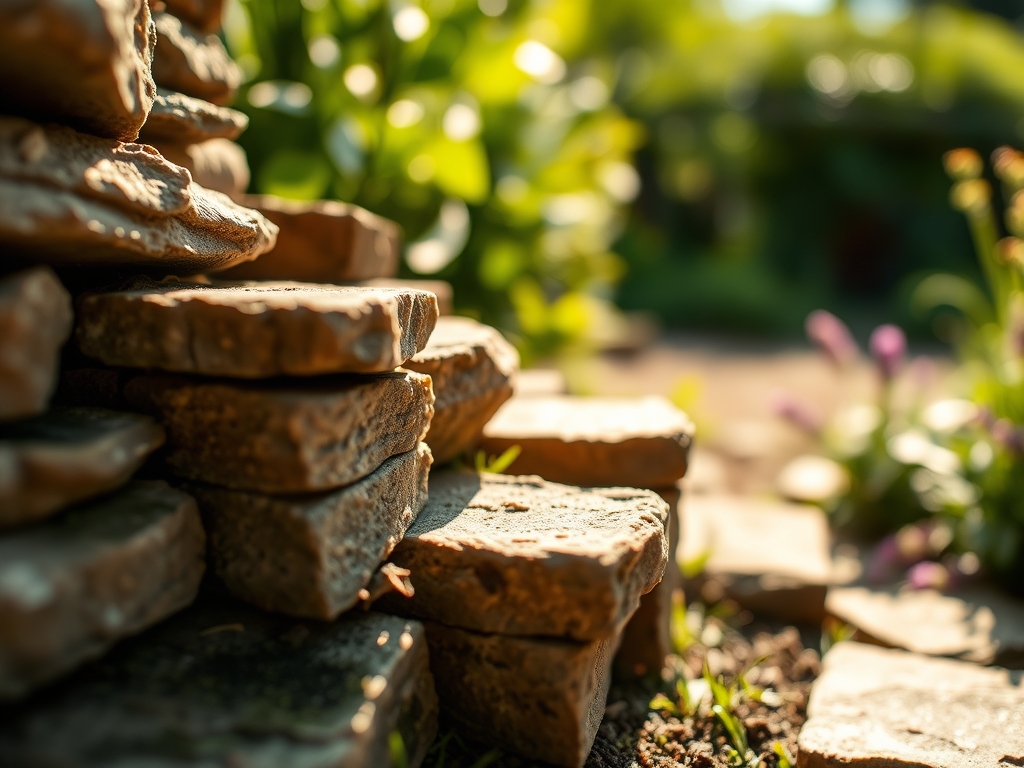
Select stones with flat faces and angular edges rather than rounded river cobbles. Sedimentary limestone and sandstone offer superior stacking planes due to their bedding layers. Granite and basalt work well in regions with acidic soils (pH 5.0–6.0) because their slow weathering releases trace minerals without altering cation exchange capacity. Source capstones that span at least two-thirds of the wall's width to anchor the top course.
For footings in clay-heavy soils, excavate 6 inches below grade and backfill with crushed stone at a 3:1 angular-to-fines ratio. This mimics the drainage properties of loamy sand while preventing frost heave. If constructing walls adjacent to raised beds, incorporate a 2-inch layer of aged compost (NPK approximately 1-1-1) along the interior face. The slow mineralization feeds deep-rooted perennials like asparagus and rhubarb without leaching into groundwater.
In alkaline soils (pH 7.5–8.5), weathering limestone releases calcium carbonate. Pair these walls with plants that thrive in high-pH conditions: lavender, dianthus, and echinacea. For acid-loving species, maintain a 3-foot buffer and amend annually with sulfur-coated urea (21-0-0) at 0.5 pounds per 100 square feet.
Timing
Build dry stone walls in Hardiness Zones 4–8 during late summer or early autumn, when soil moisture stabilizes and freeze-thaw cycles are dormant. In Zone 4, complete construction by mid-September to allow settling before the first hard frost. Zone 7 and warmer climates permit construction through November, but avoid winter rains that saturate footings and destabilize base courses.
Spring construction risks disturbing early-season ground-nesting pollinators and disrupts auxin distribution in nearby woody perennials. If you must build between last frost and June 1, flag nesting sites of mason bees and leave 10-foot buffers around fruit trees undergoing active shoot elongation.
Phases
Foundation Layer
Excavate a trench 8 inches deep and 6 inches wider than the planned wall width. Place the largest stones (100–200 pounds) with their flattest faces down and their longest axis perpendicular to the wall's length. This orientation resists lateral creep. Fill voids with crushed gravel to create a stable base that drains at 2 inches per hour.
Pro-Tip: Sprinkle mycorrhizal inoculant (glomus species) into gravel joints. Hyphal networks stabilize fine particles and improve water infiltration by 30 percent over five years.

Core and Facing Courses
Stack subsequent layers with a 1:6 backward slope (2 inches of setback per foot of height). Select two facing stones for every linear foot, ensuring each stone bridges at least two joints in the course below. Pack the core with fist-sized hearting stones and compacted soil. Avoid using topsoil; subsoil with clay content below 15 percent prevents water retention and root intrusion that can destabilize the wall.
Pro-Tip: Insert through-stones every 4 feet horizontally and every 18 inches vertically. These tie stones span the full wall width and distribute loads like structural I-beams.
Capstone Installation
Crown the wall with flat capstones weighing 50–80 pounds each. Overlap joints by at least 4 inches. In regions with annual freeze-thaw cycles exceeding 40 events, angle capstones 2 degrees toward the outer face to shed water. This prevents ice lenses from forming in the core.
Pro-Tip: Apply a slurry of clay subsoil (not topsoil) between capstones to deter burrowing rodents without using mortar. The clay remains porous enough for gas exchange but blocks excavation.
Troubleshooting
Symptom: Bulging at mid-height after spring thaw.
Solution: Insufficient backward slope or inadequate through-stones. Dismantle the affected section and restack with 1:6 batter. Add one through-stone per 6 square feet of face area.
Symptom: Capstones dislodged by freeze-thaw.
Solution: Capstones too light or improperly seated. Replace with stones exceeding 60 pounds and ensure 50 percent surface contact with the underlying course.
Symptom: Vegetation destabilizing joints.
Solution: Deep-rooted perennials like dock and dandelion exert prying force. Hand-pull seedlings monthly during the growing season. Avoid herbicides; glyphosate residues inhibit mycorrhizal colonization by 40 percent.
Symptom: Erosion channels forming behind the wall.
Solution: Install a French drain 12 inches behind the wall's base. Use perforated 4-inch pipe buried in 8 inches of washed gravel. Daylight the drain 20 feet downslope.
Maintenance
Inspect walls each spring for displaced stones. Reset any stone that has shifted more than 1 inch. Remove seedlings of woody plants (sumac, tree of heaven) when stems reach pencil thickness; mature roots can generate 500 pounds of lateral force.
Apply 0.5 inches of water weekly to plants within 2 feet of the wall during establishment. Once mycorrhizal networks mature (18–24 months), supplemental irrigation becomes unnecessary except during droughts exceeding 21 days.
Avoid leaning tools or stacking firewood against the wall. Point loads exceeding 50 pounds per square foot can dislodge facing stones.
FAQ
How wide should a dry stone wall be?
Base width should equal 40–50 percent of the finished height. A 4-foot wall requires a 20-inch base.
Can I build on a slope?
Yes. Step the footing in 12-inch lifts to follow grade. Never exceed 15 degrees without engineering consultation.
What height is stable without expertise?
Beginners should not exceed 3 feet. Walls above 4 feet require understanding of load paths and batter geometry.
Do dry stone walls need drainage?
The wall itself drains through joints. Install separate drainage if the wall retains soil on the uphill side.
How long before the wall stabilizes?
Expect 6–12 months of minor settling. Avoid disturbing the wall during this period.