6 Ways to Prepare Your Garden for a Community Plant Swap
The morning light reveals rows of healthy perennials, each potted and labeled, roots nestled in loose, friable medium. Your neighbors arrive in an hour, trowels in hand, ready to exchange cuttings and divisions. Preparing your garden for a neighborhood plant swap demands more than enthusiasm. It requires systematic propagation, soil chemistry adjustments, and strategic timing to ensure every specimen travels with vigor. Learning how to prepare a garden for a neighborhood plant swap transforms casual sharing into a reliable pipeline of genetic diversity and horticultural knowledge.
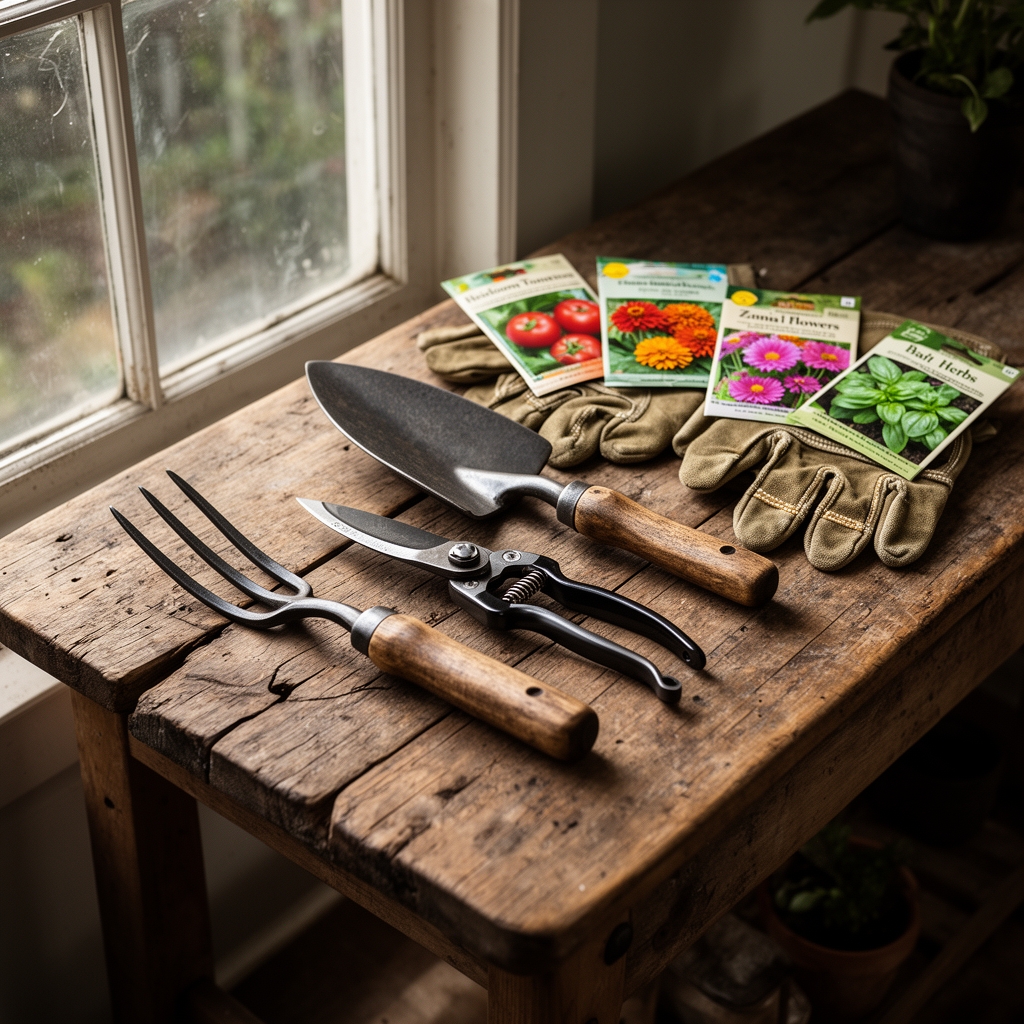
Materials
Begin with a balanced organic fertilizer at 4-4-4 NPK for most herbaceous perennials destined for swapping. This ratio supports steady foliage development without forcing excessive vegetative growth that weakens root systems during transplant. For acid-loving propagates like azaleas or blueberries, incorporate sulfur to lower substrate pH to 4.5-5.5. Use dolomitic lime to raise pH to 6.5-7.0 for alkaline-preferring specimens such as clematis or dianthus.
Potting medium should blend equal parts peat moss, perlite, and aged compost. This combination maintains cation exchange capacity near 12-15 meq/100g, adequate for nutrient retention without waterlogging. Mycorrhizal inoculant granules applied at 1 teaspoon per gallon of mix colonize roots within 14 days, extending phosphorus uptake and drought resilience.
Sterilize all cutting tools in a 10% bleach solution between specimens to prevent transmission of Xanthomonas or viral pathogens. Label each pot with species name, propagation date, and any known cultivar characteristics. This traceability ensures recipients understand dormancy requirements and mature dimensions.
Timing
Hardiness zones dictate swap scheduling. In USDA Zones 6-7, schedule swaps for late April or early October, avoiding both late-frost risk and the physiological stress of mid-summer heat. Zones 8-9 permit year-round exchanges, though early spring and late fall remain optimal for root establishment before temperature extremes.
Calculate your last frost date using a 30-year climate average. Transplant woody cuttings 21 days before this date to capitalize on rising soil temperatures that trigger auxin distribution and lateral root emergence. Herbaceous divisions tolerate transplant 10 days post-frost when soil reaches 50°F at 4-inch depth.
For fall swaps, begin preparation 8 weeks before first frost. This window allows divisions to establish feeder roots before dormancy. Potted specimens require 6 weeks minimum in controlled conditions to develop sufficient root mass that survives transplant shock.
Phases
Sowing Phase
Direct-sow fast-growing annuals like zinnias or cosmos 6 weeks before swap date. Seed at twice your target density, then thin to the strongest specimens. Surface-sow fine seeds such as Papaver species, pressing gently without covering, as they require light for germination. Bottom-water flats to avoid dislodging seeds or damaging emerging hypocotyls.
Pro-Tip: Stratify perennial seeds at 40°F for 30 days in moist vermiculite. This cold treatment breaks endogenous dormancy and synchronizes germination, yielding uniform cohorts ready for potting.
Transplanting Phase
Divide mature perennials when they reach 4-6 inches of new growth. Use a sharpened spade to excavate the entire root ball, preserving as much fibrous root material as possible. Separate crowns with a sterile knife, ensuring each division contains 3-5 viable buds and an intact root system. Pot immediately in pre-moistened medium to prevent desiccation.
Softwood cuttings taken from stem tips respond best when cut at a 45-degree angle just below a node. Strip lower leaves, dip in 0.1% IBA rooting hormone, and insert into a 3-inch pot filled with 50% perlite, 50% peat. Maintain 85% humidity under clear plastic domes for 14-21 days until roots emerge from drainage holes.
Pro-Tip: Apply foliar kelp extract at 1 tablespoon per gallon weekly during transplant phase. The cytokinins and micronutrients accelerate cell division in meristematic tissue, reducing transplant lag.
Establishing Phase
Harden off indoor-started plants over 7 days by gradually increasing sunlight exposure and decreasing watering frequency. Begin with 30 minutes of morning sun, extending by 1 hour daily. This acclimatization thickens cuticle layers and strengthens cell walls, preventing sunscald and wind damage.
Water established pots to field capacity every 48 hours, adjusting for drainage and ambient temperature. Monitor substrate moisture with a finger test at 2-inch depth. Never allow wilting, as repeated drought stress reduces carbohydrate reserves needed for post-swap establishment.
Pro-Tip: Prune terminal buds at 30-degree angles to encourage lateral branching. This creates bushier specimens with more potential cutting material and improves aesthetic appeal for swap participants.
Troubleshooting
Symptom: Yellowing lower leaves with green veins on potted specimens.
Solution: Iron chlorosis from elevated substrate pH. Drench with chelated iron at 1 tablespoon per gallon. Retest pH and adjust to species-appropriate range using sulfur or lime.
Symptom: White powdery coating on leaf surfaces.
Solution: Powdery mildew resulting from poor air circulation. Space pots 6 inches apart. Spray with 1 tablespoon baking soda per quart water at first sign. Avoid overhead watering.
Symptom: Wilting despite moist soil.
Solution: Root rot from Pythium or Phytophthora. Remove affected plants immediately. Drench remaining pots with copper fungicide at labeled rates. Improve drainage with additional perlite.
Symptom: Stunted growth and brown leaf margins.
Solution: Excess soluble salts from over-fertilization. Leach pots with 2 gallons of clear water per gallon of pot volume. Resume feeding at half-strength.
Symptom: Tiny green insects clustered on new growth.
Solution: Aphid infestation. Spray with insecticidal soap at 2% concentration, ensuring coverage of leaf undersides. Repeat every 5 days for 3 applications.
Maintenance
Apply 1 inch of water per week through drip irrigation or manual watering. Measure with a rain gauge placed at pot level. Deep, infrequent watering encourages downward root growth rather than shallow, drought-susceptible networks.
Feed every 14 days with liquid fish emulsion diluted to 1 tablespoon per gallon. This slow-release nitrogen source prevents tip burn while maintaining steady growth rates. Cease fertilization 10 days before swap to harden tissues.
Remove spent flowers and damaged foliage weekly. This sanitation reduces disease pressure and redirects energy toward root development. Inspect for pests during each maintenance session, treating infestations immediately.
Mulch potted specimens with 0.5 inch of shredded bark to moderate soil temperature fluctuations and conserve moisture. Avoid contact between mulch and plant stems to prevent crown rot.
FAQ
How many plants should I prepare for a neighborhood swap?
Prepare 15-20 specimens per attending household. Assume 60% will exchange hands, leaving reserves for latecomers and replacing failures.
Can I swap plants with visible pest damage?
No. Introducing compromised specimens spreads pathogens throughout the community. Quarantine and treat affected plants for 3 weeks before considering them swap-eligible.
What information should accompany each plant?
Include botanical name, mature size, light requirements, water needs, hardiness zone, and any known allergens or toxicity concerns. This transparency builds trust and ensures appropriate placement.
How do I transport potted plants to the swap site?
Use plastic flats or cardboard trays to stabilize pots during transit. Water lightly 2 hours before loading to reduce weight while maintaining turgidity. Avoid direct sun exposure in vehicles.
Should I accept plants I cannot identify?
Only accept specimens with verifiable identification. Unknown plants may prove invasive, toxic, or unsuitable for your zone. Request the donor research and confirm identity before accepting.