7 Simple Steps to Plant Wormwood Herbs
Crushing a silver leaf of Artemisia absinthium between your thumb and forefinger releases a sharp, medicinal scent that lingers on the skin. The plant displays high turgor pressure in its woody stems when properly hydrated; a sign of a robust vascular system. Mastering the steps to plant wormwood herbs requires an understanding of its preference for lean environments and its aggressive root architecture. This perennial thrives in neglected corners where other species fail, provided the drainage is absolute. Success begins with selecting a site that mimics its native Mediterranean and Eurasian scrublands. You must manage the balance between its drought tolerance and its need for specific micronutrients during the early vegetative phase. Failure to respect its cycle leads to root rot or leggy, unstable growth. By following a rigorous horticultural protocol, you can establish a specimen that survives for a decade or more.
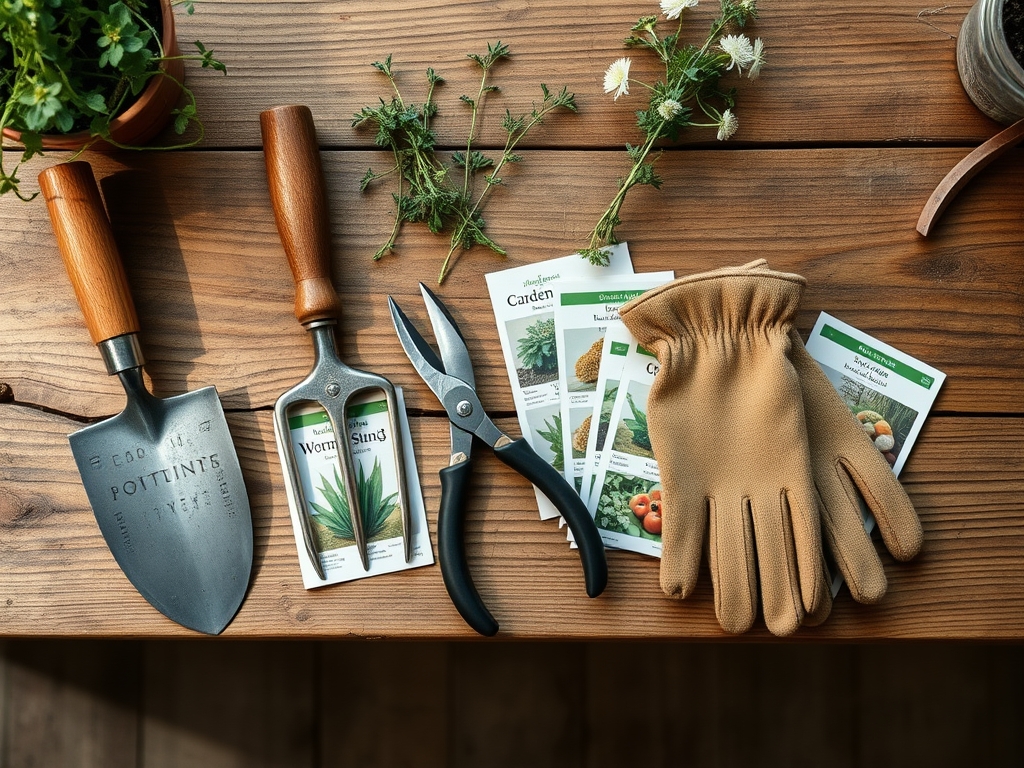
Materials:
Wormwood requires a substrate with a pH between 6.0 and 7.5. While it tolerates poor soil, a friable loam with high sand content ensures the necessary oxygenation of the rhizosphere. Avoid heavy clays that trap moisture and trigger fungal pathogens. For supplemental nutrition, use a low-nitrogen fertilizer with an NPK ratio of 5-10-10. High nitrogen levels (the first number) force rapid, weak cellular expansion that makes the plant susceptible to wind damage and pests.
The soil Cation Exchange Capacity (CEC) should be moderate. This allows the plant to access calcium and magnesium without excessive salt buildup. If your soil is compacted, incorporate perlite or coarse horticultural grit to a depth of 12 inches. You will also need a soil moisture meter to monitor the transition from the establishment phase to the drought-hardy phase.
Timing:
Artemisia absinthium is hardy in USDA Zones 4 through 9. The biological clock of the plant is governed by the photoperiod; it requires long days to trigger the transition from vegetative leaf production to the reproductive flowering stage. Planting should occur in early spring, approximately two to three weeks after the last hard frost.
Soil temperatures must consistently reach 55 degrees Fahrenheit (13 degrees Celsius) for root elongation to begin. If you plant too early, the dormant roots may succumb to anaerobic conditions in cold, wet soil. If you plant too late, the summer heat may induce wilting before the root system can compensate for transpiration losses. The ideal window for most temperate climates falls between late March and early May.
Phases:

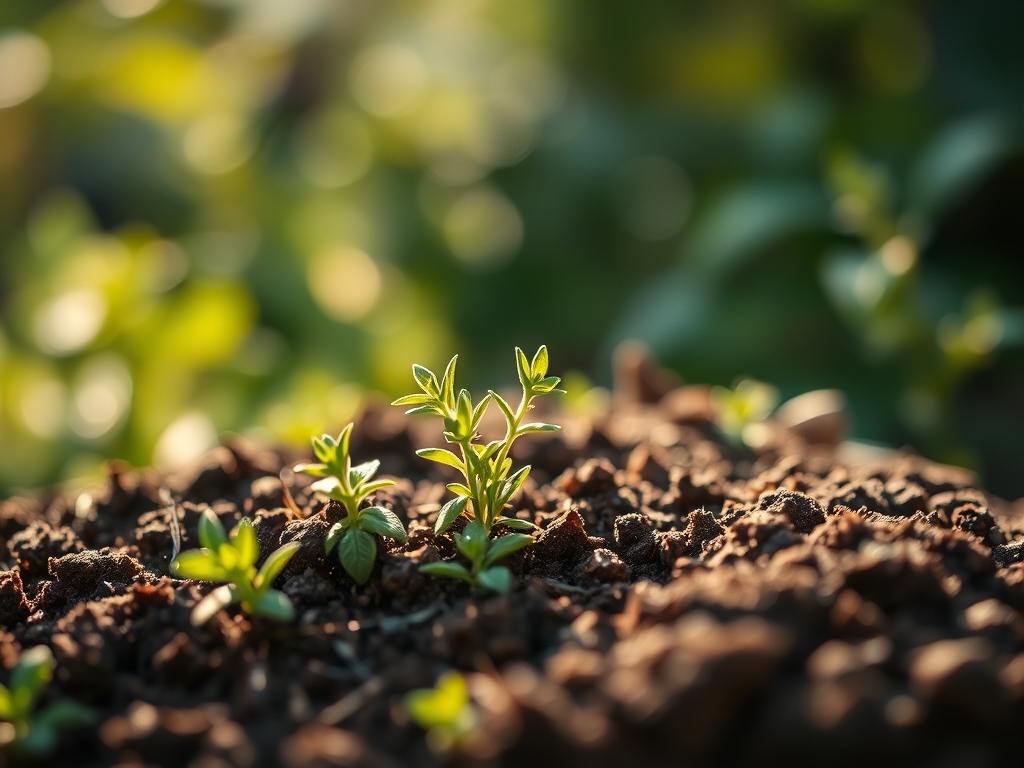
Sowing and Stratification
Wormwood seeds are tiny and require light for germination. Surface-sow them onto a sterile seed-starting mix and press them firmly to ensure contact. Do not cover them with soil. Maintain a temperature of 65 to 70 degrees Fahrenheit. Germination typically occurs within 10 to 20 days.
Pro-Tip: Wormwood seeds often benefit from cold stratification for 30 days at 39 degrees Fahrenheit. This process breaks physiological dormancy by mimicking winter conditions, which triggers the release of gibberellic acid to initiate the growth cycle.
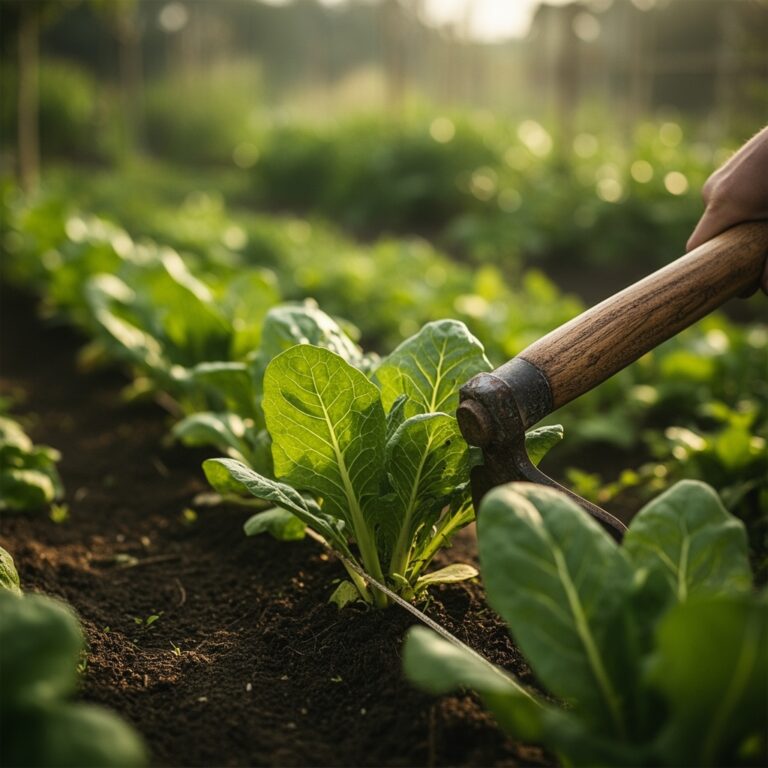
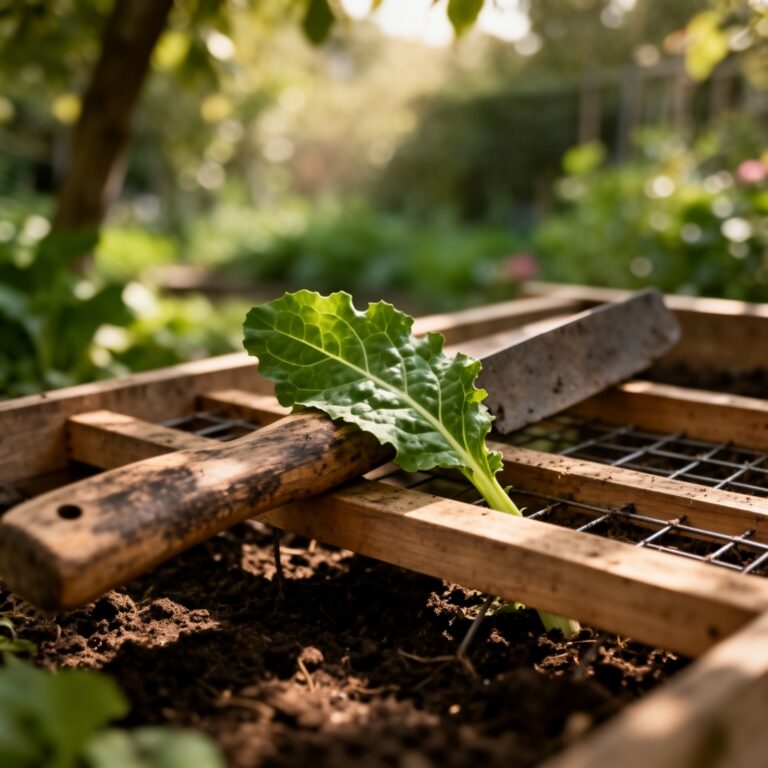
Transplanting
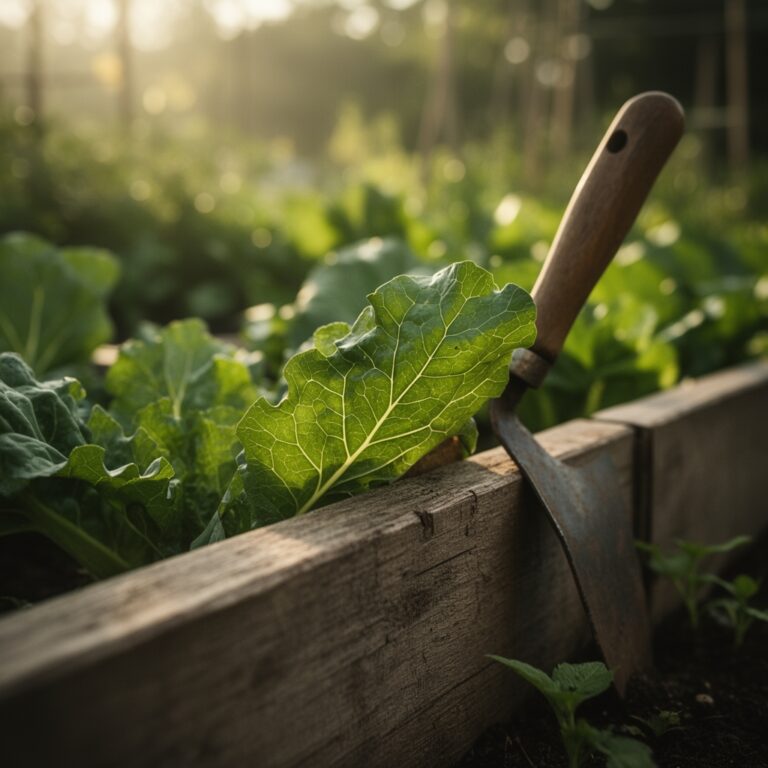
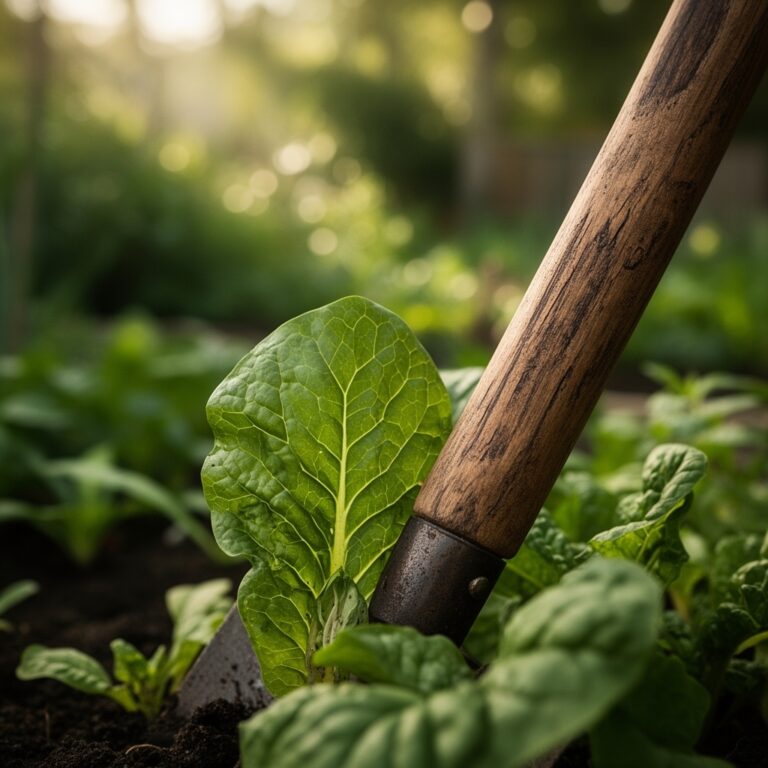
Once seedlings reach 3 inches in height and have at least two sets of true leaves, they are ready for the field. Space the plants 24 to 36 inches apart. Wormwood produces allelopathic chemicals that can inhibit the growth of neighboring plants; give it ample room to prevent it from outcompeting your garden. Use a hori-hori knife to cut a clean hole twice the width of the root ball.
Pro-Tip: When transplanting, ensure the crown of the plant is level with the soil surface. Deep planting causes crown rot, while shallow planting leads to desiccation of the upper root zone. This maintains the auxin-cytokinin balance necessary for apical dominance.
Establishing
During the first six weeks, the plant focuses on downward root penetration. Water the base of the plant whenever the top 2 inches of soil feel dry. Avoid overhead irrigation to keep the silver, pubescent (fuzzy) leaves dry, as moisture trapped in the hairs can lead to mildew.
Pro-Tip: Pinch back the top inch of growth once the plant reaches 8 inches tall. This suppresses auxin production in the terminal bud, which stimulates lateral branching and results in a bushier, more structurally sound plant.
The Clinic:
Horticultural success involves diagnosing physiological disorders before they become terminal.
- Symptom: Yellowing of lower leaves (Chlorosis).
Solution: This is often a nitrogen deficiency or overwatering. Check the soil moisture. If the soil is dry, apply a 5-10-10 liquid fertilizer at half strength. - Symptom: Powdery white coating on foliage.
Solution: This indicates Powdery Mildew caused by high humidity and poor airflow. Thin the center of the plant using bypass pruners to increase air circulation. - Symptom: Wilting despite moist soil.
Solution: This is a sign of Pythium root rot. Improve drainage immediately by incorporating grit or moving the plant to a raised bed. - Symptom: Stunted growth and purple leaf undersides.
Solution: This suggests a Phosphorus deficiency, common in cold soils. Apply bone meal to the drip line to increase available phosphorus.
Maintenance:
Once established, wormwood is exceptionally low-maintenance but requires specific intervention to prevent senescence. Provide 1.5 inches of water per week during the first year, applied at the drip line rather than the stem. After the first year, the plant only requires supplemental water during extreme droughts lasting more than three weeks.
In late autumn or early spring, use bypass pruners to cut the plant back to about 6 inches above the ground. This removes dead woody material and encourages a flush of new, silver growth. Periodically check the soil with a moisture meter to ensure the deep roots are not sitting in a perched water table. Every three years, divide the root mass using a sharp spade to rejuvenate the colony and maintain vigor.
The Yield:
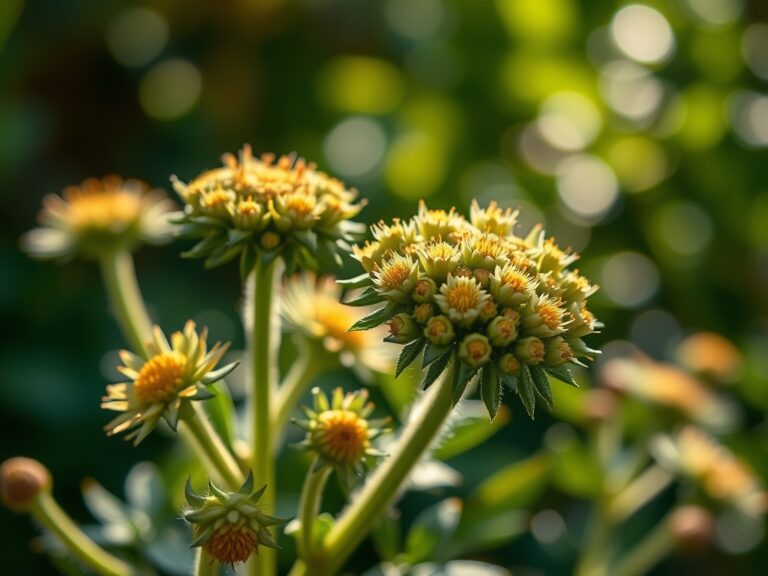
Harvesting wormwood is best done just as the flower buds begin to open in mid-to-late summer. This is when the essential oil concentration, specifically thujone and absinthin, is at its peak. Use sharp shears to cut the upper third of the stems.
To maintain "day-one" freshness for botanical study, harvest in the early morning after the dew has evaporated but before the sun reaches its zenith. This timing preserves the terpene profile by preventing evaporation from the leaf surface. Bundle the stems and hang them upside down in a dark, well-ventilated area with a temperature of 70 to 80 degrees Fahrenheit. Once the leaves are brittle to the touch, strip them from the woody stems and store them in airtight glass containers.
FAQ:
How much sun does wormwood need?
Wormwood requires six to eight hours of direct sunlight daily. Insufficient light leads to weak stems, reduced essential oil production, and increased susceptibility to fungal infections. Full sun exposure ensures the leaves maintain their characteristic silver, reflective pubescence.
Can I grow wormwood in containers?
Yes, use a 5-gallon container with multiple drainage holes. Use a mix of 70% potting soil and 30% perlite or coarse sand. Container plants require more frequent monitoring of soil moisture and biannual fertilization with a low-nitrogen formula.
Is wormwood invasive in the garden?
Wormwood can spread via rhizomes and self-seeding. To control its footprint, remove flower heads before they drop seeds and plant it in a contained area. Its allelopathic properties may also suppress the growth of nearby sensitive herbs.
Why are my wormwood leaves turning brown?
Brown leaves typically indicate root rot from overwatering or poor drainage. If the browning occurs at the tips during high heat, it may be salt burn from over-fertilization. Flush the soil with clear water and verify the drainage capacity.