7 Steps to Build a Compost Sifter for Fine Soil
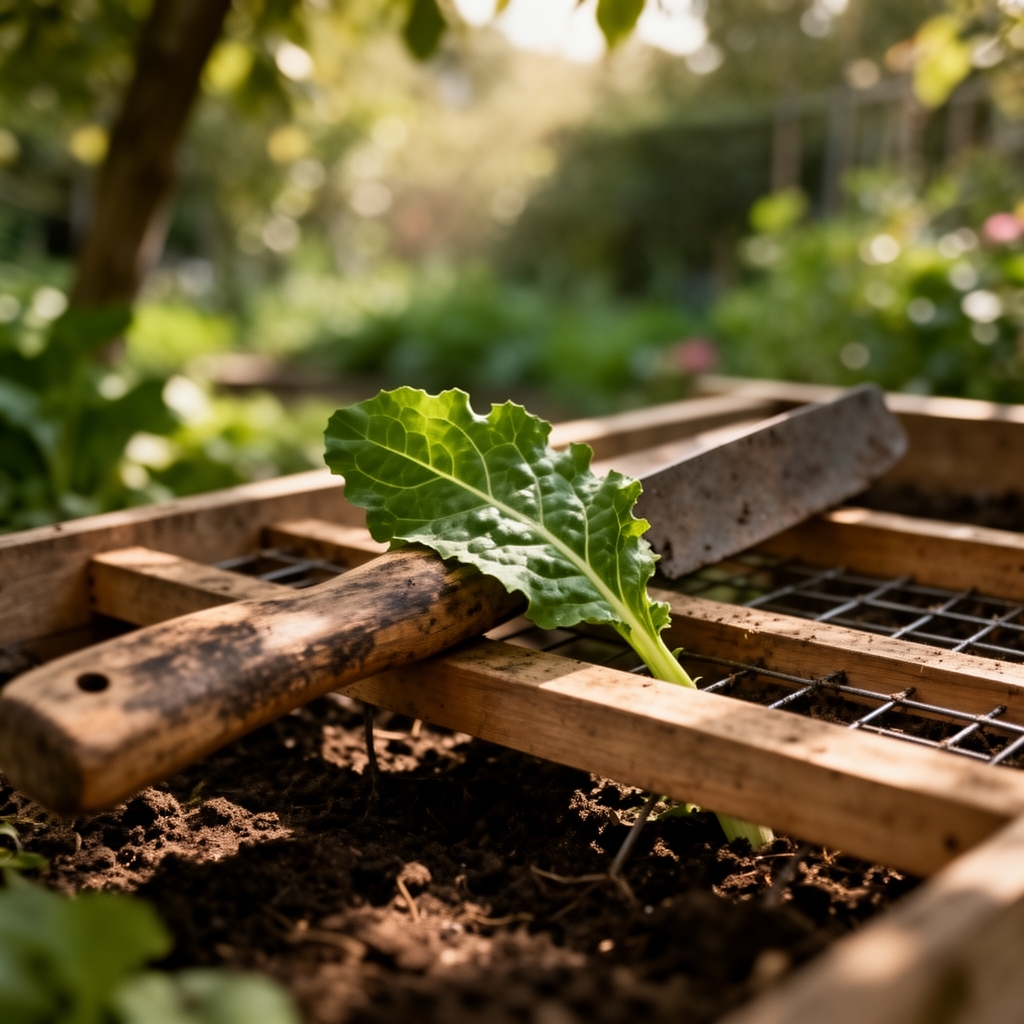
The smell of finished compost is unmistakable: earthy, cool, faintly sweet. Yet raw compost often contains twigs, undecomposed bark, and clumps that suffocate seedling roots. Learning the steps for building a compost sifter for garden soil transforms coarse organic matter into fine, root-friendly texture. A well-constructed sifter separates particles larger than one-quarter inch, improving cation exchange capacity and ensuring even distribution of humic acids throughout your beds.
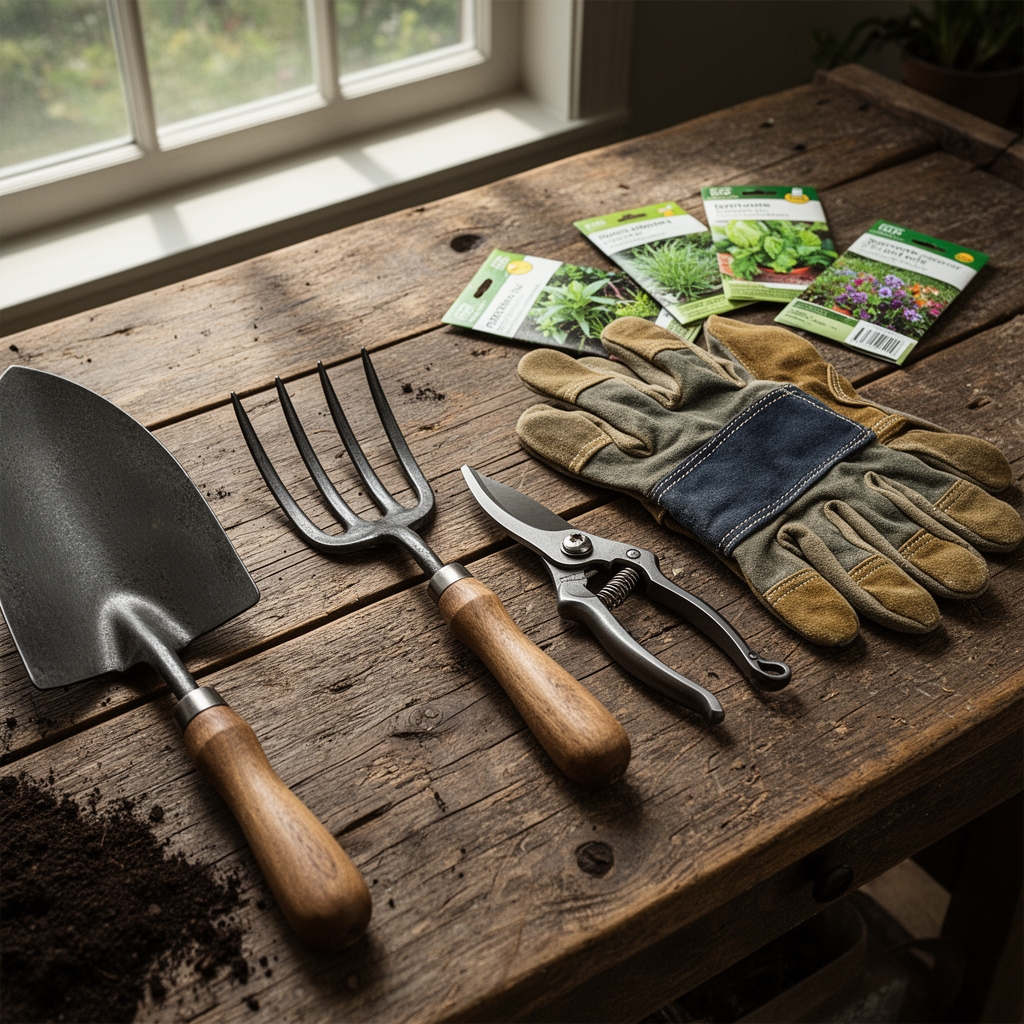
Materials
Gather these components before assembly:
Frame lumber: Four pieces of untreated pine or cedar, each 36 inches long and 2 inches by 4 inches in dimension. Cedar resists rot and maintains structural integrity through multiple seasons.
Hardware cloth: One sheet of galvanized steel mesh, one-quarter-inch or one-half-inch openings, measuring 36 inches by 36 inches. Smaller mesh produces finer soil but slows throughput.
Wood screws: Sixteen 3-inch deck screws, exterior-grade. Galvanized or stainless finishes prevent rust when exposed to damp compost.
Staples: Heavy-duty fence staples or a pneumatic staple gun with three-eighths-inch crown staples. Hand-driven staples require 40 to 50 fasteners for secure mesh attachment.
Wood glue: Exterior-grade polyurethane adhesive rated for moisture exposure. This reinforces corner joints under shaking motion.
Safety equipment: Work gloves, safety glasses, and ear protection for power tools.
Optional amendments for immediate soil application include composted manure at 1-2-1 NPK (low nitrogen, minimal phosphorus, trace potassium), or alfalfa meal at approximately 2.5-0.5-2.5 for gentle nitrogen boost without burn risk.
Timing
Construct your sifter in late winter, 4 to 6 weeks before the last frost date in your hardiness zone. This allows compost processing before spring transplanting windows open. In USDA Zone 5, build in mid-March. Zone 7 gardeners should complete assembly by late February. Zone 9 regions can work year-round but benefit most from autumn construction, screening mature summer compost for fall brassica plantings. Cold-climate gardeners in Zones 3 and 4 should wait until daytime temperatures consistently exceed 40°F to prevent wood moisture absorption and warping.
Phases
Phase One: Frame Assembly
Cut four lumber pieces to exact 36-inch lengths using a miter saw. Arrange them in a square on a flat work surface. Apply wood glue to each corner joint. Drive two 3-inch screws through each connection, pre-drilling pilot holes to prevent splitting. Check corners with a carpenter's square; 90-degree angles prevent mesh sag. Allow glue to cure for 2 hours before proceeding.
Pro-Tip: Bevel the top edge of each frame piece at 15 degrees. This angle sheds moisture and prevents compost buildup along the rim.

Phase Two: Mesh Attachment
Unroll hardware cloth across the frame. Trim edges to match outer dimensions, leaving no overhang. Secure one corner with three staples. Pull mesh taut toward the opposite corner, stretching to eliminate waves. Staple the second corner. Repeat for remaining corners. Drive staples every 3 inches along all four sides, working from corners toward midpoints. Overlapping mesh creates ridges that block fine particles.
Pro-Tip: Spray the installed mesh with white vinegar diluted 1:1 with water. This neutralizes manufacturing oils and prevents pH drift in screened compost.
Phase Three: Operational Setup
Position the completed sifter atop a wheelbarrow or large plastic bin. Angle the frame at 30 degrees, propping one end on a concrete block. Shovel raw compost onto the elevated mesh. Shake the frame in short, rhythmic pulses. Fine particles fall through; coarse debris slides toward the lower end. Return oversized material to the active compost pile for further decomposition.
Pro-Tip: Inoculate screened compost with ectomycorrhizal or arbuscular mycorrhizal fungi before soil incorporation. Mix 2 tablespoons of commercial inoculant per cubic foot of sifted material.
Troubleshooting
Symptom: Mesh sags under compost weight.
Solution: Reinforce the frame center with a cross-brace, a 36-inch length of 1-by-2-inch lumber screwed perpendicular to two opposite sides. This halves unsupported mesh span.
Symptom: Staples pull free during vigorous shaking.
Solution: Replace fence staples with quarter-inch fender washers and wood screws. Drill through mesh and washer, securing every 4 inches.
Symptom: Fine soil clogs mesh openings.
Solution: Brush mesh with a stiff nylon brush after every 3 cubic feet of compost. Wet compost clogs faster; screen material at 40-50% moisture content.
Symptom: Frame corners separate after repeated use.
Solution: Add galvanized L-brackets at each interior corner. Use four screws per bracket for maximum rigidity.
Maintenance
Clean the sifter after each use. Hose down mesh to remove adhered particles. Store frame vertically in a shed or garage to prevent moisture pooling. Reapply wood glue and replace screws annually if you process more than 20 cubic feet of compost per season. Inspect mesh for rust or tears every 6 months. Replace hardware cloth when openings exceed one-half inch due to corrosion. Oil wooden handles monthly with linseed oil diluted 1:3 with mineral spirits to prevent cracking.
FAQ
What mesh size produces the finest soil?
One-eighth-inch hardware cloth yields powder-fine texture suitable for seed starting. One-quarter-inch mesh balances fineness with processing speed for general garden use.
Can I use treated lumber?
Avoid pressure-treated wood. Copper and arsenic compounds leach into compost, disrupting soil microbiome and mycorrhizal colonization.
How much compost can one sifter process per hour?
Expect 4 to 6 cubic feet per hour with one-quarter-inch mesh. Wet compost reduces throughput by 30 to 40 percent.
Should I screen compost before or after curing?
Screen after the thermophilic phase concludes and internal temperature drops below 90°F. Hot compost clogs mesh and damages wooden frames.
Does sifted compost need additional nutrients?
Test with a soil probe. Mature compost typically provides 1-1-1 NPK. Supplement with bone meal (3-15-0) for phosphorus or kelp meal (1-0.5-2.5) for potassium if deficiencies appear.