7 Steps to Build a Durable Garden Retaining Wall
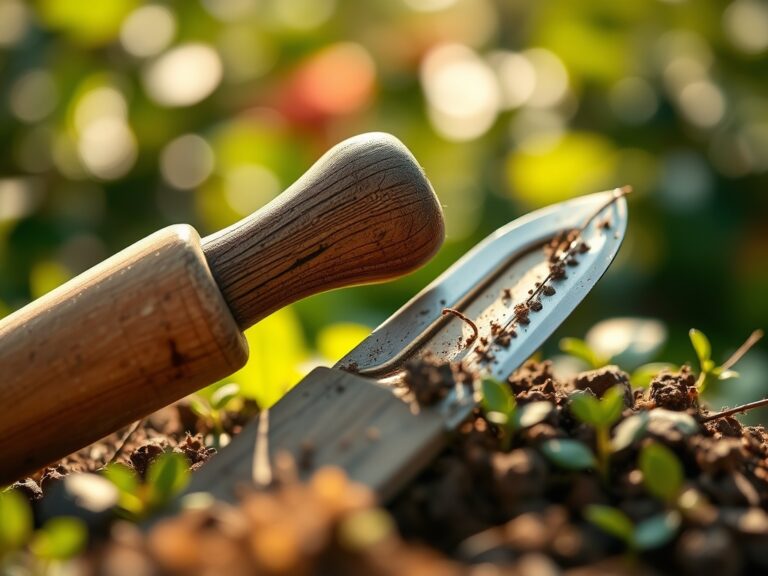
The smell of damp, anaerobic clay mixed with the iron scent of wet stone signals the start of a structural project. A garden wall is not merely an aesthetic choice; it is a mechanical intervention in the landscape designed to manage hydrostatic pressure and prevent soil erosion. Mastering the steps for building a garden wall requires a deep understanding of soil mechanics and plant physiology. When a wall fails, the turgor pressure of the surrounding flora suffers as roots are exposed to desiccating air or crushed by shifting masonry. Precision in the foundation ensures the rhizosphere remains protected and the structural integrity of the terrace holds for decades.
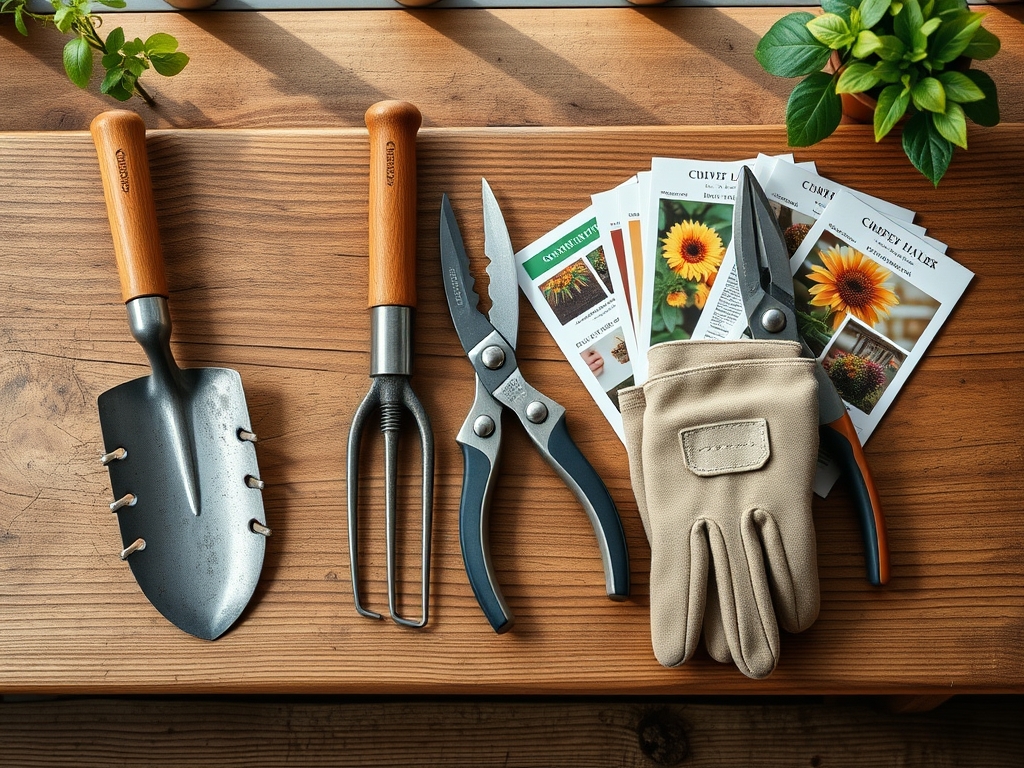
Materials:
The success of a retaining wall depends on the substrate it supports. For a productive garden bed behind the wall, you must source a **friable loam** with a Cation Exchange Capacity (CEC) between **15 and 25 meq/100g**. This ensures the soil can hold onto essential cations like calcium and magnesium. The soil pH should be calibrated to **6.2 to 6.8** to maximize nutrient bioavailability.
Before backfilling, incorporate a slow-release organic fertilizer with an NPK ratio of 5-10-10. The lower nitrogen content prevents excessive vegetative growth that can become leggy, while the higher phosphorus and potassium levels encourage robust root development and cellular strength. Use #57 crushed angular stone for the drainage column. Unlike rounded river rock, angular stone interlocks to provide superior structural stability while maintaining a high percentage of void space for water movement.
Timing:
Construction and planting must align with your regional Hardiness Zone. In Zones 5 through 7, the ideal window for building and backfilling is the six week period following the first autumn frost or the four week window preceding the last spring frost. This timing exploits the biological clock of the plants. During these periods, most perennial species enter senescence or are in a dormant state, reducing the risk of transplant shock.
Building during the dormant phase allows the soil to settle through natural freeze-thaw cycles before the spring "flush" of growth. This prevents the compression of new, delicate root hairs. If you are planting into the new terrace, monitor the soil temperature; it must reach a consistent 55 degrees Fahrenheit at a 4 inch depth before active root uptake of phosphorus begins.
Phases:

Sowing the Foundation
The first step is excavating a trench 12 to 24 inches wide and deep enough to bury at least one full course of block. Compact the subsoil to a 95 percent Proctor density to prevent settling. A layer of geotextile fabric must separate the native soil from your drainage aggregate. This prevents "fines" (tiny clay particles) from migrating into the gravel and clogging the system.
Pro-Tip: Proper compaction prevents the formation of air pockets that can lead to root desiccation. By eliminating these voids, you ensure that the rhizosphere maintains constant contact with the moisture-wicking properties of the soil.
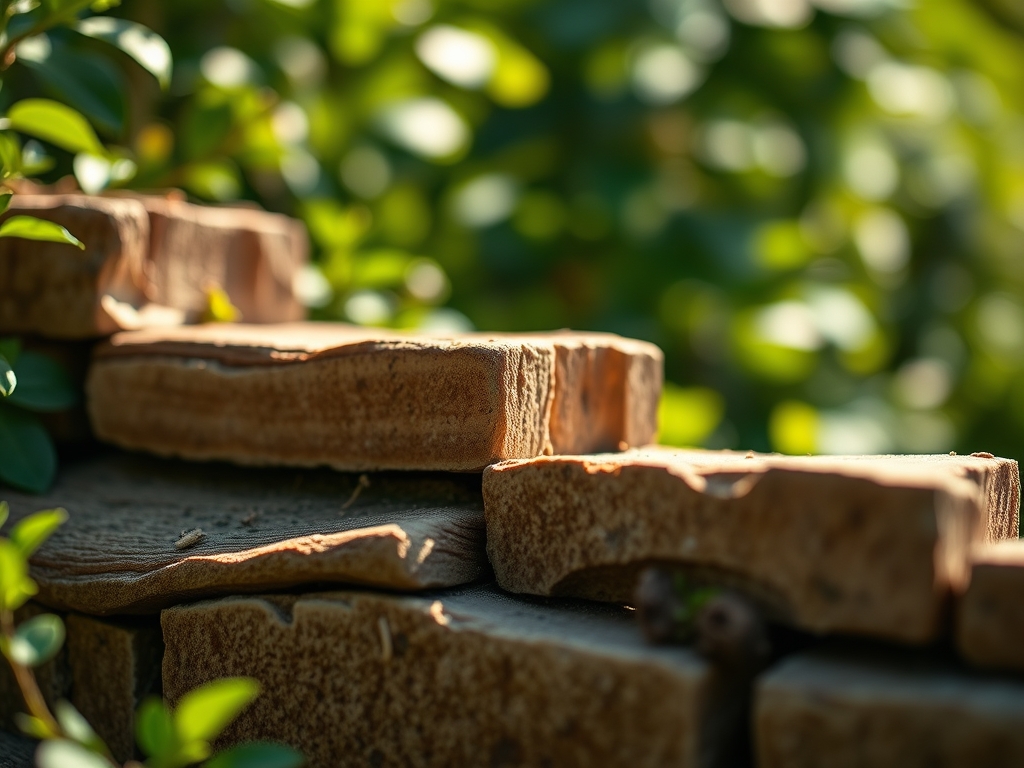
Transplanting and Leveling
As you stack the masonry, ensure each course is level and slightly "battered" (leaned back) toward the slope at a rate of 1 inch for every 1 foot of height. This utilizes gravity to counteract the lateral earth pressure. When the wall reaches the desired height, begin the process of placing your plant material. Ensure the root balls are placed at a depth where the root flare is exactly at the soil surface.
Pro-Tip: When placing plants near the wall edge, consider phototropism. Plants will naturally lean toward the light source. If the wall is south-facing, the stone will act as a heat sink, increasing the localized temperature and accelerating the metabolic rate of the plants.
Establishing the Terrace
Once the wall is built and the loam is placed, saturation is required to settle the particles. Use a soil moisture meter to ensure the moisture reaches the bottom of the root zone. Apply a 3 inch layer of organic mulch to regulate soil temperature and prevent the evaporation of water from the surface.
Pro-Tip: Avoid heavy fertilization during the first three weeks. This encourages auxin suppression in the apical meristems, forcing the plant to redirect its energy into radical root expansion rather than upward foliage growth.
The Clinic:
Physiological disorders often arise from poor drainage or improper soil chemistry behind the wall.
- Symptom: Interveinal chlorosis (yellowing leaves with green veins) on new growth.
- Solution: This indicates an iron deficiency, often caused by a pH above 7.2. Apply chelated iron and lower the pH using elemental sulfur.
- Symptom: Marginal leaf burn or browning edges on established plants.
- Solution: This is typically a sign of salt accumulation or drought stress. Flush the soil with 2 inches of water to leach excess salts from the root zone.
- Symptom: Stunted growth and purplish tint on lower leaves.
- Solution: This is a classic Phosphorus deficiency. The fix-it is to incorporate bone meal or a high-phosphate fertilizer into the top 6 inches of the soil.
Maintenance:
A durable garden wall requires consistent monitoring of the hydraulic load. Ensure the weep holes remain clear of debris. For the vegetation, provide 1.5 inches of water per week delivered at the drip line. Use a soil moisture meter to verify that the water is penetrating at least 8 inches deep.
Pruning is essential to prevent the plants from becoming "top-heavy" and putting unnecessary leverage on the wall edge. Use sharp bypass pruners for clean cuts that heal quickly. For weeding or planting small bulbs, a hori-hori knife is the superior tool for cutting through compacted soil without disturbing the surrounding root structures. Inspect the masonry annually for "efflorescence," a white powdery salt deposit that indicates water is trapped behind the wall and not exiting through the drainage system.
The Yield:
If your wall supports an edible garden, harvest timing is dictated by the photoperiod and sugar accumulation. For leafy greens, harvest in the early morning when turgor pressure is at its peak. This ensures the cell walls are fully hydrated, providing a crisp texture. Use a sharp blade to cut the plant, then immediately submerge the harvest in 40 degree Fahrenheit water to remove field heat. This process slows down the respiration rate and preserves the nutrient density for "day-one" freshness.
FAQ:
How deep should the base of a garden wall be?
The base should sit on a compacted gravel leveling pad at least 6 inches thick. For walls over 3 feet tall, the first course of block must be fully buried below the ground surface to prevent kicking out at the base.
What is the best drainage material for a retaining wall?
Use clean, angular 3/4-inch crushed stone. Avoid rounded pea gravel as it behaves like ball bearings under pressure. The angular edges lock together, providing structural support while allowing water to pass through to the perforated drain pipe.
Why is my garden wall leaning outward?
Leaning is usually caused by hydrostatic pressure. If the drainage column is clogged or missing, water builds up behind the wall. The weight of the saturated soil exceeds the wall's structural capacity, forcing the masonry to tilt or fail.
Can I build a garden wall on top of soil?
No. You must excavate down to the undisturbed subsoil. Building on top of organic topsoil or uncompacted fill will lead to uneven settling, which causes cracks in the mortar or misalignment of the dry-stack blocks within one season.