7 Steps to Prepare a Permanent Pergola Anchor Site
Installing a permanent garden structure begins underground, where compacted soil, poor drainage, and unstable substrate undermine even the most carefully engineered frame. Learning how to prepare a site for a pergola anchor means addressing hydrology, soil mechanics, and long-term settlement before the first post touches earth. A properly prepared anchor site distributes vertical and lateral loads, resists frost heave, and maintains structural integrity for decades.
Materials
Secure the following before excavation:
Base Aggregate (pH neutral, 6.5–7.0)
- Crushed limestone or granite, 3/4-inch minus
- Compacts to 95% modified Proctor density
- Cation exchange capacity: negligible (inert structural layer)
Concrete Mix (Portland cement)
- 3,000 psi minimum compressive strength
- NPK value: 0-0-0 (no biological activity)
- Fiber-reinforced blends reduce microcracking
Organic Amendments for Perimeter Planting (4-4-4 ratio)
- Aged compost: improves soil structure without nitrogen flush
- Bone meal: slow-release phosphorus (0-10-0)
- Kelp meal: trace minerals and growth hormones
Drainage Components
- 4-inch perforated drain tile
- Geotextile fabric (non-woven, 4-oz minimum)
- Pea gravel (1/4 to 3/8 inch)
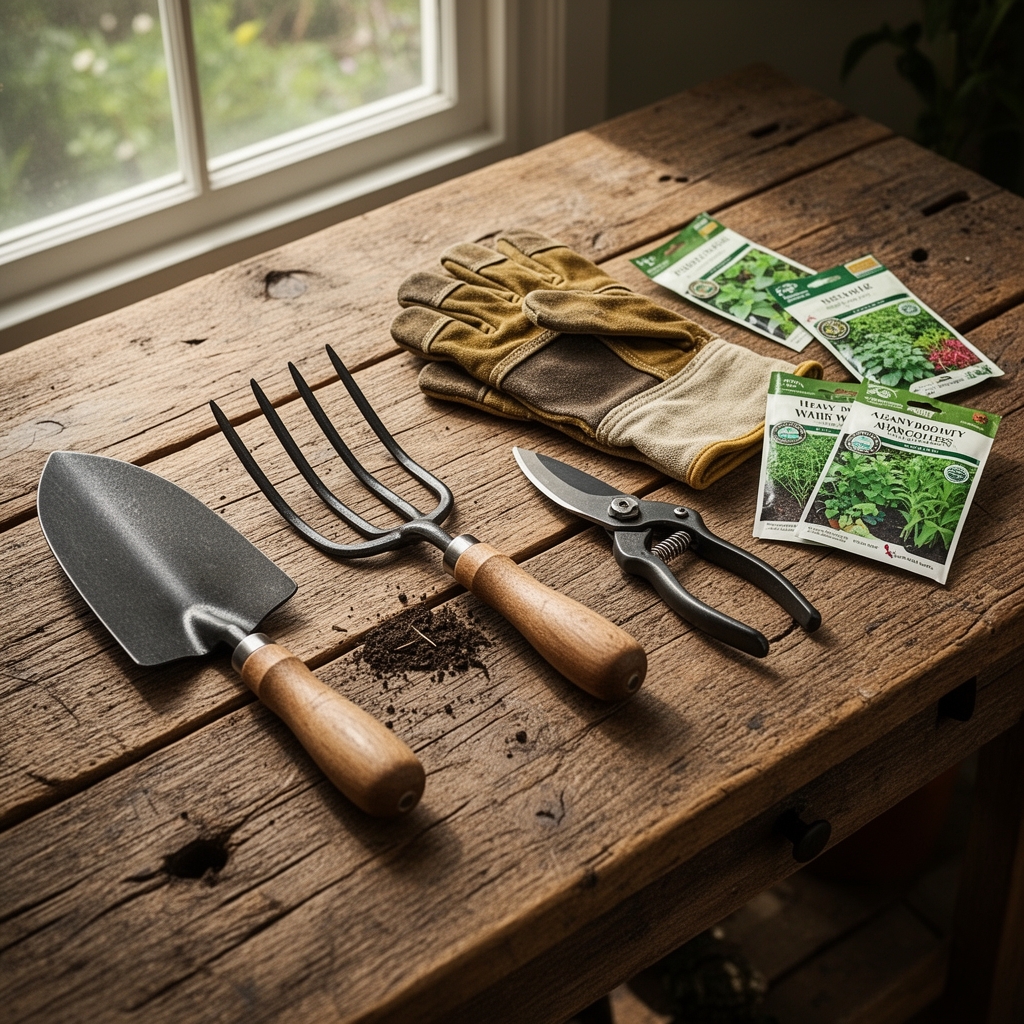
Tools
- Post-hole digger or auger (12-inch diameter minimum)
- Tamper or plate compactor
- Spirit level and plumb bob
- pH meter and moisture probe
Timing
Execute site preparation according to your USDA Hardiness Zone and freeze-thaw cycles:
Zones 3–5: Begin excavation after final frost (mid-May to early June). Concrete cures optimally at 50–75°F. Avoid pouring within 4 weeks of anticipated ground freeze.
Zones 6–8: March through October offers stable soil temperatures. Schedule for at least 7 days above 40°F to ensure proper hydration of cement.
Zones 9–11: Year-round installation possible. Avoid monsoon periods when saturated soil cannot be compacted to specification.
Soil temperature at 6 inches depth should exceed 45°F. Use a soil thermometer for three consecutive mornings before excavation.
Phases
Step 1: Site Assessment and Layout
Mark each anchor point with surveyor's flags. Check for underground utilities using a locator service (call 811 in the United States). Measure diagonals to confirm square layout; deviations exceeding 1/4 inch per 10 feet create structural stress.
Pro-Tip: Drive stakes 2 feet beyond each anchor point and stretch mason's line to establish working guides. This preserves exact positions during excavation.
Step 2: Excavation
Dig anchor holes to a depth of 36 inches in Zones 3–5, 30 inches in Zones 6–8, and 24 inches in Zones 9–11. Extend 6 inches below your region's frost line. Diameter should be three times the post width.
Remove all organic matter, roots, and topsoil from the excavation. Reserve subsoil for backfill.
Pro-Tip: Examine soil color and texture. Gray clay with a petroleum odor indicates poor drainage. Expand the hole and install a French drain before proceeding.

Step 3: Drainage Installation
Line the bottom 6 inches with pea gravel. Place perforated drain tile sloping away from the anchor at 1/4 inch per foot. Wrap tile in geotextile fabric to prevent sediment clogging.
Fill around tile with additional pea gravel to 3 inches above the pipe.
Pro-Tip: Terminate drain tile in a gravel-filled dry well or daylight at a lower elevation. Standing water within 12 inches of the anchor base accelerates post rot and concrete spalling.
Step 4: Base Compaction
Add crushed stone in 4-inch lifts. Compact each layer with a tamper until no further settlement occurs (typically 15 passes). The base should reach 8 inches below final grade.
Test compaction by striking the surface with a sledgehammer. A solid, ringing tone indicates adequate density; a dull thud reveals voids.
Pro-Tip: Mist each lift lightly before compaction. Moisture acts as a lubricant, allowing particles to nestle tightly. Avoid saturation, which creates a slurry.
Step 5: Post Placement and Concrete Pour
Set the post or anchor bracket plumb. Brace with diagonal 2×4 lumber staked 3 feet from the hole. Mix concrete to a thick oatmeal consistency (5–6 inch slump).
Pour in continuous lifts, tamping with a rod to eliminate air pockets. Overfill by 1 inch and crown the surface to shed water. Insert a J-bolt or embed plate if using removable posts.
Pro-Tip: Add 1 tablespoon of sugar per cubic foot to the mix. This retards initial set by 30 minutes, improving workability without compromising final strength.
Step 6: Curing Protocol
Cover concrete with damp burlap or plastic sheeting. Maintain moisture for 7 days; hydration continues for 28 days to reach design strength.
Avoid loading the anchor for 72 hours. Full weight-bearing capacity develops by day 14.
Pro-Tip: In hot climates (above 85°F), mist the surface three times daily. Rapid evaporation causes surface crazing and reduces compressive strength by up to 20%.
Step 7: Backfill and Perimeter Grading
After cure, backfill around the post with native subsoil in 6-inch lifts, compacting each layer. Slope final grade away from the anchor at 5% (5 feet of horizontal run per 1 foot of elevation change).
Amend perimeter planting areas with 4-4-4 organic blend to a depth of 12 inches. This establishes a transition zone between the structural core and landscape plantings.
Pro-Tip: Inoculate perimeter soil with mycorrhizal fungi (Glomus species). These symbiotic networks improve water infiltration and reduce erosion around anchor footings.
Troubleshooting
Symptom: Post leans within 6 months.
Solution: Frost heave or inadequate depth. Re-excavate, extend below frost line, and add crushed stone to improve drainage.
Symptom: Concrete cracking around post.
Solution: Thermal expansion from direct sun exposure. Install a rubber isolation collar between post and concrete, or paint concrete white to reflect heat.
Symptom: Water pooling within 3 feet of anchor.
Solution: Inadequate grading. Regrade to 5% slope or install a curtain drain 18 inches upslope from the anchor.
Symptom: Anchor settling unevenly.
Solution: Poor compaction or organic material in base. Excavate and replace with properly compacted aggregate. Re-test with Proctor density gauge.
Symptom: Post rot at grade level.
Solution: Moisture wicking from concrete. Install a bituminous membrane between post base and concrete, or use pressure-treated lumber rated for ground contact (0.40 pcf minimum retention).
Maintenance
Inspect anchors biannually (spring and fall). Tighten hardware to manufacturer's torque specifications (typically 40–60 ft-lbs for 1/2-inch bolts). Check plumb with a 4-foot level; deviations exceeding 1/4 inch indicate movement.
Apply 1 inch of water per week to perimeter plantings during establishment (first 90 days). Reduce to natural rainfall thereafter.
Re-mulch annually with 2 inches of shredded hardwood bark, keeping mulch 6 inches away from post bases to prevent moisture retention.
Every 3 years, apply a penetrating water repellent to exposed wood. Avoid film-forming sealers, which trap moisture and accelerate decay.
FAQ
How deep should pergola anchors be?
Extend 6 inches below your region's frost line. This ranges from 24 inches in Zone 9 to 48 inches in Zone 4.
Can I skip the gravel base?
No. Aggregate provides drainage, reduces settlement, and distributes loads. Omitting this layer causes premature failure.
What concrete strength is required?
Minimum 3,000 psi for residential structures. Increase to 4,000 psi in areas with freeze-thaw cycles or expansive clay soils.
How long before I can attach the pergola frame?
Wait 72 hours for initial set, 7 days for 70% strength, and 28 days for full cure. Light framing can begin at 7 days; avoid heavy loads until day 14.
Do I need rebar in the concrete?
For posts under 6×6 inches, fiber reinforcement suffices. Larger posts or those supporting heavy loads (roofing, glazing) require #4 rebar in a cage configuration.