8 Best Heavy-Duty Tools for Garden Landscaping Projects
The scent of damp, disturbed earth signals the start of a serious renovation; it is the smell of Geosmin being released as the soil microbiome is exposed to oxygen. Success in large scale projects depends on maintaining the turgor pressure of your plantings while restructuring the physical landscape. Selecting the best tools for garden landscaping determines whether you are working with the biological rhythms of the site or fighting against them. A landscape is a living system of hydraulic pressure and chemical exchanges. To manipulate it effectively, you need hardware that can penetrate compacted clay or slice through dense root mats without compromising the structural integrity of the rhizosphere. This guide focuses on high performance implements designed for the rigors of professional grade soil work and site preparation.
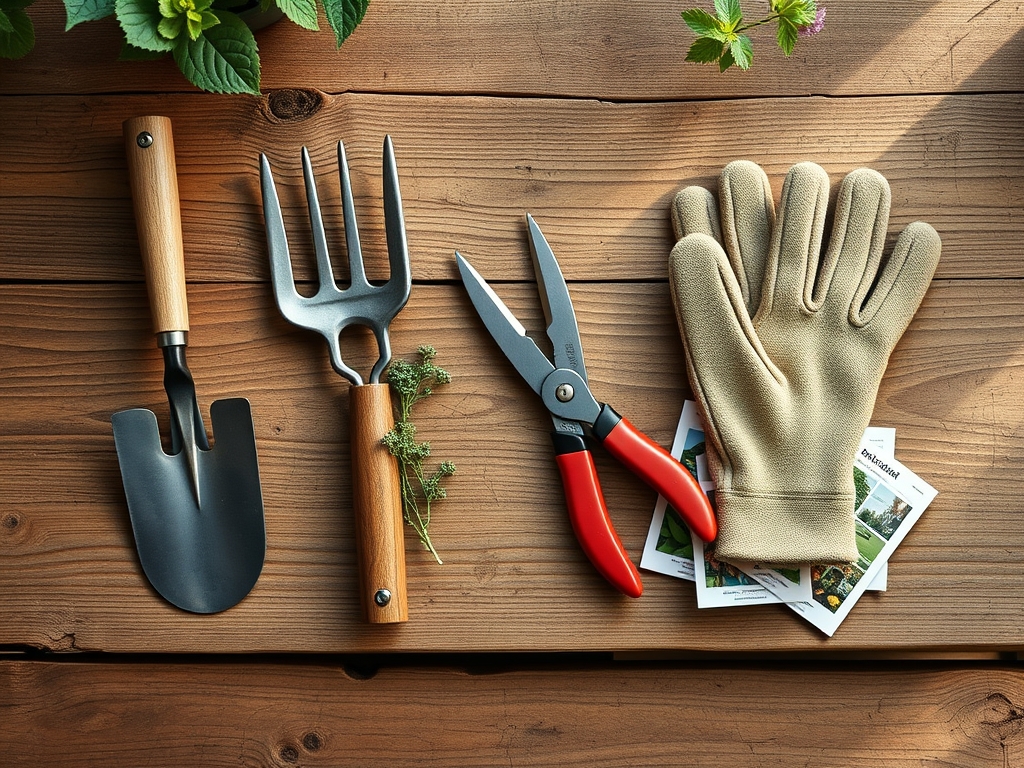
Materials:
Before deploying heavy duty tools, you must understand the substrate. The ideal medium for most landscaping projects is a **friable loam** with a **Cation Exchange Capacity (CEC) between 15 and 25**. This texture allows for optimal gas exchange and water retention. If your soil pH falls below **6.0**, essential nutrients like Phosphorus become chemically locked; if it rises above **7.5**, Iron and Manganese become unavailable, leading to interveinal chlorosis.
For initial bed preparation, incorporate organic matter to achieve a target NPK ratio of 5-10-5 for root establishment. High Phosphorus levels are critical during the early stages to stimulate ATP production within the developing root tips. Avoid high Nitrogen (N) ratios during the heavy construction phase, as excessive vegetative growth increases the plant's water demand before the root system can provide sufficient hydraulic lift.
Timing:
Landscaping projects must align with the local frost-date windows found in Hardiness Zones 3 through 9. The "Biological Clock" of a plant dictates that major structural changes should occur during dormancy or the early vegetative stage. In Zone 7, for example, the primary window for heavy soil movement opens in late February when the ground thaws but before the vernalization requirements of temperate species are fully met.
Transitioning from the vegetative to the reproductive stage requires a shift in resource allocation. If you use heavy machinery or tools like a mattock near established trees during the active growth phase, you risk disrupting the auxin flow from the apical meristems to the roots. This disruption can trigger premature senescence or "transplant shock" as the plant fails to maintain the necessary osmotic potential to pull water from the soil.
Phases:

Sowing and Grading
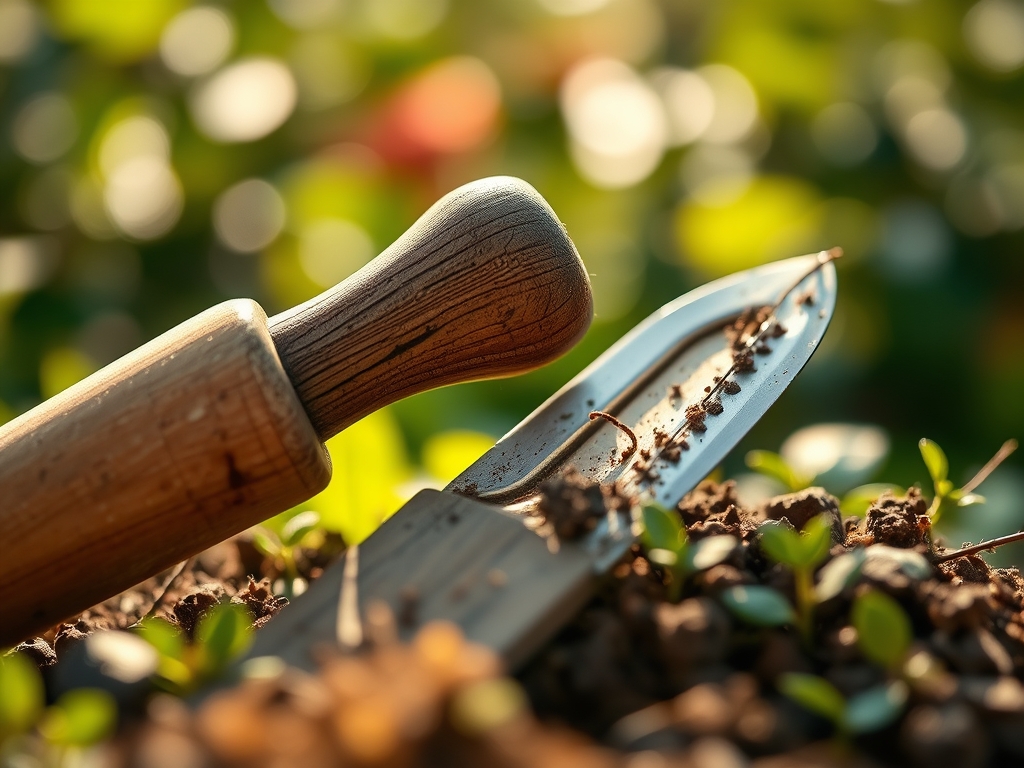
Grading requires a heavy-duty steel landscape rake with a wide head to level the substrate. This ensures that water does not pool, which would create anaerobic conditions in the soil pores. When sowing large areas, maintaining a consistent depth of 0.25 to 0.5 inches is vital for seed-to-soil contact.
Pro-Tip: Ensure the soil is not overly compacted during grading. Biological Why: Soil compaction reduces the "pore space" available for oxygen, which is necessary for cellular respiration in the roots. Without oxygen, roots cannot produce the energy required for active nutrient uptake.
Transplanting Large Specimens
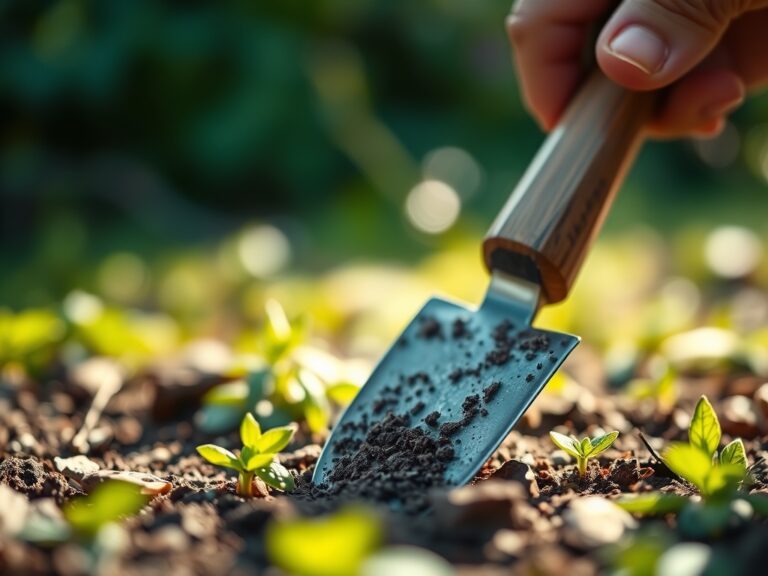
For moving heavy shrubs or small trees, a sharpened spade with a reinforced steel shank is the primary tool. You must excavate a hole two to three times the width of the root ball but no deeper than the original soil line. Use a hori-hori knife to slice through any circling roots to prevent future girdling.
Pro-Tip: Always score the sides of the planting hole if the soil has a high clay content. Biological Why: This breaks the "glazing" effect caused by the shovel, allowing delicate root hairs to penetrate the surrounding soil and establish mycorrhizal symbiosis more effectively.
Establishing the Landscape
Once the structural elements are in place, use bypass pruners to remove dead or damaged wood. Unlike anvil pruners, bypass blades act like scissors, creating a clean "wound" that the plant can seal through compartmentalization. This prevents pathogens from entering the vascular system.
Pro-Tip: Apply a thin layer of mulch, keeping it 3 inches away from the trunk flare. Biological Why: Maintaining a clear trunk flare prevents moisture from trapped against the bark, which can lead to the decay of the phloem and cambium layers, effectively strangling the plant.
The Clinic:
Physiological disorders often mimic disease but are usually rooted in environmental stress or tool misuse.
- Symptom: Marginal Leaf Burn.
Solution: This is often a sign of high soil salinity or drought stress. Use a soil moisture meter to ensure the root zone is reaching a tension of 30-60 centibars. - Symptom: Nitrogen Chlorosis (Yellowing older leaves).
Solution: Apply a quick release 10-0-0 fertilizer. Nitrogen is a mobile nutrient; the plant moves it from old growth to new growth when soil levels are low. - Symptom: Blossom End Rot.
Solution: This is a Calcium deficiency often caused by inconsistent moisture. Ensure 1.5 inches of water per week to maintain the transpiration stream that carries Calcium to the fruit. - Symptom: Stunted Growth with Purple Veins.
Solution: This indicates Phosphorus deficiency, common in cold, wet soils. Increase soil temperature with mulch or wait for the soil to reach 55 degrees Fahrenheit.
Maintenance:
Precision maintenance requires a soil moisture meter and high quality bypass pruners. Monitor the drip line of your plants; this is the perimeter of the canopy where the most active "feeder roots" reside. Deliver 1.5 inches of water per week directly to this zone. Use a hori-hori knife to remove deep-rooted weeds like dandelions, ensuring you extract the entire taproot to prevent regeneration from dormant buds. Every three years, conduct a professional soil test to monitor the cation exchange capacity and adjust mineral inputs.
The Yield:
When harvesting woody ornamentals for floral use or pruning for structure, timing is paramount. Harvest in the early morning when turgor pressure is at its peak. Use a sharp hori-hori knife or shears to make a 45 degree cut. Immediately plunge the stems into 110 degree Fahrenheit water to break any air bubbles in the xylem. This technique, known as "conditioning," ensures the vascular tissue remains open for maximum water uptake, extending the post-harvest life of the plant.
FAQ:
What is the best tool for cutting thick roots?
A heavy-duty mattock or a specialized root saw is best. These tools provide the leverage and serration needed to cut through lignified tissues without shattering the root structure, which helps the plant recover faster after the disturbance.
How do I fix compacted soil in an established garden?
Use a broadfork to aerate the soil without inverting the layers. This preserves the existing soil horizons and microbial life while increasing the oxygen levels in the rhizosphere, which is essential for healthy root respiration and nutrient uptake.
When should I sharpen my landscaping tools?
Sharpen blades after every 10 to 15 hours of heavy use. A dull blade crushes plant tissue rather than slicing it. Crushed tissue takes longer to heal and is more susceptible to fungal infections and pest infestations.
What is the most versatile tool for garden landscaping?
The hori-hori knife is the most versatile. It functions as a trowel, a saw, and a measuring device. Its ability to perform precision weeding and planting makes it indispensable for managing the complex architecture of a professional landscape.