8 Simple Steps to Plant Goldenseal root
Damp, decaying leaf mold emits a sharp, earthy musk that signals a healthy rhizosphere. When you handle a Hydrastis canadensis rhizome, you feel the turgor pressure of a plant ready for dormancy. Success requires more than a casual approach; you must master the specific steps to plant goldenseal root to ensure survival in a forest floor ecosystem. This perennial thrives in the cool, shaded understory where moisture remains consistent and the soil chemistry is precise.
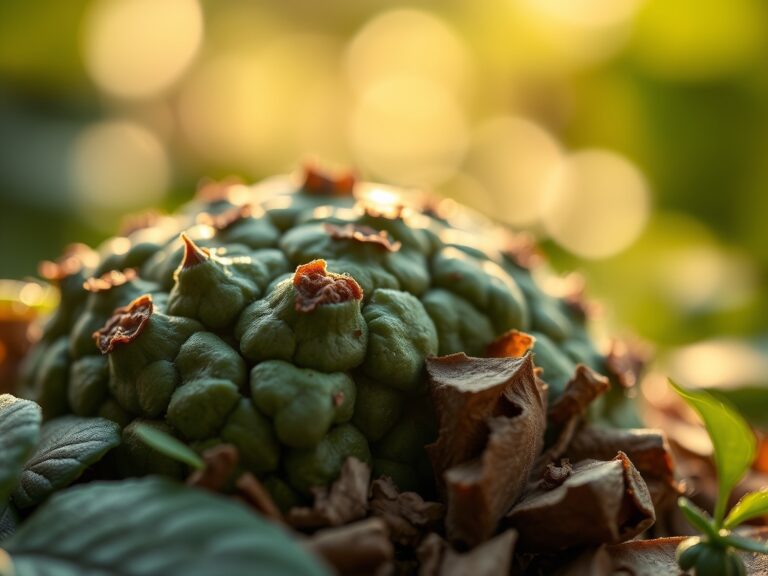
Goldenseal is a slow-growing botanical that demands patience and technical accuracy. It is not a crop for the impatient gardener. You are replicating a climax forest floor, which means managing light levels, soil drainage, and fungal networks. The rhizome is a storage organ, rich in alkaloids, and its yellow interior is a marker of its chemical potency. To establish a self-sustaining colony, you must focus on the biological requirements of the root system. This involves calculating the Cation Exchange Capacity (CEC) of your soil and ensuring the organic matter content is high enough to support long term growth. Every action, from site selection to the depth of the mulch layer, dictates whether the plant will reach senescence naturally or succumb to environmental stress.
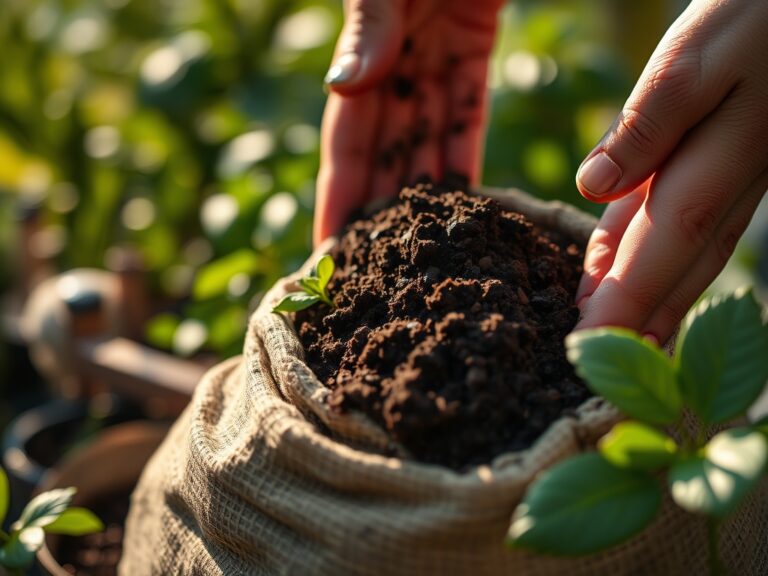
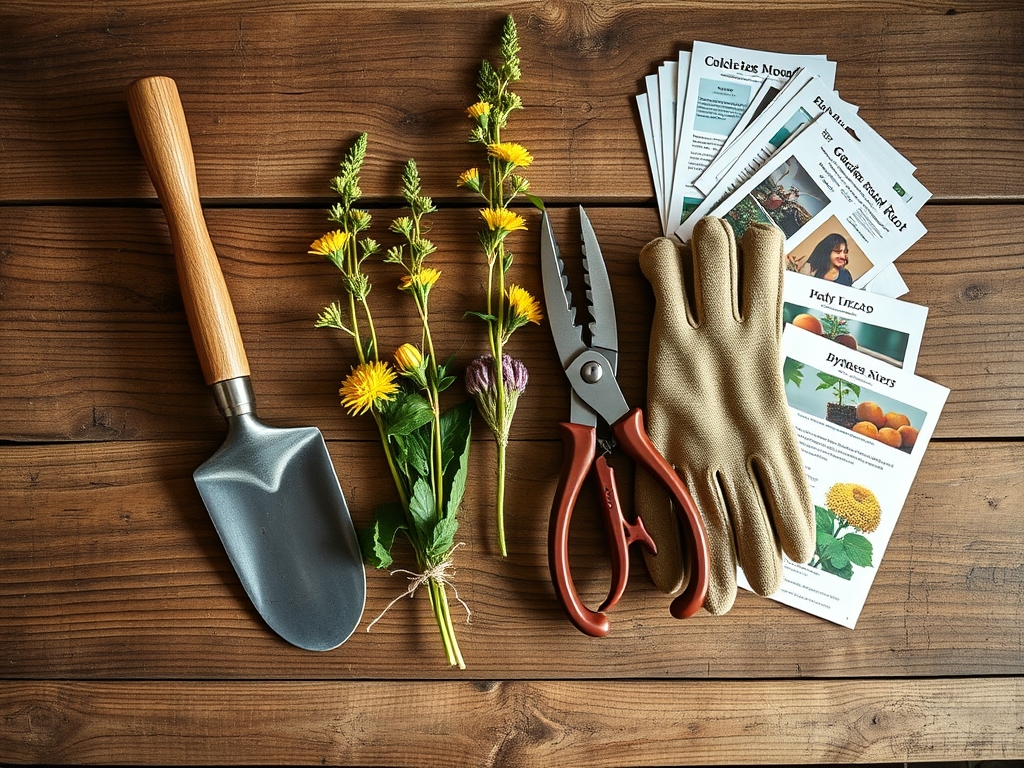
Materials:
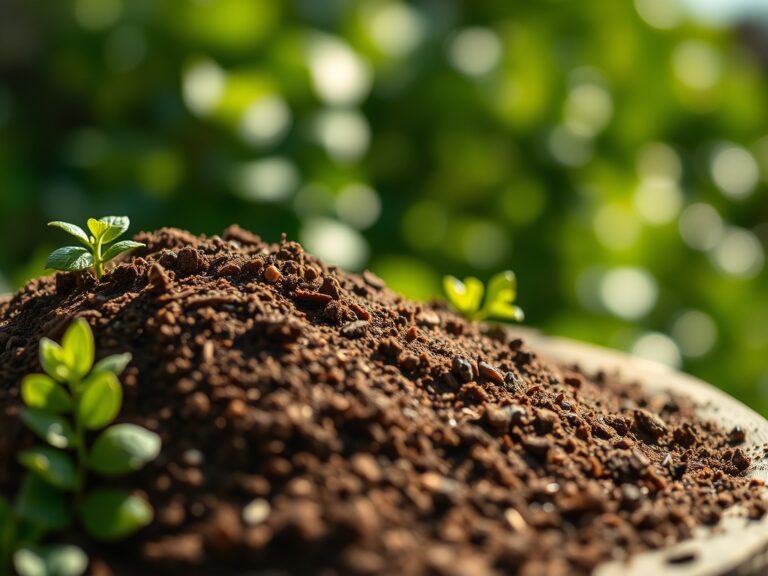
The foundation of goldenseal cultivation is a friable loam with a high concentration of organic matter. You are targeting a soil pH between 5.5 and 6.5. If your pH exceeds 7.0, the plant will struggle with nutrient uptake, particularly iron and manganese.
For the initial planting phase, prepare a soil amendment strategy using a balanced NPK ratio. Avoid high-nitrogen synthetic fertilizers which can lead to rapid, weak growth and increased susceptibility to pathogens. Instead, aim for a 2-4-2 organic ratio to prioritize root development over foliage.
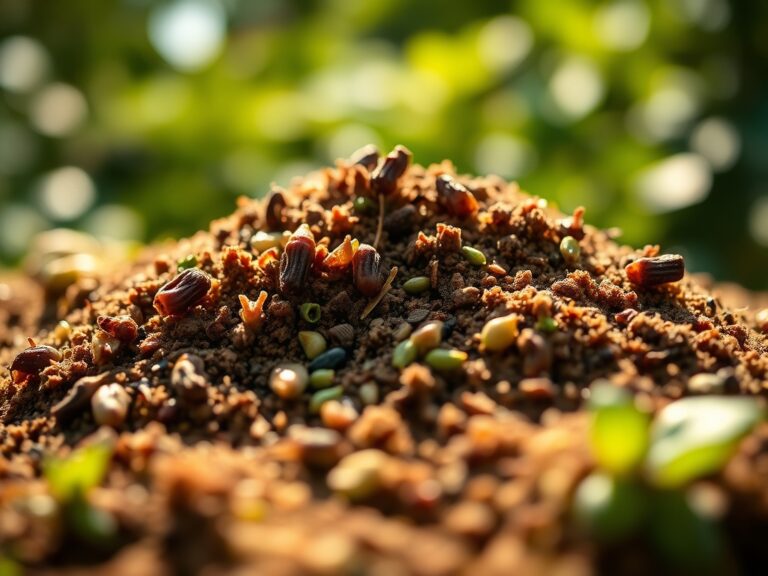
- Rhizome Stock: Ensure each piece has at least one viable apical bud and a healthy mass of fibrous secondary roots.
- Organic Matter: Aged hardwood mulch or leaf mold. Avoid pine needles which can drop the pH too low.
- Soil Amendments: Bone meal for phosphorus and greensand for potassium.
- Tools: A hori-hori knife for precise trenching and a soil moisture meter to monitor the 25 percent to 30 percent moisture threshold.
Timing:
Goldenseal is hardy in USDA Zones 3 through 8. The biological clock of the plant is tied to the photoperiod and soil temperature. The ideal window for planting is during the autumn dormancy phase, typically between late September and early November, or in early spring before the soil reaches 50 degrees Fahrenheit.
The transition from the vegetative stage to the reproductive stage occurs in the third or fourth year. Planting in the fall allows the rhizome to establish a symbiotic relationship with local mycorrhizae before the spring surge in auxin production. This timing ensures that when the ground thaws, the plant can immediately begin nutrient transport to support the emergence of the characteristic palmately lobed leaves.
Phases:
Sowing and Site Preparation
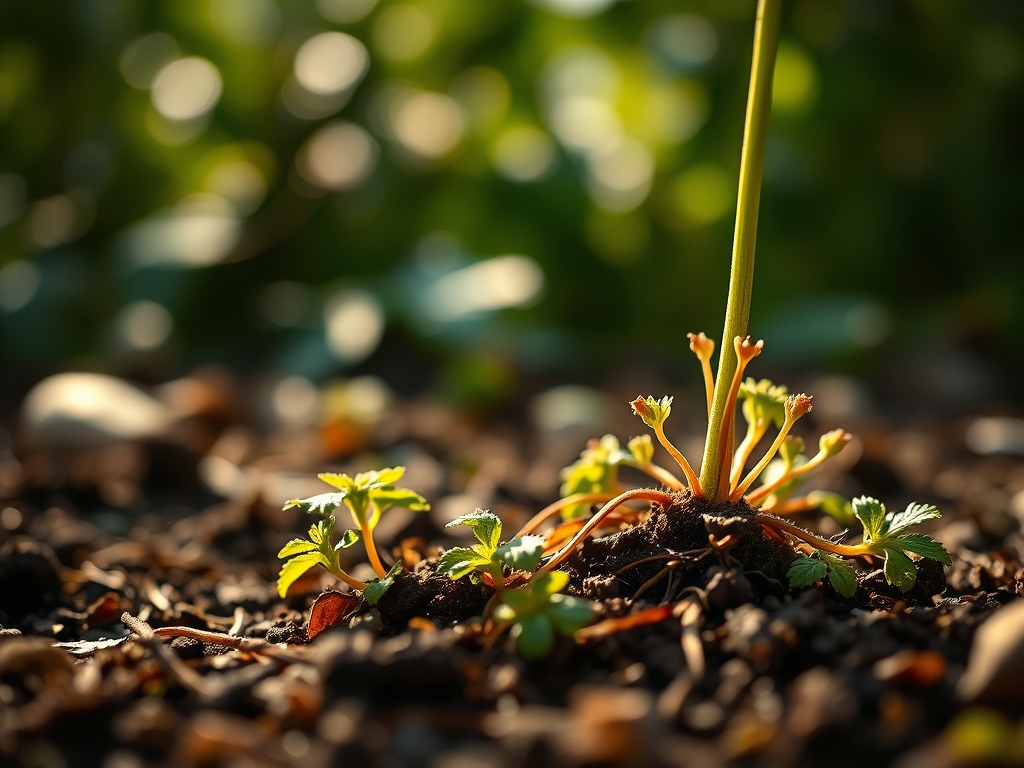
Select a site with 75 percent to 80 percent shade canopy. Use your hori-hori knife to clear a space in the topsoil, ensuring you do not disturb the roots of overstory trees. Dig a trench 3 inches deep. Place the rhizomes 6 to 8 inches apart to allow for lateral expansion over the next five years.
Pro-Tip: Goldenseal relies on mycorrhizal symbiosis. When planting, incorporate a small amount of soil from a healthy, established hardwood forest to inoculate the site with beneficial fungi that assist in phosphorus uptake.
Transplanting and Depth Control
Cover the rhizomes with 2 inches of soil, then apply a 3-inch layer of hardwood mulch. The bud should be pointing upward, positioned just below the soil surface. This depth protects the apical bud from freeze-thaw cycles while allowing for easy emergence in the spring.
Pro-Tip: Maintaining a consistent depth prevents adventitious root desiccation. If the rhizome is too shallow, the fluctuating temperatures will rupture cell walls; if too deep, the lack of oxygen in the rhizosphere will lead to anaerobic rot.
Establishing the Colony
During the first growing season, the plant focuses on establishing its root architecture. Do not expect significant leaf area index (LAI) expansion in year one. Monitor the soil moisture religiously. The substrate must remain damp but never saturated.
Pro-Tip: Minimize soil compaction around the planting site. High bulk density restricts oxygen flow to the roots, which suppresses cellular respiration and halts the production of secondary metabolites.
The Clinic:
Physiological disorders in goldenseal are often the result of improper environmental control. Use the following diagnostic guide to manage your crop.
Symptom: Interveinal chlorosis (yellowing between leaf veins).
Solution: This indicates Nitrogen or Iron deficiency. Check the soil pH first. If the pH is above 7.0, the iron is locked. Lower the pH using elemental sulfur or apply a chelated iron foliar spray.
Symptom: Marginal leaf burn or necrosis.
Solution: This is often a sign of salt accumulation from synthetic fertilizers or wind desiccation. Increase the mulch layer and flush the soil with pure water.
Symptom: Damping off or stem rot at the soil line.
Solution: This is caused by Rhizoctonia or Phytophthora fungi due to poor drainage. Improve the soil structure by adding coarse organic matter and reduce irrigation frequency.
Fix-It for Nutrient Deficiencies: If growth is stunted and leaves are pale, apply a top-dressing of well-composted poultry manure (1-1-1) at a rate of 5 pounds per 100 square feet. This provides a slow-release nitrogen source that supports protein synthesis without burning the delicate root hairs.
Maintenance:
Maintenance of goldenseal is an exercise in environmental stabilization. You must provide 1.5 inches of water per week at the drip line if rainfall is insufficient. Use a soil moisture meter to verify that the moisture reaches a depth of 6 inches.
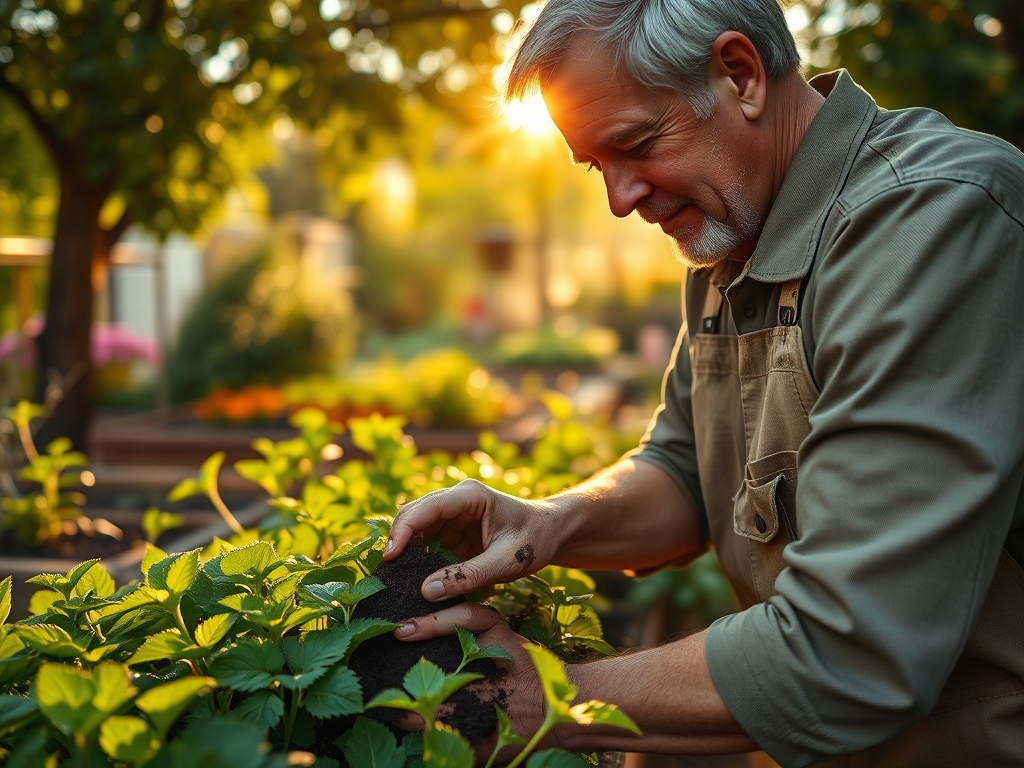
Weeding must be done by hand. Use bypass pruners only to remove dead or diseased foliage during the autumn senescence. Do not prune healthy leaves during the growing season, as this reduces the plant's ability to store carbohydrates in the rhizome for the following year. Every three years, replenish the hardwood mulch to maintain the organic layer and suppress competitive weed species.
The Yield:
Harvesting goldenseal requires a minimum of 5 to 7 years of growth to allow the rhizomes to reach a marketable or viable size. The harvest window opens in late autumn after the aerial parts of the plant have died back and the nutrients have retreated into the root system.
Carefully lift the entire root mass using a garden fork to avoid snapping the brittle rhizomes. Shake off excess soil and wash the roots in cool, running water. To maintain "day-one" freshness for replanting, keep the roots in a perforated bag with damp peat moss at 35 to 40 degrees Fahrenheit. If drying for long term storage, maintain a constant temperature of 100 degrees Fahrenheit in a forced-air dehydrator until the roots snap cleanly.
FAQ:
How deep should I plant goldenseal rhizomes?
Plant rhizomes 2 inches deep in the soil, then cover with an additional 3 inches of hardwood mulch. This protects the apical bud from temperature fluctuations and prevents the rhizosphere from drying out during the summer months.
What is the best soil pH for goldenseal?
Goldenseal requires an acidic to neutral soil environment. Aim for a pH between 5.5 and 6.5. Soils with a pH above 7.0 will cause nutrient lockout, leading to chlorosis and stunted growth in the developing plants.
How much light does goldenseal need?
Goldenseal is an obligate shade plant. It requires 75 percent to 80 percent shade. Direct sunlight will scorch the leaves, increase transpiration rates beyond the plant's capacity, and eventually lead to the death of the colony.
When is the best time to plant goldenseal?
The ideal time is autumn, specifically between late September and early November. This allows the root system to settle during dormancy. Early spring planting is also possible if done before the soil temperature exceeds 50 degrees Fahrenheit.