8 Substrate Steps to Prepare an Indoor Moss Garden
Learning how to prepare an indoor moss garden begins with understanding that mosses are bryophytes, ancient non-vascular plants that absorb nutrients directly through their leaves rather than roots. The substrate you build will determine whether your moss colony thrives or slowly browns. Unlike conventional potting mixes engineered for flowering plants, moss substrates must maintain acidity between 5.0 and 6.0 pH while offering minimal fertility. The cation exchange capacity of your base materials will govern moisture retention without creating anaerobic pockets that invite decay.
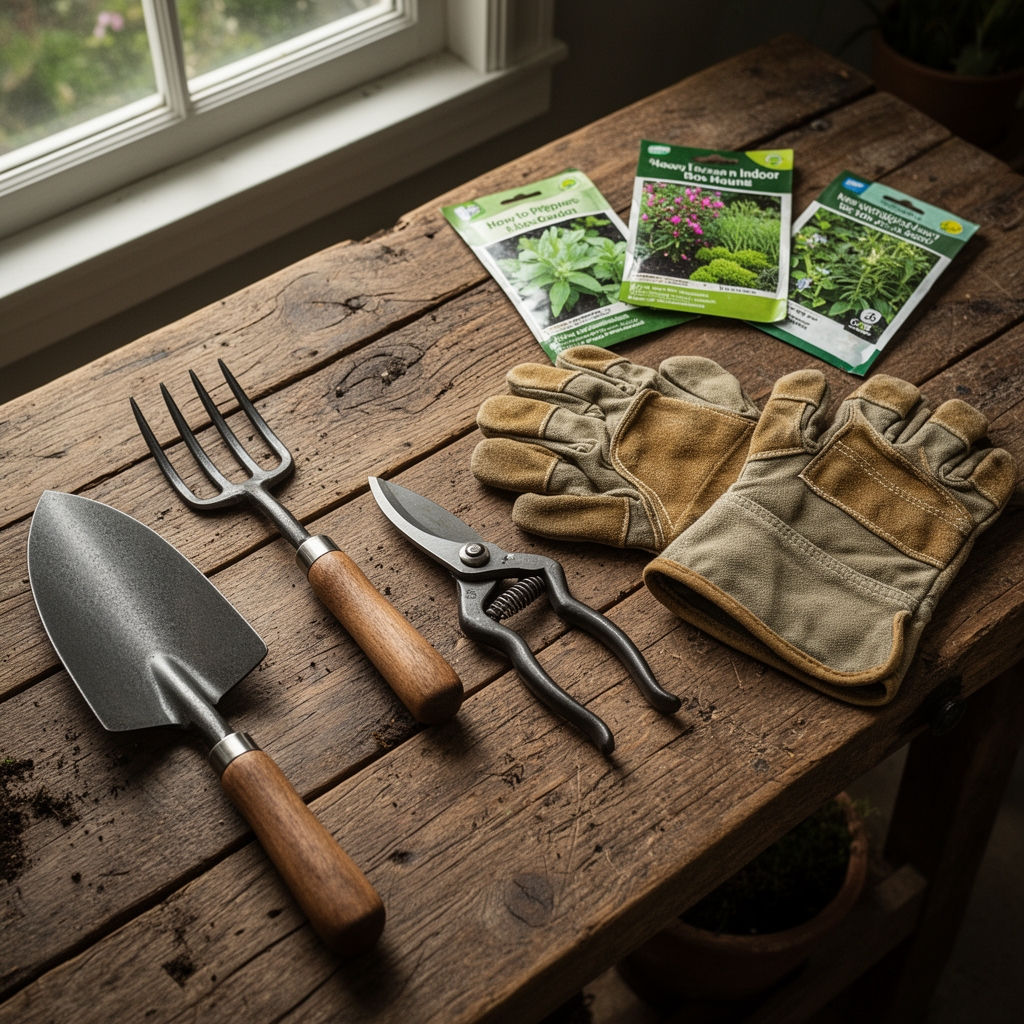
Materials
Start with sphagnum peat moss as your primary component. It naturally registers at 3.5 to 4.5 pH and provides the acidic environment bryophytes require. Blend in coarse silica sand at a 2:1 ratio (peat to sand) to improve drainage and prevent compaction. Avoid builder's sand, which often contains lime that raises pH.
Add composted pine bark fines at 10% of total volume. Pine bark contributes organic matter while maintaining acidity and introduces beneficial saprophytic fungi. Choose particles between 1/8 and 1/4 inch diameter.
Incorporate horticultural charcoal at 5% of total volume. Charcoal adsorbs excess salts and metabolic byproducts mosses release, preventing phytotoxicity in closed containers.
For nutrition, mosses need negligible fertilizer. If growth stalls after six months, apply a diluted solution of 4-4-4 organic kelp meal at one-quarter the manufacturer's recommended strength. Higher nitrogen ratios will encourage algae and liverwort competition.
Optional amendments include chopped live sphagnum for inoculation and milled oyster shell at 1 tablespoon per gallon to buffer against excessive acidity if your water source is very soft.
Timing
Indoor moss gardens operate independently of outdoor hardiness zones, but seasonal light cycles still influence establishment success. Begin preparation in late September through October when ambient indoor humidity naturally rises and heating systems have not yet dried interior air. This timing mimics the autumn rains that trigger spore germination in temperate forests.
If you live in USDA Zones 7 through 10, collect wild moss specimens during this window when they are actively photosynthesizing. Zones 3 through 6 see optimal collection from late April through May as snowmelt saturates colonies.
Avoid substrate preparation during mid-winter heating season (December through February) when indoor relative humidity drops below 40%. Mosses will desiccate before rhizoids anchor to new substrate.
Phases

Sowing Phase (Week 0 to 2):
Fill your container to within one inch of the rim. Press substrate firmly but do not compact. The surface should resist light finger pressure but not feel hard.
Mist the substrate with distilled water until surface moisture appears. Wait 15 minutes, then press collected moss sheets gently onto the surface. Ensure 80% contact between moss underside and substrate. Gaps allow desiccation.
Pro-Tip: Inoculate the substrate with mycorrhizal fungi powder before placing moss. While mosses lack true roots, they form symbiotic relationships with fungi that improve nutrient absorption and pathogen resistance. Apply 1/4 teaspoon per square foot of surface area.
Transplanting Phase (Week 2 to 6):
Maintain constant moisture without saturation. Use a spray bottle to mist the moss surface twice daily. Water should bead on moss leaves, not puddle on substrate.
Enclose the container in a clear plastic dome or bag to maintain 70% to 80% relative humidity. Remove the cover for 10 minutes daily to refresh air and prevent mold.
Temperature should remain between 60°F and 70°F. Avoid placement near heating vents or south-facing windows where thermal fluctuations stress colonies.
Pro-Tip: Position moss so its natural growth direction faces the primary light source. Moss colonies exhibit auxin distribution that creates directional growth. Inverting this orientation causes stress and patchy establishment.
Establishing Phase (Week 6 to 12):
Gradually reduce humidity by extending uncovered periods. By week 8, remove domes entirely if moss remains turgid through the day.
Reduce misting frequency to once daily or every other day as rhizoids anchor. Test establishment by gently tugging a small section. Resistance indicates successful attachment.
Light requirements stabilize at 8 to 10 hours of indirect light daily. Use grow lights with 5000K to 6500K color temperature positioned 12 inches above the moss surface.
Pro-Tip: Trim any brown or yellowing patches with scissors sterilized in 70% isopropyl alcohol. Cut at a 45-degree angle to maximize the exposed edge where regeneration occurs. Mosses regenerate from specialized cells along cut margins.
Troubleshooting
Symptom: Brown patches spreading from center outward. Solution: Indicates waterlogging and anaerobic conditions. Remove affected sections. Reduce misting frequency. Add 1/4 inch of coarse sand to surface to improve evaporation.
Symptom: White cottony growth on substrate surface. Solution: Saprophytic mold consuming excess organic matter. Not harmful to moss but indicates poor air circulation. Increase ventilation. Remove visible mold with a soft brush. Reduce humidity to 60%.
Symptom: Moss turns pale green to yellow. Solution: Insufficient light or nutrient deficiency. Increase light duration by 2 hours. Apply quarter-strength 4-4-4 liquid feed monthly for three months.
Symptom: Thread-like algae coating moss leaves. Solution: Excess nitrogen and stagnant moisture. Flush substrate with distilled water. Improve air movement with a small fan on lowest setting positioned 3 feet away. Cease all fertilization for 6 months.
Symptom: Moss dries to crisp texture despite regular misting. Solution: Humidity too low or water quality issue. Test water pH; should be below 7.0. Switch to distilled or reverse osmosis water. Increase humidity with a room humidifier targeting 65%.
Maintenance
Apply 1/4 cup of distilled water per square foot of moss surface every 2 to 3 days. Water in early morning to allow excess moisture to evaporate during daylight.
Rotate containers 90 degrees weekly to ensure even light exposure.
Remove debris monthly using soft tweezers. Accumulated dust blocks stomata-like pores.
Every 6 months, test substrate pH using a soil probe. If pH rises above 6.5, drench with a solution of 1 tablespoon white vinegar per gallon of distilled water.
Replace substrate entirely every 24 to 36 months. Mosses eventually exhaust substrate capacity and accumulate metabolic waste.
FAQ
Can I use tap water for moss gardens?
Only if total dissolved solids register below 100 ppm and pH stays between 6.0 and 7.0. Municipal chlorine and chloramine are tolerable at standard treatment levels, but fluoride above 1 ppm causes tip burn. Distilled water eliminates all variables.
How much light does indoor moss need?
Between 800 and 1500 foot-candles for 8 to 10 hours daily. This approximates the dappled shade of a forest floor. Measure with a light meter; a bright office provides roughly 500 foot-candles.
Why is my moss growing algae?
Excess nutrients, stagnant moisture, and light exceeding 12 hours daily create algae blooms. Algae outcompetes moss by photosynthesizing faster. Reduce light to 8 hours, eliminate fertilizer, and improve air circulation.
What temperature kills moss?
Sustained temperatures above 80°F damage moss cell structures. Below 50°F, metabolic activity ceases. Maintain 60°F to 70°F for consistent growth.
Should I fertilize moss regularly?
No. Mosses evolved in nutrient-poor environments and absorb what they need from dust and rainfall. Fertilization promotes competitors and can burn delicate leaves. Apply diluted 4-4-4 feed only if growth stops entirely after one year of no visible expansion.