9 Easy Steps to Bag Potting Soil
Damp earth smells of geosmin; the earthy musk produced by Streptomyces bacteria indicates a healthy, biologically active substrate. When you press your thumb against a leaf, the resistance you feel is turgor pressure; the internal fluid pushing against the cell walls to maintain structural integrity. Achieving this level of plant health requires more than just dirt. It requires a precise understanding of the steps to bag potting soil to ensure a sterile, nutrient-dense environment for root development. Most commercial mixes fail because they lack the necessary Cation Exchange Capacity (CEC) to hold onto nutrients. By following a systematic approach to blending and bagging your own medium, you control the rhizosphere. This control prevents the structural collapse often seen in peat-heavy commercial bags. You are not just filling containers; you are engineering a life-support system that balances oxygen porosity with moisture retention. Every measurement must be exact. Every component must serve a physiological purpose. Success in the greenhouse begins with the grit of the mix and the discipline of the process.
Materials:
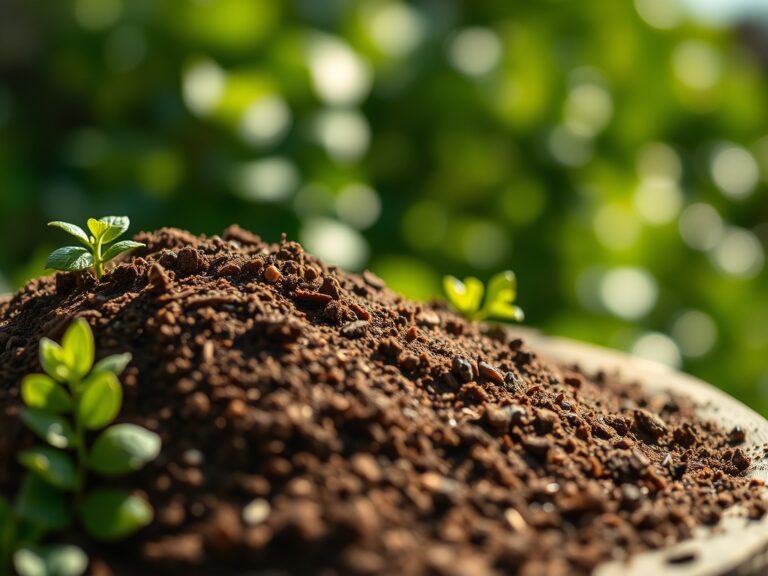
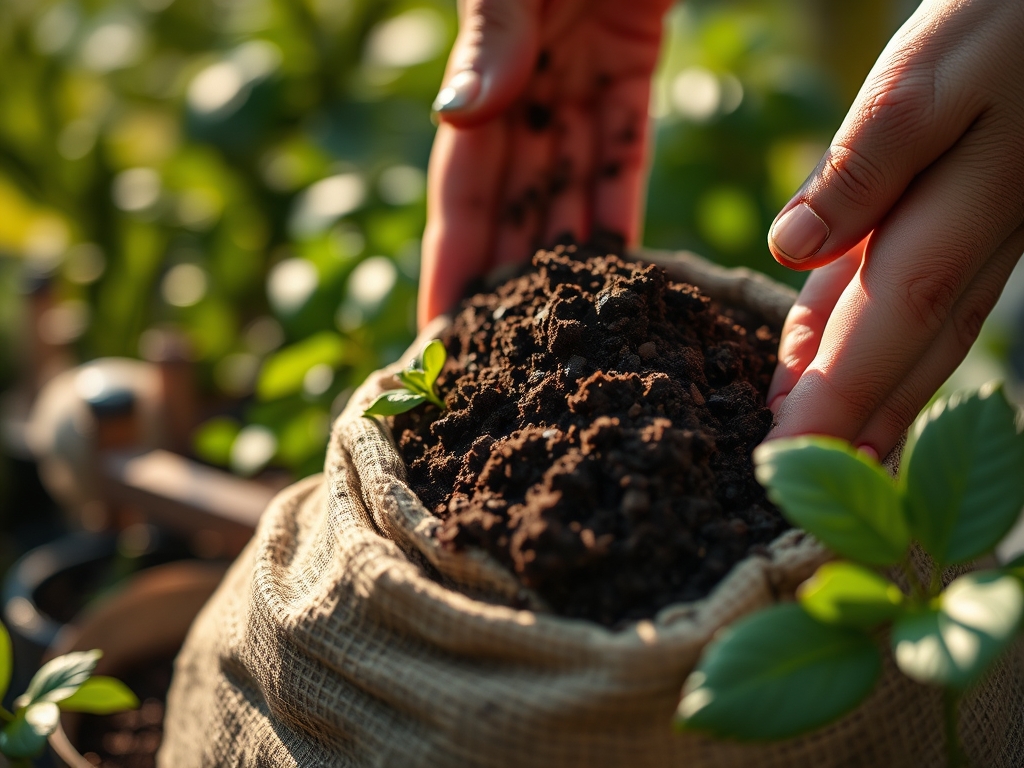
The foundation of a high-performance potting medium is its chemical and physical architecture. You must target a **pH range of 5.8 to 6.5** for most vascular plants to ensure nutrient bioavailability. The ideal substrate is a friable loam; a mixture that crumbles easily under pressure but retains enough moisture to form a loose ball.
- Base Component: 40 percent sphagnum peat moss or coconut coir for moisture retention.
- Aeration: 30 percent perlite or pumice to prevent anaerobic conditions and compaction.
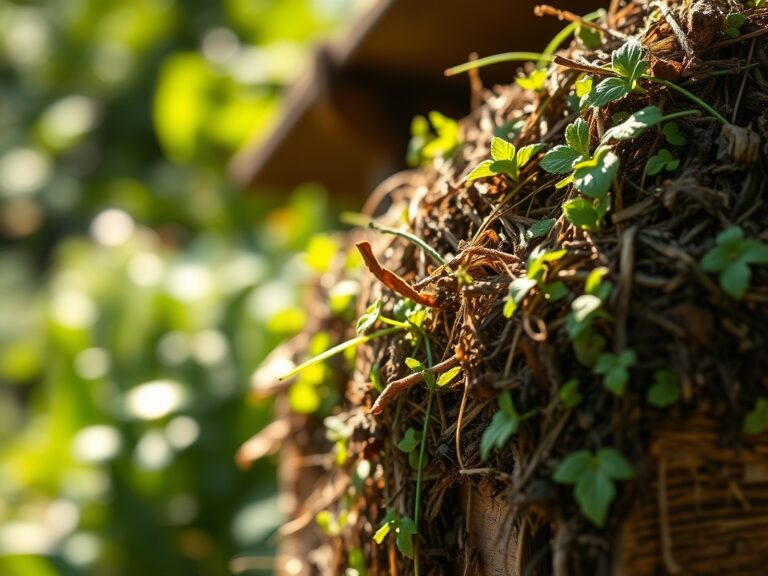
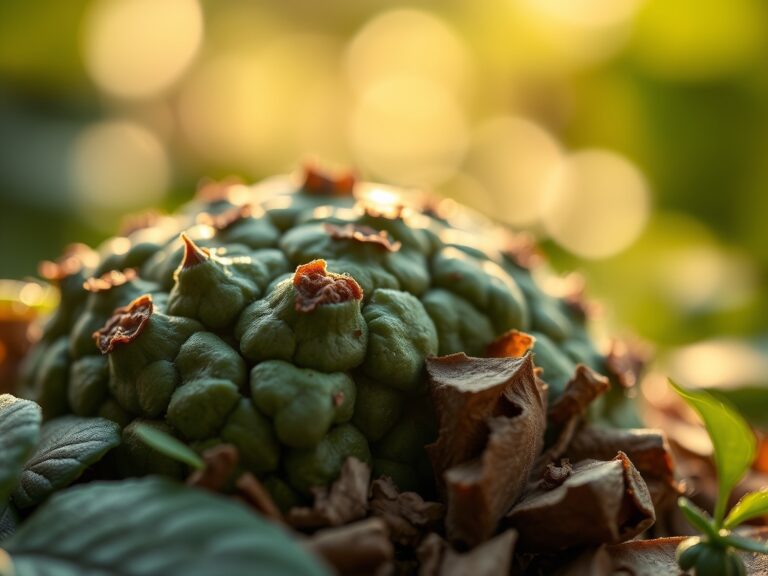
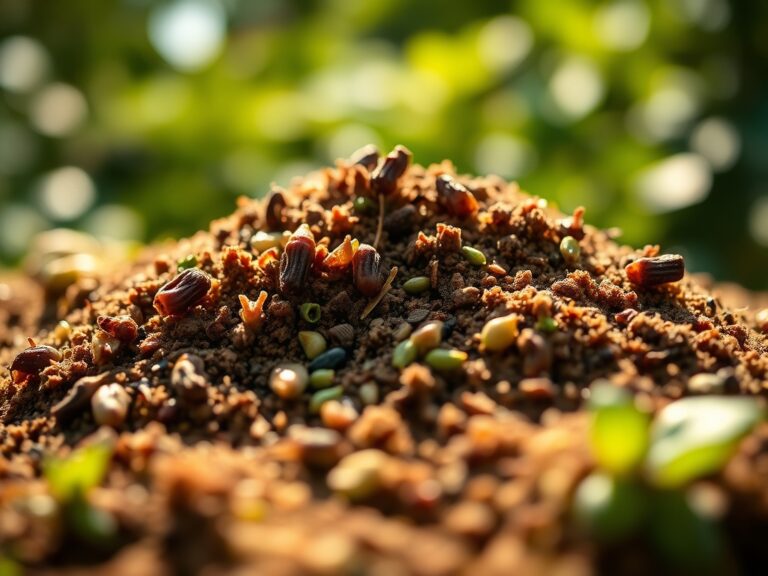
- Biological Activity: 20 percent aged compost or worm castings.
- Drainage: 10 percent coarse horticultural sand.
For the initial nutrient charge, incorporate a balanced NPK ratio of 5-5-5 at a rate of 2 lbs per cubic yard. This provides a baseline of Nitrogen for vegetative growth, Phosphorus for root establishment, and Potassium for cellular regulation. Check the CEC of your compost; a higher CEC means the soil can store more positively charged ions like Calcium and Magnesium, preventing leaching during heavy irrigation cycles.
Timing:
Timing your soil preparation is dictated by your local Hardiness Zone and the specific photoperiod requirements of your crop. In Zones 5 through 7, potting should occur at least three weeks before the last predicted frost date. This window allows the microbial population in the bagged soil to stabilize before seeds are introduced.
The biological clock of the plant determines the urgency of the bagging process. During the transition from the vegetative stage to the reproductive stage, nutrient demands shift dramatically. If you are bagging soil for heavy feeders, you must ensure the medium is ready for transplanting when the plant reaches its first true leaf set. Preparing your bags in late winter ensures that the organic matter has undergone sufficient mineralization, making nitrogen immediately available to the young seedlings as soon as soil temperatures reach a consistent 65 degrees Fahrenheit.
Phases:
Sowing
Fill your bags or containers to within 0.5 inches of the rim. Ensure the medium is pre-moistened to a "wrung-out sponge" consistency. Sow seeds at a depth of two to three times their diameter.
Pro-Tip: Maintain consistent moisture to trigger imbibition. This is the biological process where the seed coat absorbs water, activating enzymes that kickstart metabolic activity. Without uniform contact between the soil and the seed coat, germination rates drop by 40 percent.
Transplanting
When moving starts into larger bags, minimize root exposure to light and air. Dig a hole twice the size of the root ball. Position the plant so the crown is level with the soil surface.
Pro-Tip: Use a mycorrhizal inoculant during this phase. This creates a symbiotic relationship where fungi extend the root system's reach, increasing the surface area for phosphorus uptake by up to 10 times. This symbiosis is critical for long-term stress resilience.
Establishing
Once transplanted, focus on root anchorage. Avoid high-nitrogen fertilizers for the first 10 days to prevent leggy growth and encourage the roots to seek out nutrients deeper in the bag.
Pro-Tip: Monitor for auxin suppression. If the central leader of the plant is damaged, auxins (growth hormones) shift to lateral buds, causing a bushy growth habit. Keeping the apical meristem intact ensures the plant focuses energy on vertical height and structural stability.
The Clinic:
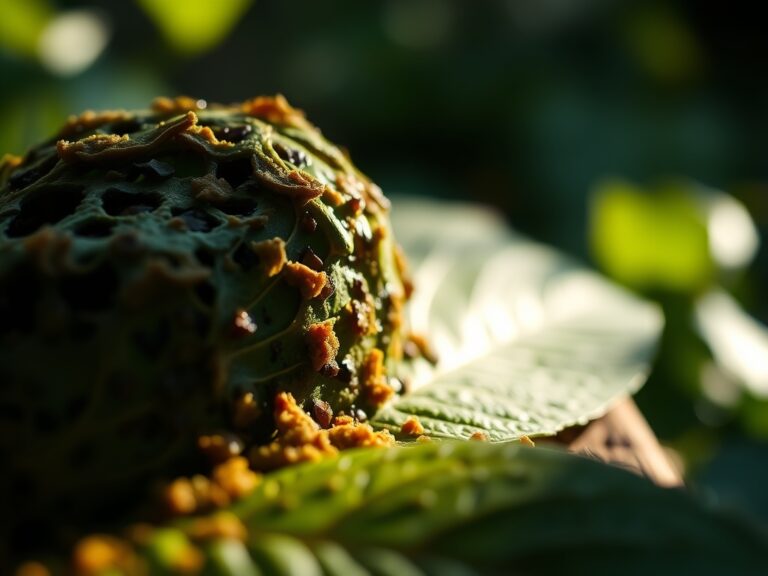
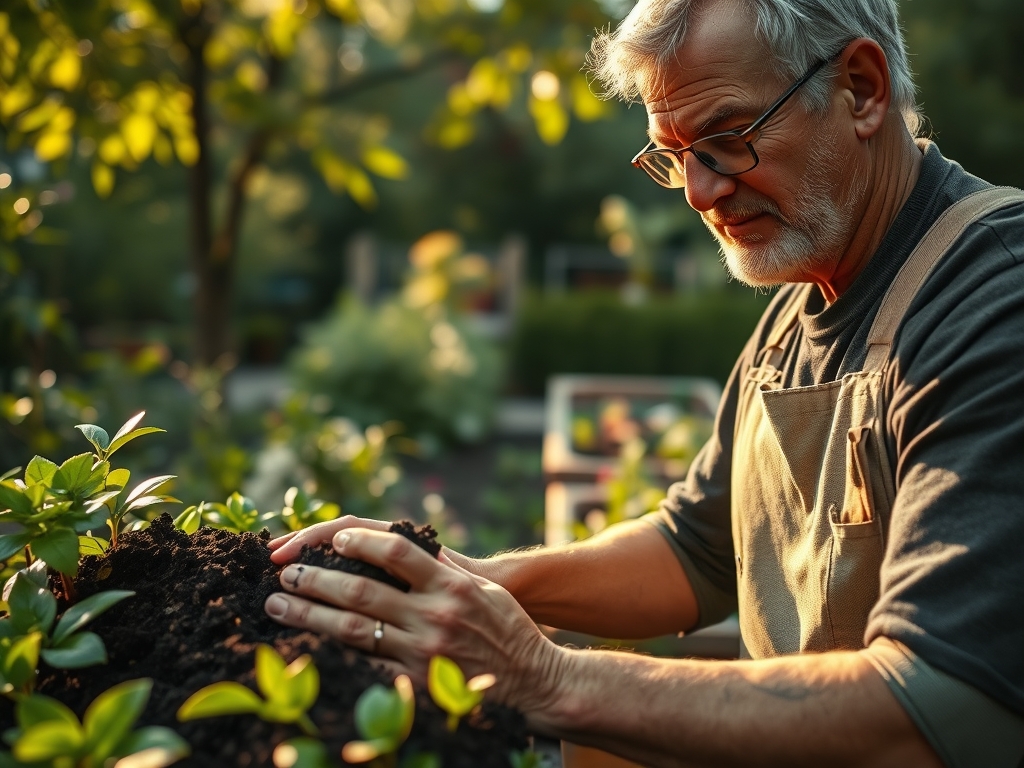
Physiological disorders often stem from environmental stressors rather than pathogens. Observe the root structure in the step-by-step photos above to identify healthy versus compromised systems.
- Symptom: Interveinal chlorosis (yellowing between leaf veins).
- Solution: This indicates a Magnesium deficiency. Apply a foliar spray of 1 tablespoon of Epsom salts per gallon of water.
- Symptom: Blossom end rot in fruiting plants.
- Solution: This is a Calcium transport issue. Ensure consistent irrigation; Calcium moves through the plant via transpiration. Check soil pH; if it is below 5.5, Calcium becomes locked.
- Symptom: Purple tinting on the underside of leaves.
- Solution: Phosphorus deficiency, often caused by soil temperatures below 55 degrees Fahrenheit. Increase the ambient temperature to improve nutrient uptake.
- Fix-It for Nitrogen Chlorosis: If the oldest leaves are turning uniform pale yellow, the plant is scavenging Nitrogen for new growth. Apply a quick-release organic liquid fertilizer with an NPK of 4-1-1 to restore vigor.
Maintenance:
Precision maintenance is the difference between a surviving plant and a thriving one. Use a soil moisture meter daily to check the volumetric water content. Most bagged soils require 1.5 inches of water per week, delivered directly to the drip line to avoid wetting the foliage and inviting fungal spores.
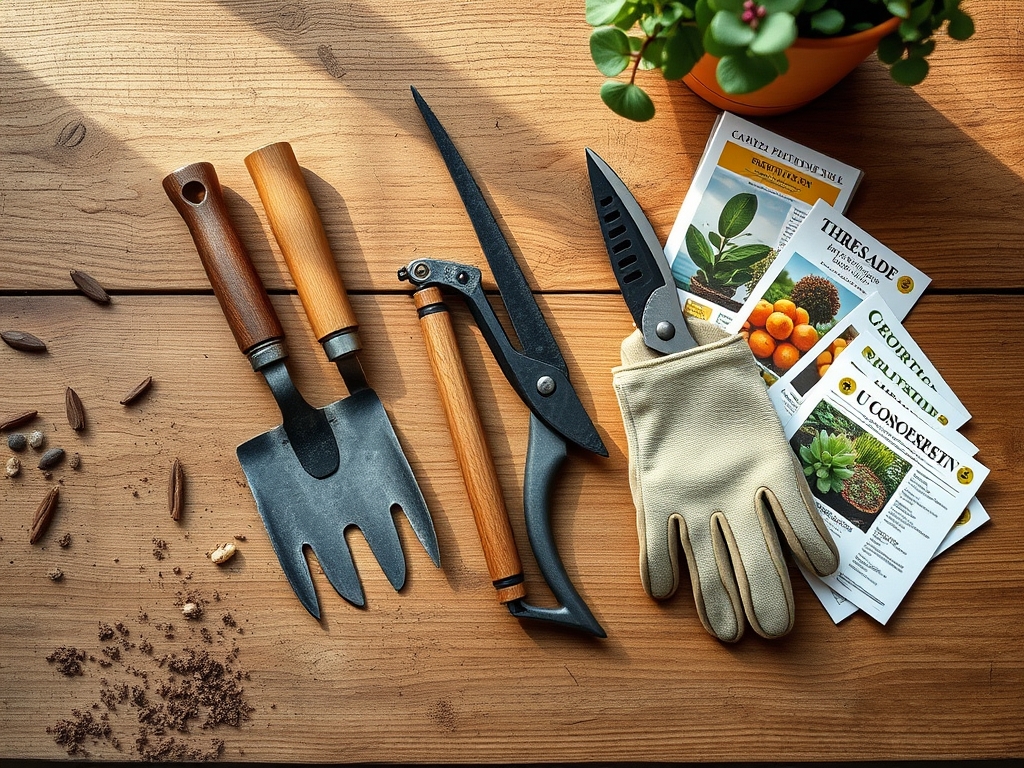
Keep a hori-hori knife sharpened for weeding and measuring planting depths. Use bypass pruners for clean cuts; anvil pruners can crush vascular tissue, leading to necrosis. If the soil surface develops a crust, use a hand rake to break it up to a depth of 0.25 inches to improve gas exchange in the rhizosphere. This prevents the buildup of carbon dioxide, which can suffocate delicate root hairs.
The Yield:
Harvesting is the culmination of the bagging process. For leafy greens, harvest in the early morning when turgor pressure is at its peak; this ensures the leaves are crisp and have a longer shelf life. For fruiting crops, wait for "vine-ripe" markers, such as a specific color change or a slight softening of the fruit wall.
Post-harvest handling is critical. To maintain "day-one" freshness, immediately reduce the field heat by placing the harvest in a cool, shaded area or a hydro-cooling bath. This slows down the rate of senescence; the biological aging process where the plant begins to break down its own cellular structures. For flowers, cut stems at a 45-degree angle underwater to prevent air embolisms from blocking the xylem.
FAQ:
How do I prevent soil compaction in bags?
Incorporate 30 percent perlite or coarse sand. This maintains macropores in the medium, ensuring oxygen reaches the roots. Avoid over-watering, which collapses the soil structure and forces air out of the rhizosphere.
What is the best way to sterilize reused potting soil?
Solarize the soil by placing it in clear plastic bags in direct sunlight for 4 to 6 weeks. Internal temperatures must reach 140 degrees Fahrenheit to kill weed seeds and most soil-borne pathogens.
How often should I fertilize plants in bagged soil?
Apply a balanced liquid fertilizer every 14 days during the active growing season. Bagged soils have limited volume, meaning nutrients are depleted faster than in-ground beds. Always monitor electrical conductivity (EC) to avoid salt buildup.
Can I use garden soil in my potting bags?
No. Garden soil is too dense and lacks the necessary drainage for container systems. It often contains pathogens and weed seeds. Stick to a "soilless" mix of peat, perlite, and compost for optimal results.