9 Steps to Prepare a Garden for a Patio Container System
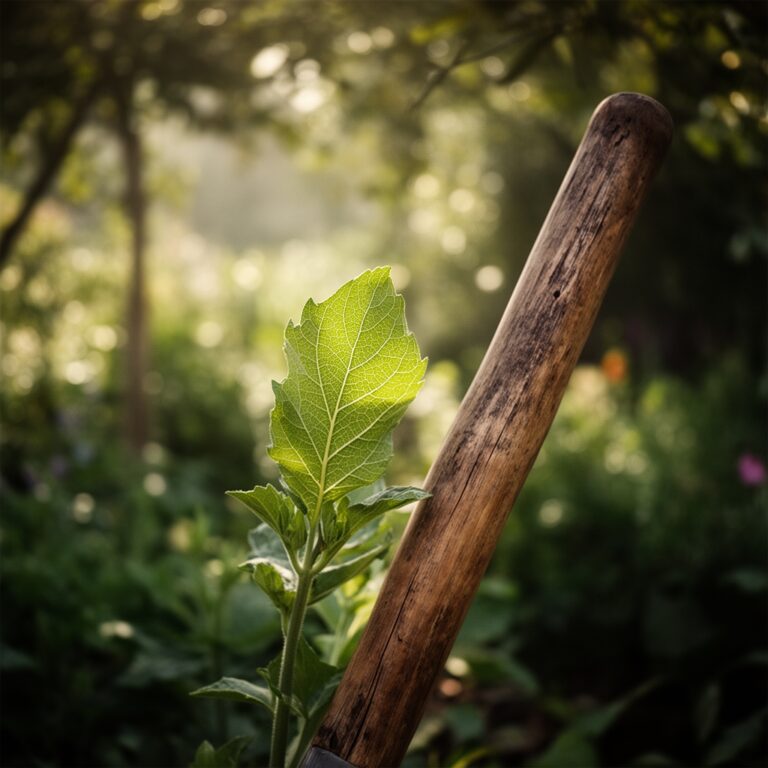
The spring sun reflects off the concrete, and your patio radiates heat back at the sky. That unused 8×10 slab can become a productive growing zone if you learn how to prepare a garden for a patio container garden. The process transforms inert hardscape into a modular system that supports root development, nutrient cycling, and photosynthetic output. Container systems demand precision because each vessel creates an isolated soil environment with finite cation exchange capacity and water retention.
Materials
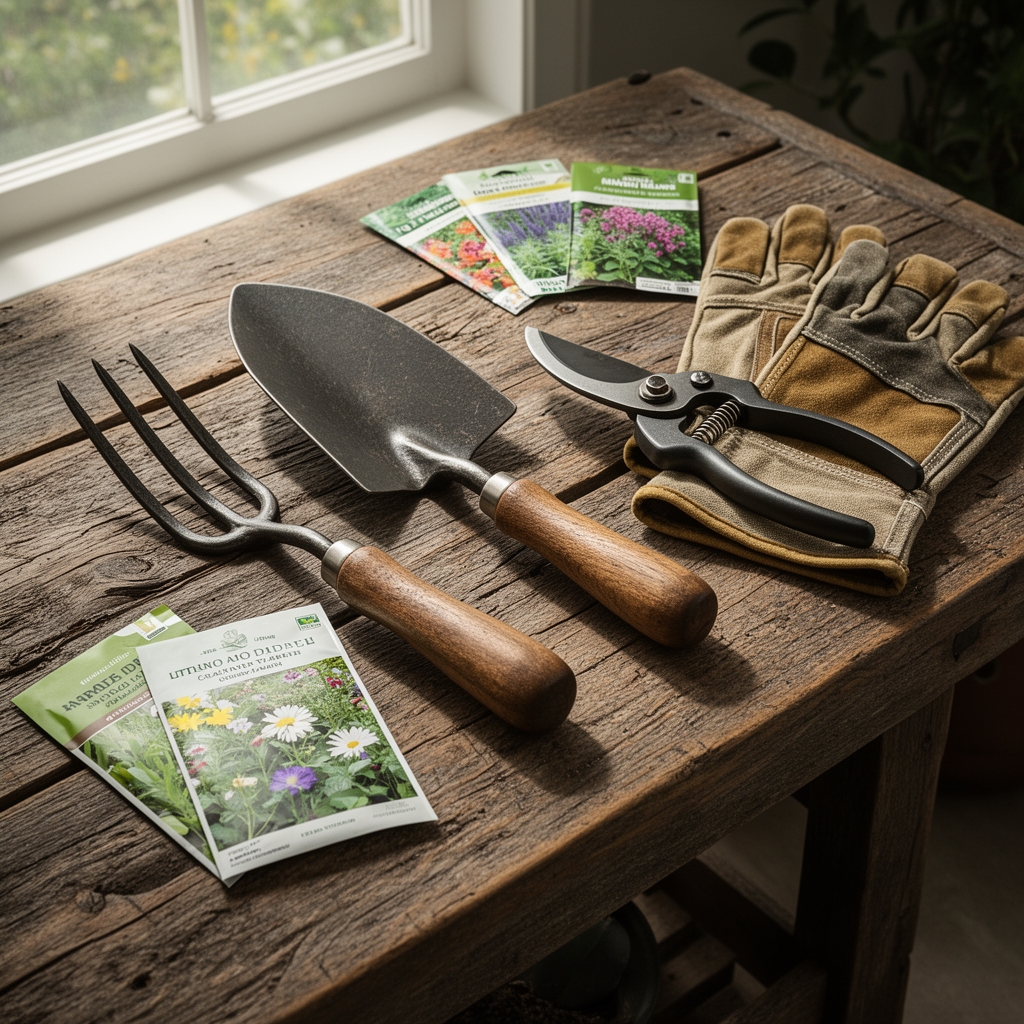
Selecting components requires matching substrate chemistry to plant requirements. Start with food-grade containers ranging from 5 to 20 gallons. Fabric pots encourage air pruning of lateral roots, while rigid polyethylene offers stability for top-heavy crops.
For substrate, blend equal parts sphagnum peat moss (pH 3.5-4.5), aged pine bark fines, and perlite. This base achieves a target pH of 5.8-6.2 for most vegetables and herbs. Add dolomitic limestone at 4 tablespoons per cubic foot to buffer acidity and supply magnesium.
Incorporate organic amendments rich in microbial life. A balanced 4-4-4 organic meal (kelp, alfalfa, and bone meal) delivers nitrogen for vegetative growth, phosphorus for root establishment, and potassium for fruit set. For acid-loving species like blueberries, substitute with an acidic 4-3-4 formulation using cottonseed meal and rock phosphate. Include mycorrhizal fungi inoculant at 1 teaspoon per 5-gallon container to colonize root cortex tissue and extend nutrient absorption surface area.
Install drip irrigation components if managing more than six containers. A battery-powered timer, 1/4-inch distribution tubing, and adjustable emitters (0.5-2 GPH) automate water delivery and reduce auxin stress from inconsistent moisture.
Timing
Understanding hardiness zones prevents crop failure. Locate your USDA zone and note the average last spring frost date. This date serves as the reference point for all transplanting schedules.
In zones 7-9, prepare containers 4-6 weeks before the last frost for cool-season crops like lettuce, spinach, and brassicas. These species tolerate soil temperatures as low as 40°F and thrive in air temperatures between 55-70°F. Warm-season crops (tomatoes, peppers, basil) require soil temperatures above 60°F and air temperatures consistently above 65°F. Delay planting these until 1-2 weeks after the last frost.
Zones 3-6 demand vigilance. Frost pockets form on patios bordered by walls or under eaves. Mount a min-max thermometer 2 feet above the patio surface to track microclimatic conditions. Plan container placement to capture southern exposure for heat accumulation.
Fall transitions extend the season. Start cool-season crops 8-10 weeks before the first fall frost for zones 5-7. The declining photoperiod triggers bolting resistance in lettuce and kale, improving flavor through repeated light freezes.
Phases
Sowing
Direct seed large-seeded crops like beans, peas, and squash into pre-moistened substrate. Plant at twice the seed diameter depth. Smaller seeds (lettuce, carrots) require surface sowing with a 1/8-inch vermiculite cover to maintain contact and moisture.
Pro-Tip: Pre-germinate tomato and pepper seeds between damp paper towels at 75-80°F for 48 hours. This breaks seed dormancy and synchronizes emergence within 5-7 days rather than 10-14.
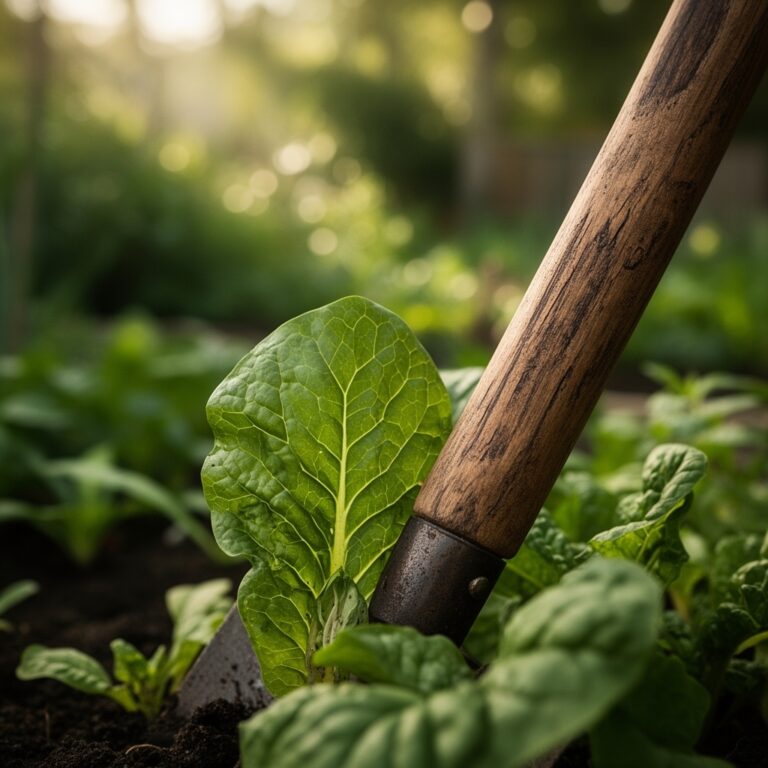
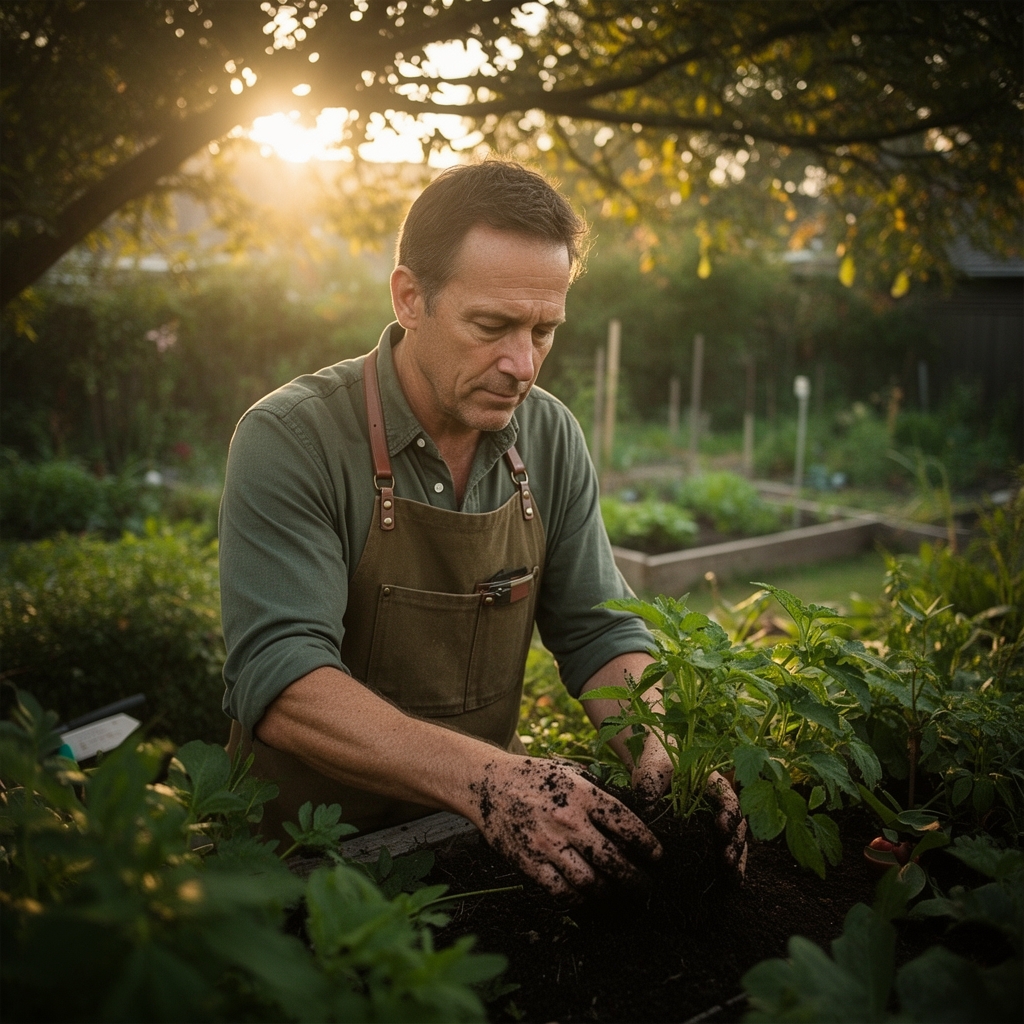
Transplanting
Harden off nursery starts over 7 days by gradually increasing sun exposure and reducing watering frequency. This thickens cuticle wax layers and reduces transplant shock.
Dig a hole 1.5 times the root ball diameter. For tomatoes, bury the stem up to the first true leaves. Adventitious roots emerge from buried stem tissue within 10 days, increasing water and nutrient uptake capacity by 40%. Position the container so the stem faces south, encouraging vertical auxin distribution.
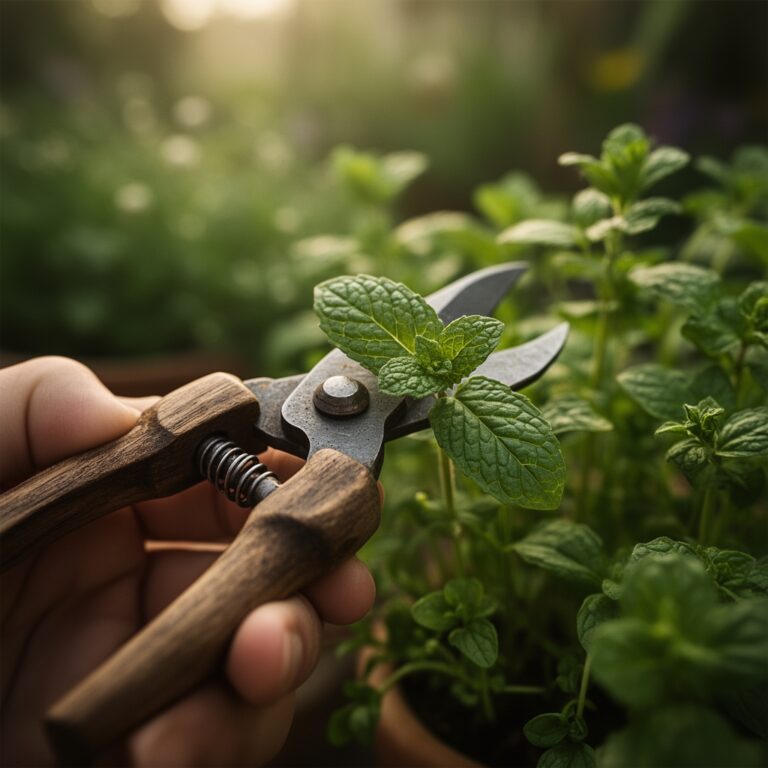
Pro-Tip: Prune lower branches at a 45-degree angle 1/4 inch above the node. This angle sheds water and reduces fungal colonization at wound sites.
Establishing
Water immediately after transplanting with a dilute seaweed solution (1:100 ratio). The cytokinins and trace elements accelerate root hair proliferation. Monitor soil moisture daily for the first 14 days. Insert a finger 2 inches deep; irrigate when soil feels dry at that depth.
Apply a 1-inch mulch layer of shredded hardwood bark after the soil warms. Mulch moderates temperature fluctuations, suppresses weed germination, and reduces evapotranspiration by 30%.
Pro-Tip: Inoculate legume roots with Rhizobium bacteria at transplant. These nitrogen-fixing bacteria form nodules that convert atmospheric N2 into plant-available ammonium, reducing fertilizer needs by 50%.
Troubleshooting
Symptom: Interveinal chlorosis on new growth. Solution: Iron deficiency caused by alkaline pH. Apply chelated iron (Fe-EDDHA) at 1 teaspoon per gallon and adjust substrate pH to 6.0 with elemental sulfur.
Symptom: Blossom end rot in tomatoes and peppers. Solution: Calcium translocation failure from inconsistent watering. Maintain even soil moisture and side-dress with gypsum (calcium sulfate) at 2 tablespoons per 5-gallon container.
Symptom: Aphid colonies on shoot tips. Solution: Spray insecticidal soap (potassium salts of fatty acids) at 2% concentration. Repeat every 5 days for three applications. Release ladybug larvae (Hippodamia convergens) at 50 per container as biological control.
Symptom: Powdery white coating on leaves. Solution: Powdery mildew from poor air circulation. Space containers 18 inches apart. Apply sulfur dust at 3 tablespoons per gallon as a preventative every 14 days.
Symptom: Wilting despite moist soil. Solution: Root-bound condition restricting water uptake. Transplant into a container 2-4 inches larger in diameter.
Maintenance
Apply granular fertilizer every 4 weeks at half the labeled rate. Container substrates leach nutrients faster than in-ground beds due to frequent irrigation. Alternate between balanced formulations (10-10-10) and high-potassium blends (5-10-10) during fruiting stages.
Irrigate when the top 1 inch of substrate dries. Most vegetables require 1 inch of water per week, equivalent to 0.6 gallons per square foot of canopy. Measure output from emitters monthly to ensure consistent delivery rates.
Prune indeterminate tomatoes to a single leader by removing suckers weekly. This concentrates carbohydrate allocation into fruit production rather than vegetative mass. Remove no more than 20% of foliage at once to avoid photosynthetic stress.
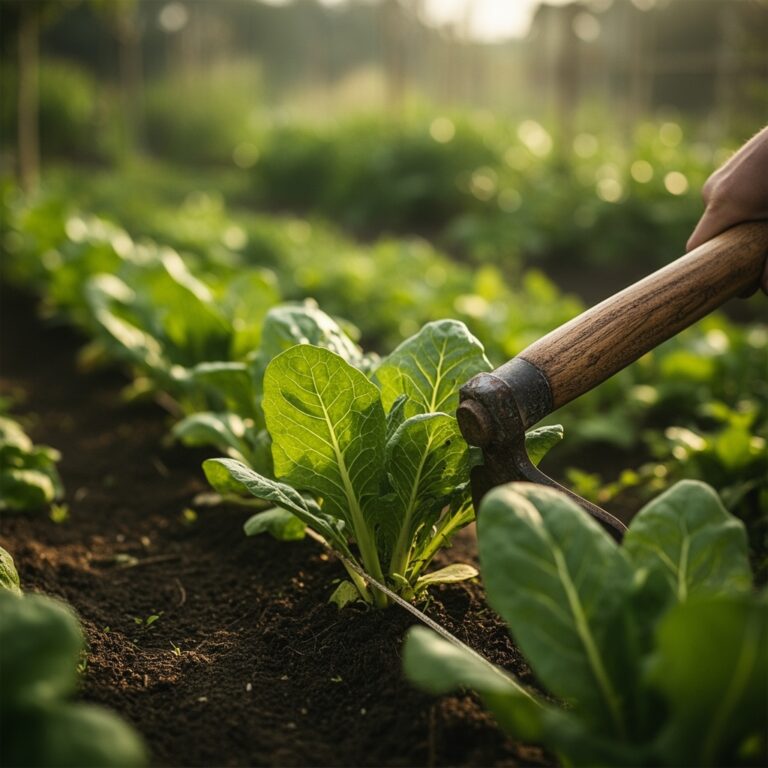
Rotate container positions monthly to equalize light exposure. South-facing edges receive 30% more photosynthetically active radiation than north-facing locations.
FAQ
How deep should containers be for root vegetables?
Carrots and parsnips need 12-inch depth. Potatoes require 18 inches for adequate tuber formation.
Can I reuse potting mix the following season?
Yes. Refresh with 25% new substrate and re-amend with compost at 1:4 ratio. Pasteurize in black bags under direct sun for 48 hours to eliminate pathogens.
What NPK ratio suits flowering herbs?
Use 3-4-6 to promote essential oil production. Excess nitrogen increases foliage at the expense of volatile compounds.
How do I prevent containers from overheating?
Wrap pots in reflective bubble wrap or place inside larger cache pots with 1-inch air gap. This reduces root zone temperatures by 15°F.
When should I start seeds indoors?
6-8 weeks before last frost for tomatoes and peppers. 4 weeks for brassicas. Direct sow beans and squash after soil reaches 60°F.