8 Tips to Use Marking Paint for Accurate Garden Layouts
Using a marking paint for garden layouts transforms abstract planning into precise ground reality. The aerosol canister becomes a botanical compass, converting paper sketches into dimensional coordinates where root systems and canopy spread occupy real soil volume. Every line drawn establishes borders for competing root zones, irrigation patterns, and sunlight allocation. Professional landscapers trust this method to achieve geometric precision when establishing perennial beds, row spacing for intensive vegetable production, and hardscape boundaries that respect mature plant dimensions.
Materials
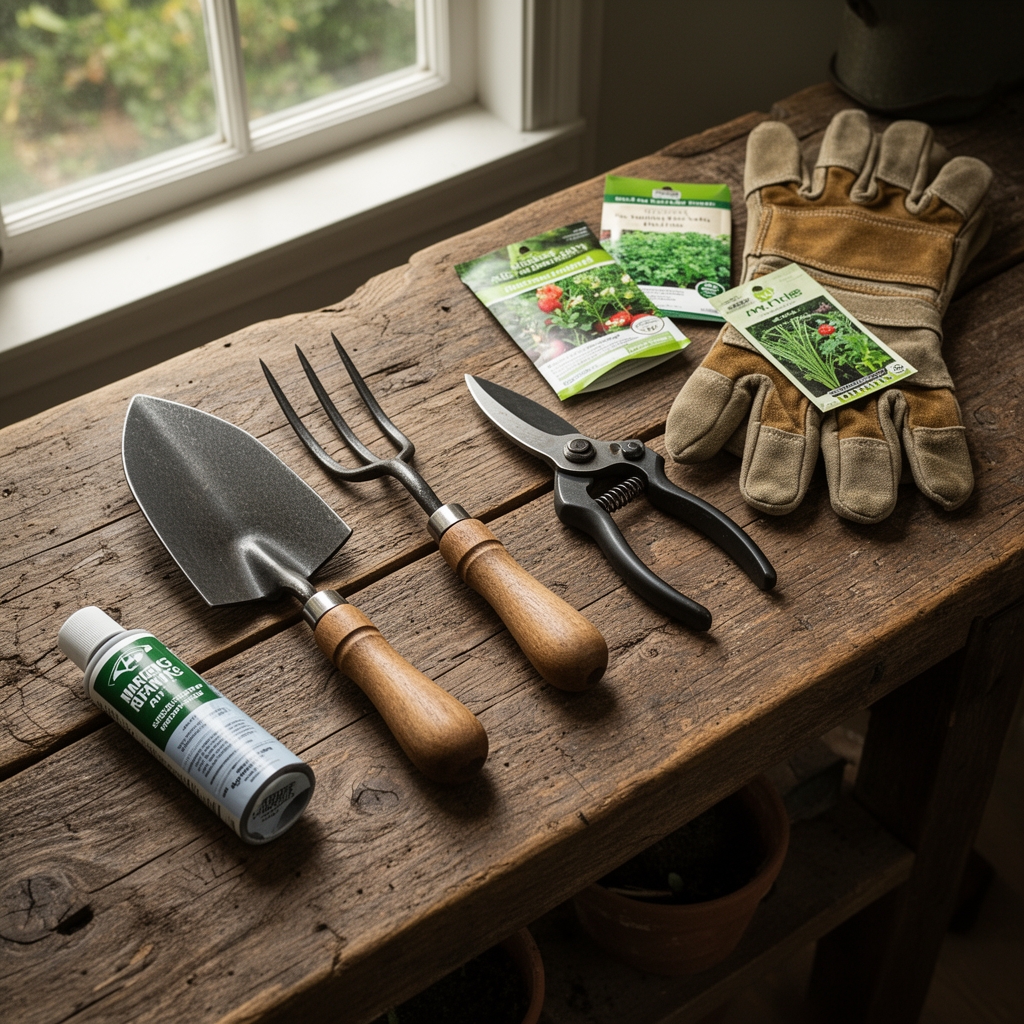
Select water-based landscape marking paint with titanium dioxide pigmentation for superior visibility across soil types. Inverted spray tips allow ergonomic ground application without stooping. Choose colors strategically: fluorescent orange for primary borders, blue for irrigation lines, yellow for amendment zones requiring specific pH adjustment.
Prepare soil amendments before marking to establish baseline conditions. For acidic-loving plantings (azaleas, blueberries), incorporate elemental sulfur at 1 pound per 100 square feet to lower pH from 7.0 to 5.5 over 6 months. Neutral-pH vegetables respond well to balanced 4-4-4 organic meal applied at 3 pounds per 100 square feet, releasing nitrogen slowly through microbial decomposition. High-phosphorus beds for root crops benefit from bone meal (3-15-0) at 2 pounds per 100 square feet to enhance mycorrhizal fungi colonization and lateral root development.
Measure cation exchange capacity before finalizing layout dimensions. Clay soils above 25 meq/100g retain nutrients effectively, allowing tighter spacing. Sandy soils below 10 meq/100g require wider buffers between heavy feeders to prevent nutrient depletion zones.
Timing
Execute layout marking between hardiness zone last frost date and soil temperature reaching 55°F at 4-inch depth. Zone 5 gardeners should mark layouts mid-May when soil structure supports foot traffic without compaction. Zone 7 permits late March marking after freeze-thaw cycles cease and aggregate stability returns.
Spring marking capitalizes on visible soil surface before weed germination obscures ground plane. Fall marking between September 15 and first frost allows winter planning, though reapplication proves necessary after snow melt due to paint degradation from freeze cycles.
Avoid marking during active rainfall or when soil moisture exceeds field capacity. Saturated soils compact under foot traffic, destroying pore space necessary for oxygen diffusion to root zones. Wait 48 hours after irrigation events exceeding 1 inch accumulation.
Phases

Sowing Phase: Mark seed rows with 2-inch wide lines at species-specific spacing. Brassicas require 18-inch centers to accommodate 24-inch mature spread. Mark these with parallel lines showing the sowing trench and the no-plant buffer zone. Carrots and radishes tolerate 3-inch spacing in marked bands, allowing dense planting within designated zones.
Pro-Tip: Mark north-south orientation for row crops to maximize bilateral light interception throughout the day, reducing auxin distribution imbalances that cause uneven growth.
Transplanting Phase: Circle individual transplant locations for determinate spacing. Tomatoes marked at 24-inch centers in raised beds prevent foliar disease by ensuring airflow between canopies. Mark stake locations 4 inches north of each transplant circle to avoid root zone damage during installation.
Pro-Tip: Apply mycorrhizal fungi inoculant (Rhizophagus irregularis) directly into marked transplant holes at 1 teaspoon per plant before setting rootballs, establishing symbiotic networks that increase phosphorus uptake by 40%.
Establishing Phase: Mark irrigation zones with distinct colors showing drip line placement. Emitter spacing at 12-inch intervals requires marking every foot along the line path. Mark valve locations at zone boundaries where soil texture changes demand different watering duration.
Pro-Tip: Mark mulch depth boundaries showing 3-inch zone extending 6 inches beyond drip line projection, preventing moisture competition while maintaining crown ventilation to reduce Phytophthora collar rot risk.
Troubleshooting
Symptom: Paint lines fade within 2 weeks, obscuring layout before planting completion.
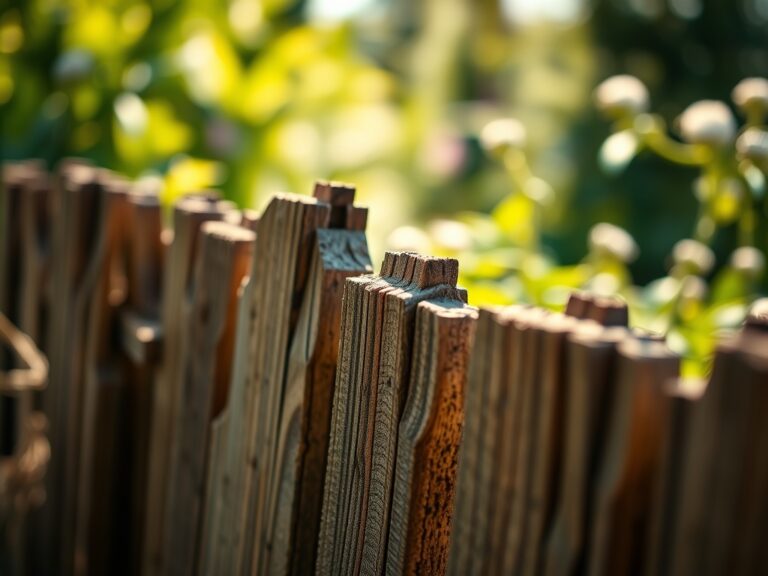
Solution: Reapply at half-intensity every 10 days or drive wooden stakes at intersection points for permanent markers. Photography of fresh lines provides reference documentation.
Symptom: Compacted soil in marked pathways reduces adjacent plant vigor.
Solution: Mark pathways 6 inches wider than planned walking surface. Apply 4 inches of arborist wood chips after initial marking to distribute weight and maintain soil structure.
Symptom: Paint overspray damages emerging seedlings in previously planted zones.
Solution: Use cardboard shields when marking near active plantings. Hold perpendicular to spray direction, maintaining 8-inch clearance from foliage.
Symptom: Geometric layouts appear distorted when viewed from ground level during planting.
Solution: Photograph marked layout from second-story window or 8-foot ladder to verify proportions match plan before soil disturbance.
Maintenance
Refresh faded lines every 14 days during extended planting periods spanning 6+ weeks. Paint degrades through UV exposure at predictable rates: 30% intensity loss per week in full sun, 15% in partial shade.
Apply 1 inch of water weekly to marked beds after planting to establish roots without displacing paint-marked mulch boundaries. Drip irrigation preserves line visibility better than overhead spray which causes pigment migration.
Remove paint residue post-season by surface cultivation to 2-inch depth, incorporating titanium dioxide particles into topsoil where they remain inert and non-toxic.
FAQ
Does marking paint affect soil chemistry?
Water-based formulations contribute negligible chemical load. Titanium dioxide remains stable across pH 4-9 without releasing ions that affect cation exchange.
How long before planting should I mark layouts?
Mark 3-7 days before soil work begins. Fresh lines provide maximum visibility during intensive planting without sufficient aging to fade.
Can I mark frozen ground?
Paint adheres poorly below 40°F. Application creates brittle film that fractures during freeze-thaw cycles, requiring total reapplication.
What spacing accuracy can I achieve?
Careful application maintains +/- 1 inch tolerance across 20-foot spans using string guides and measured intervals marked on spray wand.
Should I mark before or after tilling?
Mark on settled, tilled soil 48 hours post-cultivation when aggregate structure stabilizes, preventing line distortion from continued soil movement.