9 Organic Steps for Treating Spider Mites with Soap Spray
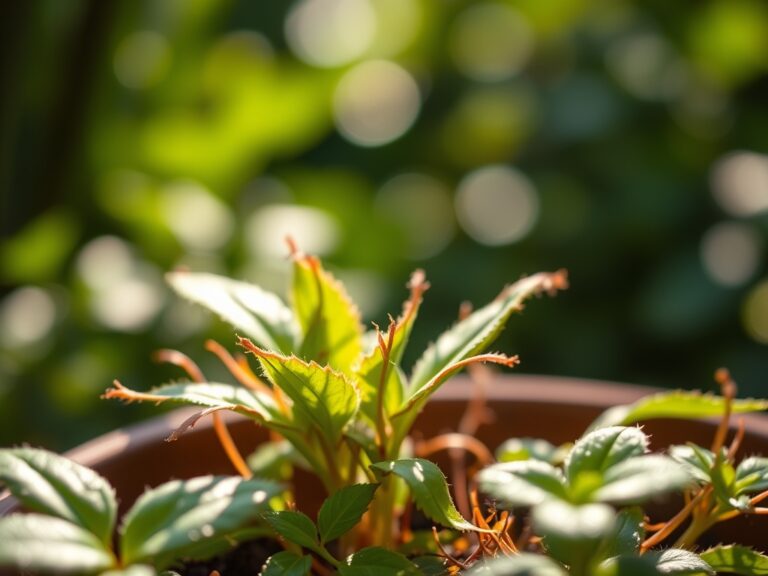
The smell of damp earth and the firm turgor of a healthy leaf define a successful greenhouse environment. When you notice stippling on the foliage or fine webbing between petioles, the plant's hydraulic system is under siege. Implementing the correct steps for treating spider mites with soap spray restores the equilibrium of the rhizosphere and protects the plant's vascular integrity. These arachnids pierce cell walls to extract cytoplasm; consequently, immediate intervention is required to prevent total senescence.
Materials:

Effective pest management begins with a robust substrate. Maintain a **friable loam** with a **Soil Cation Exchange Capacity (CEC) of 15 to 25 milliequivalents per 100 grams**. This ensures the plant has the nutritional reserves to recover from cellular damage. The soil pH must remain between **6.2 and 6.8** to optimize nutrient bioavailability.
For the soap spray solution, utilize a pure liquid castile soap free of synthetic fragrances or degreasers. Mix at a ratio of 1 tablespoon per gallon of soft water. Hard water contains calcium and magnesium ions that can cause the soap to precipitate, reducing its efficacy. You will also need a high-pressure pump sprayer capable of producing a fine mist to ensure total coverage of the abaxial (underside) leaf surfaces.
Maintain a baseline NPK ratio of 5-10-5 during the recovery phase. High nitrogen levels can trigger rapid, succulent growth that attracts further infestations; therefore, phosphorus and potassium are prioritized to strengthen cell walls and root development.
Timing:
In Hardiness Zones 4 through 9, spider mite activity peaks when ambient temperatures exceed 80 degrees Fahrenheit and relative humidity drops below 50 percent. The biological clock of the Tetranychidae family accelerates in these conditions; a single generation can transition from egg to reproductive adult in as little as five to seven days.
Apply the soap spray during the "cool window," either in the early morning before the sun reaches its zenith or in the late evening. Applying treatments when the Photosynthetic Photon Flux Density (PPFD) is at its highest can result in phytotoxicity, where the soap film causes the leaf tissue to burn under intense light. Monitor the plant's transition from vegetative to reproductive stages. Plants in the reproductive phase divert energy toward flowering or fruiting, making them more susceptible to the physiological stress of pest pressure.
Phases:

Sowing and Prevention
Start with sterilized seed-starting mix to prevent the introduction of dormant larvae. Maintain a consistent soil temperature of 70 degrees Fahrenheit to ensure rapid germination. Rapidly growing seedlings develop thicker cuticles, which act as a mechanical barrier against piercing-sucking mouthparts.
Pro-Tip: Maintain high humidity around seedlings to suppress mite reproduction. Biological Why: Spider mites thrive in arid microclimates because low humidity prevents the growth of entomopathogenic fungi that naturally regulate mite populations.
Transplanting and Hardening
When moving plants to their permanent location, use a hori-hori knife to slice through any circling roots, encouraging lateral growth into the new soil profile. Ensure the transplant hole is twice the width of the root ball to facilitate easy expansion of the rhizosphere.
Pro-Tip: Avoid excessive nitrogen fertilization during transplanting. Biological Why: High levels of nitrate in the sap increase the nutritional value of the plant for the mites, a phenomenon known as trophobiosis, leading to faster pest population spikes.
Establishing and Treatment
Once the plant is established, begin a weekly inspection of the lower leaf surfaces. If mites are detected, initiate the soap spray protocol. Thoroughly drench the plant, paying specific attention to the nodes and the undersides of the leaves where mites aggregate.
Pro-Tip: Repeat the application every 3 to 5 days for at least three cycles. Biological Why: Insecticidal soaps only kill on contact and have no residual effect. Repeated applications are necessary to kill newly hatched nymphs before they reach reproductive maturity.
The Clinic:
Physiological disorders often mimic pest damage. Distinguishing between them is critical for correct treatment.
- Symptom: Chlorotic stippling on upper leaf surfaces.
- Solution: Inspect for mites with a 10x hand lens. If confirmed, apply soap spray. If no mites are present, check for manganese deficiency.
- Symptom: Interveinal chlorosis (yellowing between veins).
- Solution: This is typically Magnesium deficiency. Apply a foliar spray of Epsom salts (1 teaspoon per gallon) to restore chlorophyll production.
- Symptom: Leaf curling and stunted terminal buds.
- Solution: Often caused by Calcium deficiency or low transpiration rates. Increase airflow and check soil pH.
- Symptom: General yellowing of older leaves (Nitrogen chlorosis).
- Fix-It: Apply a balanced organic fertilizer with an NPK of 10-10-10 to provide an immediate nitrogen boost to the root zone.
Maintenance:
Precision in irrigation is the foundation of plant health. Deliver 1.5 inches of water per week directly to the drip line. Avoid overhead irrigation, as wet foliage can encourage fungal pathogens, though a forceful stream of water can be used periodically to mechanically dislodge mite colonies.
Use a soil moisture meter to ensure the substrate remains at a consistent 60 to 70 percent field capacity. Use bypass pruners to remove heavily infested or necrotic tissue; this reduces the overall pest load and improves airflow through the canopy. Always sanitize tools with 70 percent isopropyl alcohol between plants to prevent the mechanical transfer of mites or viral pathogens.
The Yield:
For fruiting plants, harvest when the fruit reaches its specific Brix level or color maturity. Use a sharp blade to make clean cuts, preserving the integrity of the stem. For leafy greens, harvest in the early morning when turgor pressure is highest.
Post-harvest, submerge greens in 40-degree Fahrenheit water to remove field heat and any remaining soap residue. This process, known as hydro-cooling, slows down the metabolic rate and cellular respiration, ensuring "day-one" freshness and extending the shelf life of the produce.
FAQ:
How often should I apply soap spray?
Apply the spray every 3 to 5 days. This frequency targets the mite life cycle, ensuring that nymphs are eliminated before they can lay new eggs. Continue for three cycles to ensure the population is fully eradicated.
Will soap spray harm my plants?
Some plants, like ferns or succulents, are sensitive to soaps. Always perform a spot test on a single leaf and wait 24 hours. If no burning or spotting occurs, proceed with a full application to the entire plant.
Can I use dish soap for spider mites?
Avoid most commercial dish soaps because they contain detergents and degreasers that strip the waxy cuticle from leaves. Use only pure, fatty-acid-based liquid castile soaps to ensure the plant's protective layer remains intact during treatment.
What is the best temperature for application?
Apply the solution when temperatures are between 60 and 75 degrees Fahrenheit. High heat increases the risk of the soap drying too quickly, which can cause leaf scorch and reduce the effectiveness of the contact-kill mechanism.