10 Best Outdoor Lighting for Trees
The scent of damp, well-aggregated soil signifies a healthy rhizosphere where gas exchange occurs at peak efficiency. When the sun sets, the structural integrity of a mature Quercus or Acer becomes a canvas for technical illumination. Integrating the best outdoor lighting for trees requires an understanding of both arboriculture and photonics. You are not merely placing lamps; you are managing the intersection of nocturnal aesthetics and the biological needs of the specimen. Proper lighting must respect the tree's circadian rhythm while highlighting the turgor of its foliage and the rugged texture of its bark. Poorly placed fixtures can cause heat stress or disrupt the photoperiodism of sensitive species. By focusing on lumen output, beam angles, and the specific architecture of the canopy, you ensure that the specimen remains a structural focal point long after the sun has retreated below the horizon.
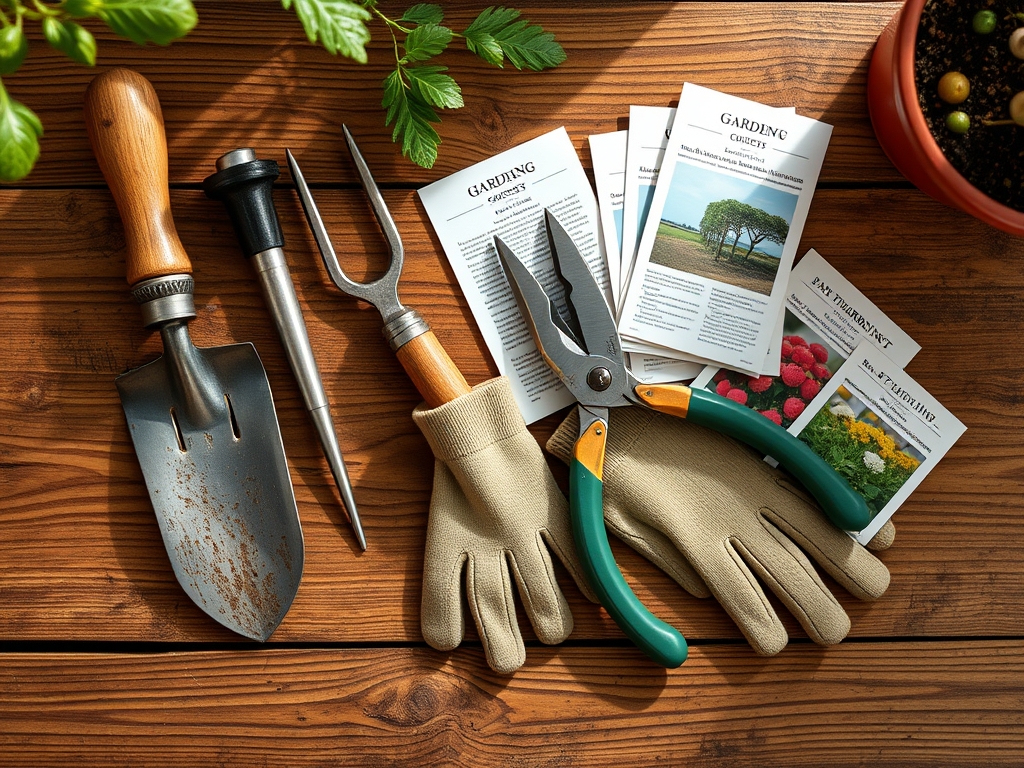
Materials:
Before installing fixtures, assess the substrate. For permanent lighting installations, the soil must be a friable loam with a Cation Exchange Capacity (CEC) between 15 and 25 milliequivalents per 100 grams. This ensures the soil can hold the necessary nutrients to support the metabolic demands of a tree under artificial light. Maintain a soil pH between 6.0 and 7.0 to maximize nutrient availability.
If the tree shows signs of stress before installation, apply a slow-release fertilizer with an NPK ratio of 10-10-10 or a specialized tree-spike with a 15-5-10 ratio to boost vegetative growth. The physical texture of the soil should allow for a bulk density of approximately 1.3 grams per cubic centimeter, ensuring that trenching for low-voltage wires does not excessively compact the root zone or impede oxygen diffusion to the fine feeder roots.
Timing:
The window for installing the best outdoor lighting for trees is dictated by the hardiness zone and the tree's biological clock. In Hardiness Zones 4 through 8, the ideal time for installation is during the dormant season, typically from late autumn to early spring. This avoids disturbing the tree during its peak vegetative stage when auxin levels are high and the vascular cambium is actively dividing.
Avoid trenching during the "bud break" phase, as the tree is diverting all energy to leaf expansion and is highly susceptible to root pathogens. The transition from the vegetative to the reproductive stage is a critical metabolic pivot; any mechanical stress to the root system during this time can trigger premature senescence or fruit drop in ornamental species. Monitor the frost-date windows in your specific microclimate; frozen ground prevents proper wire burial and can lead to heaving, which exposes electrical components to the elements.
Phases:

Sowing the Foundation
Begin by mapping the root flare. For the best outdoor lighting for trees, place fixtures at least 24 inches from the trunk to avoid heat damage to the bark. Use a hori-hori knife to carefully probe for major lateral roots before digging.
Pro-Tip: Maintain the integrity of the mycorrhizal symbiosis by minimizing soil disturbance. These fungi extend the root system's reach; disrupting them reduces the tree's ability to uptake phosphorus and water.
Transplanting the Light
When positioning uplights, use a 45-degree angle to capture the texture of the bark without creating "hot spots." For sprawling canopies, utilize 3000K LED bulbs to mimic the natural spectrum of moonlight. This temperature prevents the "washed out" look common with higher Kelvin ratings.
Pro-Tip: Be mindful of phototropism. While artificial light is generally too weak to trigger growth movement, excessive light at night can interfere with the tree's perception of day length, potentially delaying dormancy in the fall.
Establishing the System
Secure all connections with waterproof grease-filled wire nuts. Bury the 12-gauge low-voltage wire at a depth of 6 inches to prevent accidental damage during routine aeration or mulching. Check the voltage at each fixture using a multimeter; aim for a consistent 10.5 to 12 volts to ensure longevity of the LED drivers.
Pro-Tip: Avoid wrapping wires tightly around limbs. As the tree undergoes secondary growth, the increase in girth will cause the wire to girdle the branch, strangling the phloem and cutting off the flow of photosynthesates to the roots.
The Clinic:
Physiological disorders can manifest when trees are subjected to environmental stressors or improper lighting placement.
- Symptom: Leaf Scorching. This appears as necrotic margins on the foliage closest to the light source.
- Solution: Increase the distance between the fixture and the canopy. Switch to a lower-wattage LED bulb to reduce thermal output.
- Symptom: Nitrogen Chlorosis. The older leaves turn pale yellow while the veins remain green.
- Fix-It: Apply a high-nitrogen fertilizer (NPK 20-0-0) to the drip line. Ensure the soil pH is not too alkaline, which locks out iron and nitrogen.
- Symptom: Girdling Roots. Roots circle the trunk, eventually choking the vascular system.
- Solution: Use a sharp bypass pruner to remove circling roots during the dormant season. Ensure that lighting trenches do not force roots into a circular growth pattern.
- Symptom: Premature Leaf Drop. The tree sheds leaves in late summer.
- Solution: Check for light pollution. If the tree is illuminated 24 hours a day, it cannot enter the "dark cycle" necessary for metabolic repair. Install a timer to ensure at least 8 hours of darkness.
Maintenance:
Maintenance of both the tree and the lighting system is a year-round commitment. Provide 1.5 inches of water per week at the drip line during the growing season. Use a soil moisture meter to verify that the water is penetrating to a depth of 8 to 12 inches.
Prune dead or crossing branches annually using bypass pruners to maintain a clean silhouette for the light to hit. Clean the lenses of your fixtures every six months to remove mineral deposits and organic debris. If you notice a decline in tree vigor, use a soil probe to check for compaction around the lighting fixtures and aerate the soil if the bulk density exceeds 1.6 grams per cubic centimeter.
The Yield:
While "yield" in this context refers to the visual output of the lighting, for flowering trees like the Dogwood or Cherry, timing is everything. To maximize the aesthetic harvest, ensure the lights are positioned to catch the blossoms at their peak turgor pressure. Post-bloom, prune spent flower heads to redirect energy back into the root system and vegetative buds for the following season. This ensures that the "yield" of light and color remains consistent year after year.
FAQ:
What is the best wattage for lighting large trees?
For trees over 30 feet tall, use LED fixtures with an output of 600 to 1000 lumens. This provides enough intensity to reach the upper canopy without causing light pollution or excessive glare at the base.
How do I prevent lighting from harming tree growth?
Mount fixtures on stakes in the ground rather than directly to the tree. If you must mount on branches, use stainless steel stand-offs to allow for secondary growth and prevent bark girdling or phloem restriction.
Can I use solar lights for mature trees?
Solar lights generally lack the lumen density required to illuminate large canopies. They often fail to provide the consistent 12-volt power needed for professional-grade optics and structural highlighting of mature specimens.
Does night lighting affect a tree's dormancy?
Excessive artificial light can delay senescence in certain species. Use timers to ensure trees receive at least 8 hours of total darkness, allowing the biological clock to trigger the production of abscisic acid for winter dormancy.