9 Vital Ways How to Install a Dry Creek Bed
The smell of damp earth after a heavy downpour often signals a failure in site drainage. When water pools near the foundation or erodes topsoil, the turgor pressure of your plants suffers as roots become hypoxic. Learning how to install a dry creek bed is the technical solution to managing surface runoff while mimicking natural riparian geomorphology. This project requires calculating the peak flow of your watershed and selecting stones that resist displacement during high-velocity events. Proper installation prevents soil compaction and protects the rhizosphere from anaerobic conditions. By redirecting water through a calculated course of river rock and boulders, you preserve the structural integrity of your landscape. Success depends on precise excavation and the strategic layering of geotextiles to ensure long term functionality.
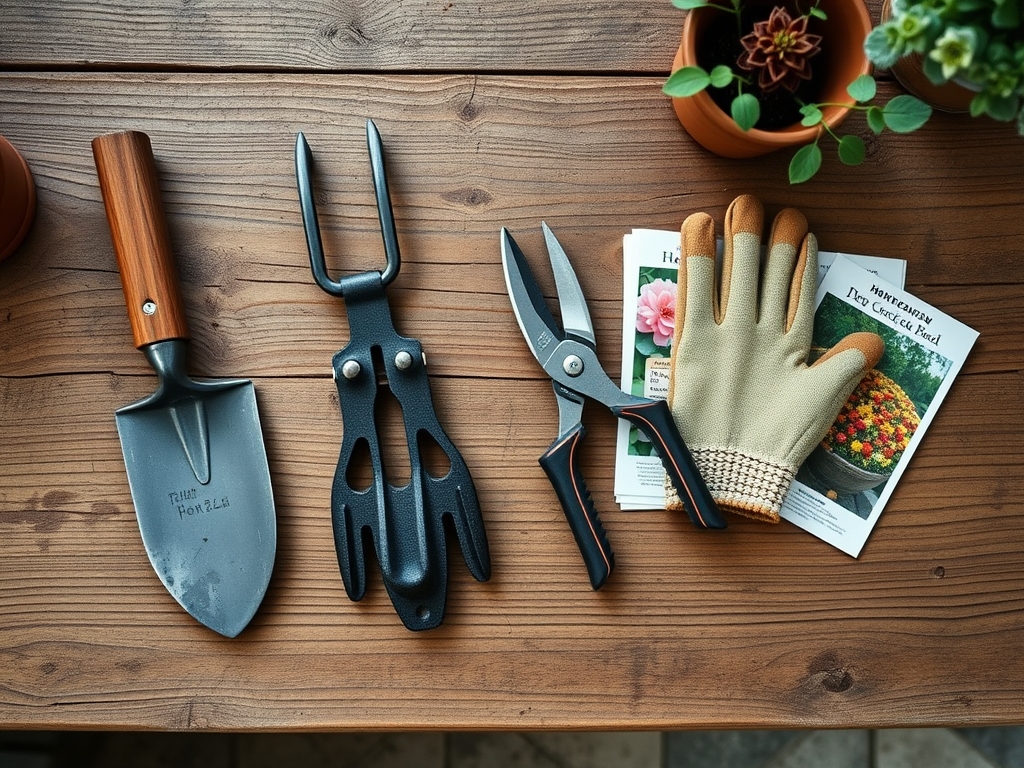
Materials:
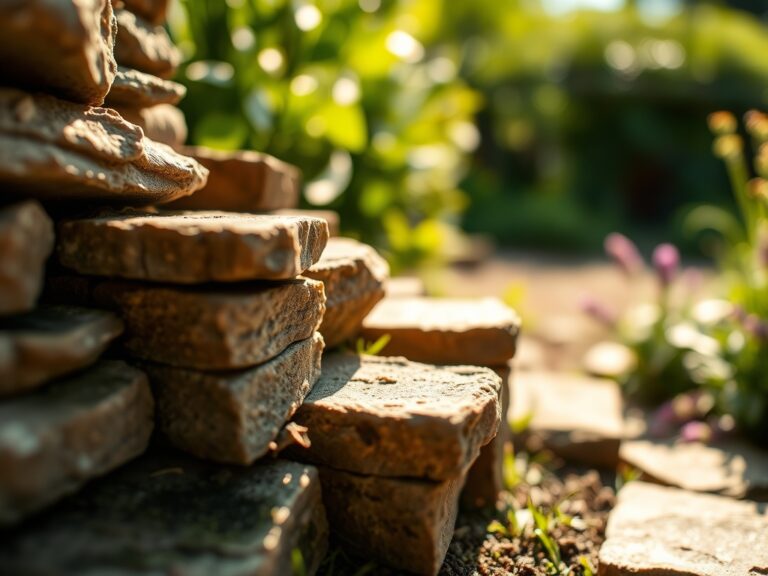
Substrate selection determines the success of the vegetation flanking your creek. The surrounding soil should be a friable loam with a pH between 6.0 and 7.0 to maximize nutrient availability. Before planting the margins, test your Soil Cation Exchange Capacity (CEC); a higher CEC indicates a better ability to hold onto essential cations like calcium and magnesium. For the creek itself, you require non-woven geotextile fabric to prevent sediment migration. The stone palette should include round river rock (2 to 4 inches) for the base and angular boulders (12 to 24 inches) for structural anchors.
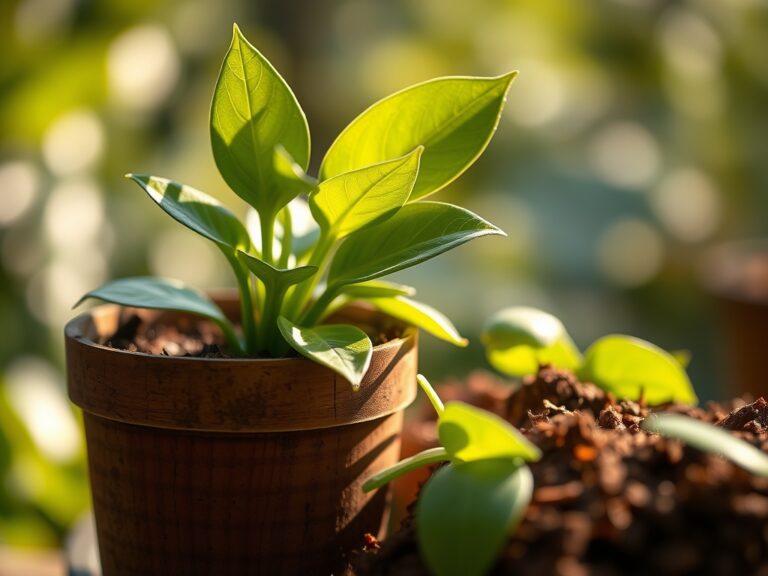
When amending the planting pockets along the banks, integrate organic matter to achieve an NPK ratio of 5-10-5. This phosphorus-heavy ratio encourages robust root development without forcing excessive vegetative growth that might destabilize the bank. Ensure the bulk density of your soil remains below 1.3 g/cm3 to allow for adequate gas exchange within the root zone.
Timing:
Timing this installation is critical to avoid soil "smearing," which occurs when digging in saturated clay. In Hardiness Zones 4 through 7, the ideal window is late summer or early autumn, at least six weeks before the first hard frost. This allows the biological clock of your marginal plants to transition from the vegetative stage to a state of dormancy while their roots are still active. In Zones 8 through 10, winter installation is preferred to avoid the heat stress that limits transpiration. You must monitor the photoperiod; as day length decreases, plants naturally allocate more carbohydrates to root storage. Installing during these windows ensures that by the time spring resurgence occurs, the root systems have established a symbiotic relationship with local mycorrhizal fungi.
Phases:

Sowing and Excavation
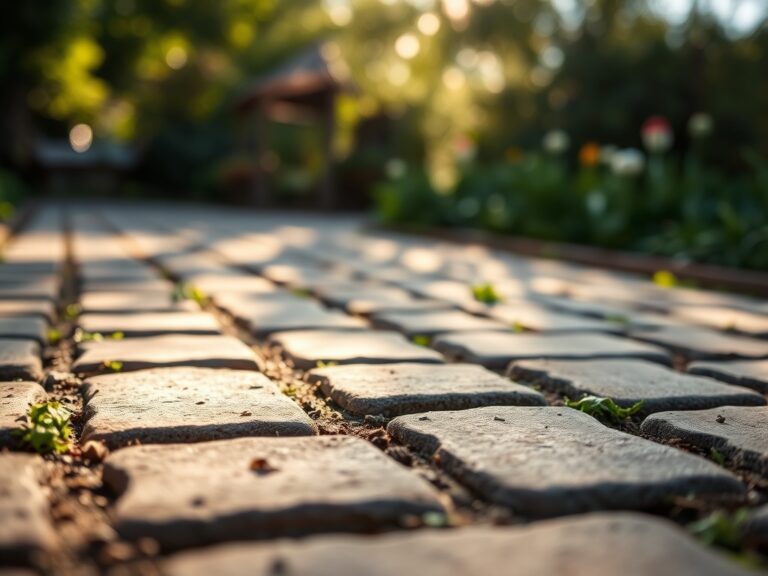
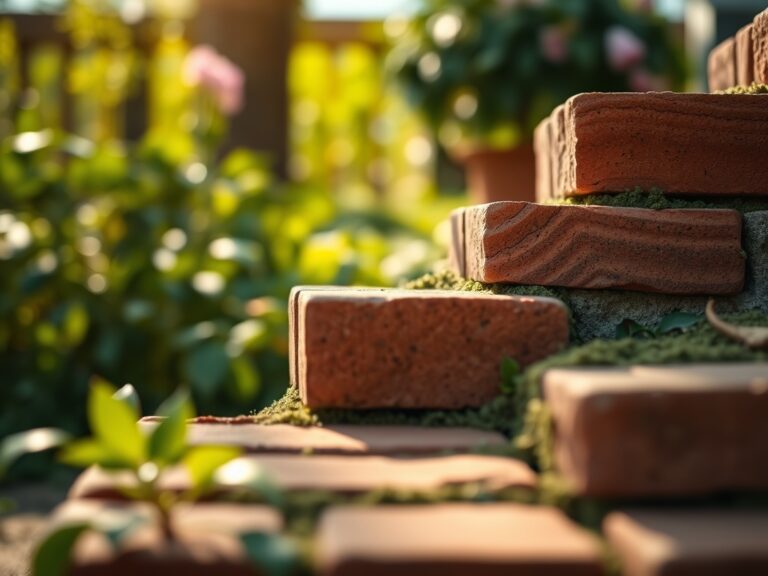
Begin by marking a meandering path that follows the natural topography. Excavate a trench 12 to 18 inches deep at the center, tapering the sides to a 3:1 slope to prevent bank collapse. The width should vary to mimic natural erosion patterns; narrow sections increase water velocity while wider sections allow for sediment settling.
Pro-Tip: Maintain a consistent 2 percent minimum slope throughout the channel. This ensures gravity overcomes the friction of the stone mulch, preventing stagnant water that leads to mosquito breeding and root rot in nearby specimens.
Transplanting and Anchoring
Line the trench with the geotextile fabric, securing it with 6-inch landscape staples. Place your largest boulders first at the "bends" of the creek. These act as "deflection points" that protect the bank from scouring. Fill the interstitial spaces with smaller river rock. When transplanting grasses like Carex or Juncus along the edges, ensure the root flare is level with the soil surface.
Pro-Tip: When placing stones, avoid a uniform "polka-dot" pattern. Group rocks in "clasts" or clusters. This mimics natural geological sorting and provides varied micro-climates for beneficial soil microbes to thrive.
Establishing the Riparian Zone
Once the stone is set, backfill the planting pockets with your amended loam. Water the area immediately to settle the soil and remove air pockets around the roots. For the first 21 days, the plants require consistent moisture to maintain turgor and prevent cellular senescence.
Pro-Tip: Use a root-stimulating hormone or kelp-based solution during the first watering. This suppresses apical dominance and encourages lateral root branching, which is vital for anchoring the plant against the force of moving water.
The Clinic:
Physiological disorders often arise when the creek bed alters the local hydrology. Monitor these symptoms closely:
- Iron Chlorosis: If the leaves of your marginal plants turn yellow while the veins remain green, the soil pH may be too high, locking up iron. Fix-It: Apply chelated iron or elemental sulfur to lower the pH to 6.5.
- Nitrogen Deficiency: General yellowing of older leaves indicates nitrogen is being leached away by high water flow. Fix-It: Apply a slow-release 10-0-0 fertilizer to the rhizosphere.
- Edema: Small bumps or blisters on the undersides of leaves suggest the plant is taking up more water than it can transpire. Fix-It: Improve airflow around the plant and ensure the creek bed is draining properly.
- Leaf Scorch: Brown, crispy edges on foliage indicate high transpiration rates that the roots cannot match. Fix-It: Increase mulch depth to 3 inches to regulate soil temperature.
Maintenance:
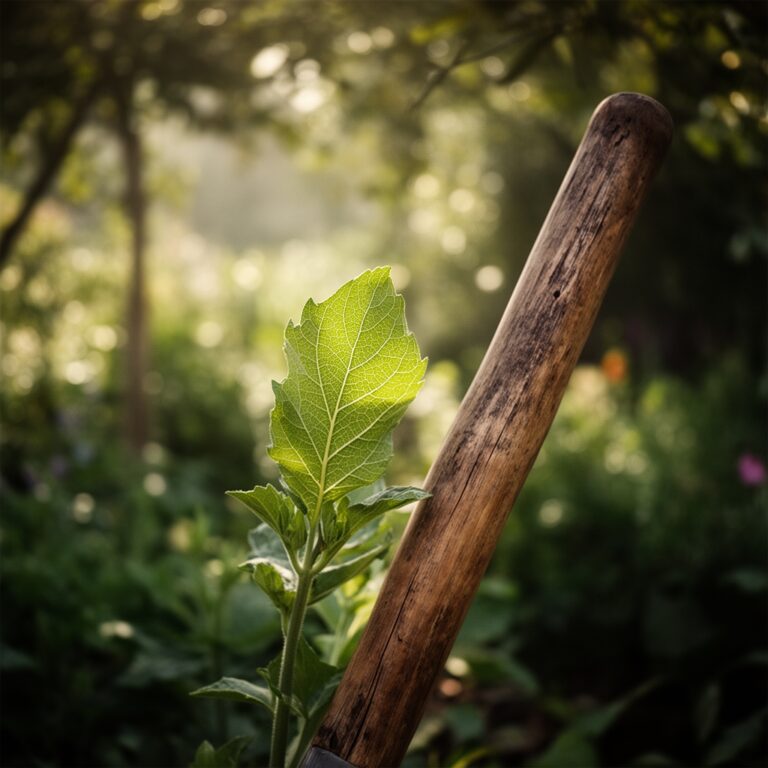
Maintenance of a dry creek bed is a technical task. Use a soil moisture meter weekly to ensure the banks are not becoming hydrophobic. Marginal plants typically require 1.5 inches of water per week delivered at the drip line. Use a hori-hori knife to remove invasive weeds that attempt to colonize the rock interstices; do not allow weeds to go to seed, as their roots can penetrate and tear the geotextile liner.
Prune your ornamental grasses in late winter using bypass pruners, cutting them back to 4 inches above the crown. This removal of senescent tissue prevents fungal pathogens from overwintering. Every three years, inspect the "head" of the creek for sediment buildup. Remove any silt to maintain the hydraulic capacity of the system.
The Yield:
If you have integrated flowering perennials like Iris sibirica or Lobelia siphilitica, harvest stems when the first bud on the spike begins to show color. Use a sharp, sterilized blade to make a diagonal cut. Immediately submerge the stems in 100-degree Fahrenheit water to break any air embolisms in the xylem. This technique ensures "day-one" freshness and extends the vase life by maintaining the plant's internal hydraulic pressure.
FAQ:
What is the best depth for a dry creek bed?
Excavate the center to a depth of 12 to 18 inches. This allows for a 2-inch base of gravel, the thickness of the river rock, and sufficient volume to handle heavy storm runoff without overtopping the banks.
Do I need a liner for a dry creek bed?
Yes, use a heavy-duty non-woven geotextile. Unlike plastic, this fabric allows water to infiltrate the soil slowly while preventing the stones from sinking into the mud and stopping weeds from emerging from the subsoil.
How do I stop weeds in the rocks?
Maintain a deep layer of stone and use a flame weeder or manual extraction with a hori-hori knife. Avoid chemical runoff that could enter the groundwater. Ensure the fabric liner is intact and overlapping at the seams.
Which rocks are best for drainage?
Use a mix of smooth river rocks for the bed to facilitate water flow and angular granite boulders for the edges to provide stability. Avoid limestone if you are growing acid-loving plants, as it can raise soil pH over time.