9 Vital Steps to Use Peat Moss
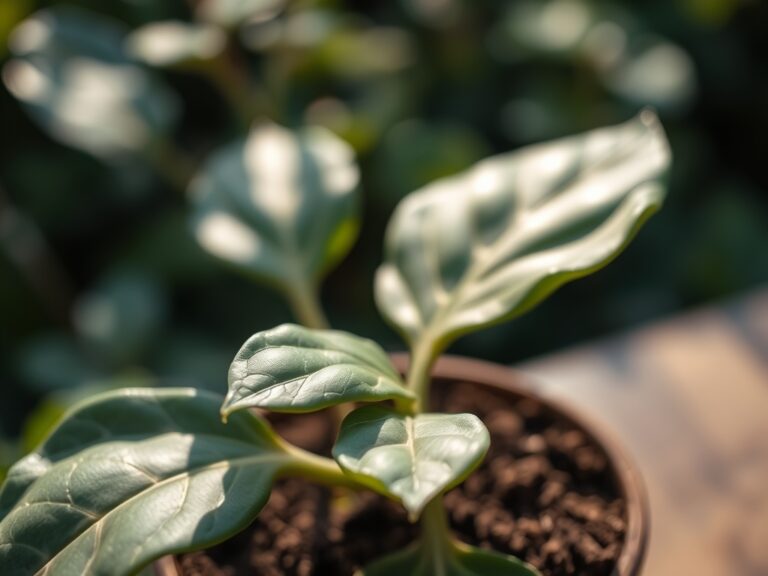
The smell of damp, decaying organic matter signals a healthy rhizosphere. When you squeeze a handful of saturated peat, the water should bead between your knuckles while the material retains its structural integrity. This is the foundation of turgor pressure; the internal hydraulic force that keeps a leaf rigid and functional. Mastering the steps to use peat moss requires an understanding of its sterile, acidic nature and its massive capacity for moisture retention. Peat moss can hold up to 20 times its dry weight in water, making it an unparalleled amendment for sandy soils or seed-starting mixes. However, its hydrophobic tendencies when dry require specific handling protocols to ensure it integrates with the soil matrix rather than repelling irrigation. Successful application hinges on pre-hydration and precise blending ratios to balance its low pH. By following these technical protocols, you ensure that your plants maintain optimal cellular hydration and nutrient uptake throughout the growing season.
Materials:

Selecting the correct grade of Sphagnum peat moss is critical for soil architecture. The ideal substrate should feel like a **friable loam**; loose, crumbly, and resistant to compaction. Because peat moss has a naturally low pH ranging from **3.5 to 4.5**, it is devoid of essential macronutrients. You must supplement the mix based on the following NPK requirements:
- Acid-Loving Plants (Blueberries, Azaleas): Blend peat with a 4-3-3 organic fertilizer. The high Cation Exchange Capacity (CEC) of peat will hold these nutrients effectively.
- General Vegetable Crops: Mix peat with garden soil and agricultural lime (1 cup of lime per bushel of peat) to neutralize acidity. Aim for a final NPK ratio of 10-10-10 in the top 6 inches of the soil profile.
- Seed Starting: Use a 1:1 ratio of peat to perlite. This provides a sterile environment with a neutral NPK of 0-0-0, preventing salt burn on delicate radicles.
Timing:
Timing your peat application depends heavily on your USDA Hardiness Zone. In Zones 3 through 6, incorporate peat moss into the beds at least three weeks before the last spring frost. This allows the acidic material to settle and the microbial population to stabilize. For Zones 7 through 10, autumn application is preferred to improve water retention before the intense heat of the summer solstice.
The "Biological Clock" of the plant dictates that peat should be utilized primarily during the vegetative stage. High moisture availability during this phase supports rapid cell division and expansion. Once a plant transitions to the reproductive stage (flowering), the high moisture retention of peat can occasionally lead to fungal pathogens if drainage is not managed. Monitor the photoperiod closely; as days shorten, reduce irrigation frequency to account for the peat's slower evaporation rate.
Phases:

Sowing
Before seeds touch the medium, you must pre-hydrate the peat in a large tub. Add warm water and knead the moss until it changes from light tan to a deep chocolate brown. If you skip this, the peat remains hydrophobic and will wick moisture away from the seed. Sowing in a 50/50 peat-vermiculite mix ensures the seed coat remains moist for uniform germination.
Pro-Tip: Peat moss provides a sterile environment that prevents damping-off, a fungal condition. By maintaining a low-nutrient, high-moisture environment, you encourage mycorrhizal symbiosis once the seedlings are moved to mineral soil.
Transplanting
When moving starts to the field, dig a hole twice the width of the root ball. Line the cavity with a mixture of 30% peat and 70% native soil. Use a hori-hori knife to scarify the edges of the planting hole, preventing the "pot-bound" effect where roots circle the peat pocket instead of penetrating the surrounding earth.
Pro-Tip: This transition zone manages osmotic potential. The peat acts as a reservoir, providing a steady supply of water to the roots, which prevents auxin suppression caused by transplant shock.
Establishing
During the first 21 days post-transplant, the peat-amended soil must remain consistently moist. Use a soil moisture meter to ensure the root zone stays between 60% and 80% field capacity. If the surface of the peat begins to crust, lightly scratch it with a hand rake to break the surface tension.
Pro-Tip: Maintaining high moisture levels in the peat layer supports phototropism by ensuring the plant has the turgor pressure necessary to orient its leaves toward the sun for maximum photosynthetic efficiency.
The Clinic:
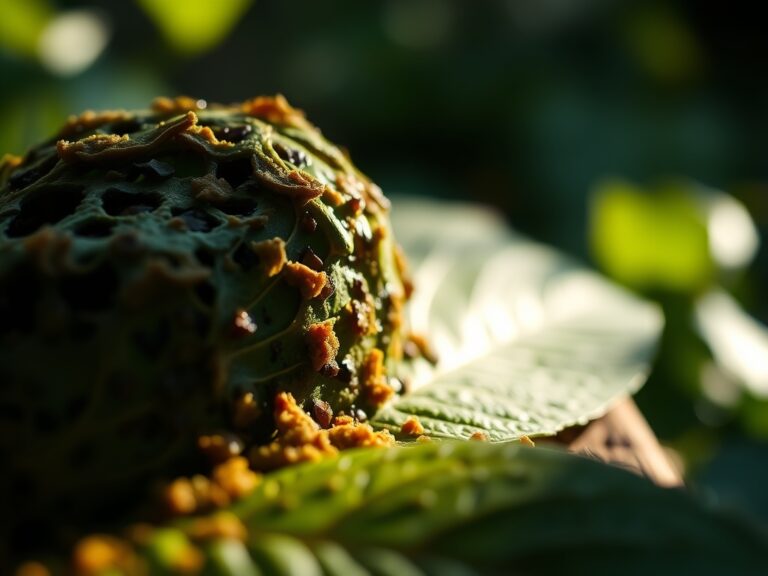
Physiological disorders often arise from the unique chemical properties of peat moss.
- Symptom: Interveinal Chlorosis (Yellowing leaves with green veins).
- Cause: Iron or Manganese deficiency caused by high pH if lime was over-applied, or low pH locking out nutrients.
- Solution: Test soil pH. If below 5.0, apply a liquid chelated iron drench.
- Symptom: Leaf Tip Burn.
- Cause: Salt accumulation. Peat has high CEC and can hold onto excess fertilizer salts.
- Solution: Flush the soil with 2 gallons of water per square foot to leach out excess mineral salts.
- Symptom: Stunted Growth with Purple Undersides.
- Cause: Phosphorus deficiency, common in cold, wet peat.
- Solution: Apply a high-phosphorus "starter" fertilizer with an NPK of 5-15-5 once soil temperatures exceed 60 degrees Fahrenheit.
Maintenance:
Precision is the hallmark of a professional horticulturist. Peat-amended beds require exactly 1.5 inches of water per week, delivered at the drip line via drip irrigation to avoid foliar diseases. Use bypass pruners to remove any necrotic tissue or "suckers" that divert energy from the main stem. Every spring, top-dress the area with 0.5 inches of fresh compost to replenish the organic matter that microbes consume. Use your soil moisture meter daily during heat waves; peat can look wet on the surface while being bone-dry at a depth of 4 inches.
The Yield:
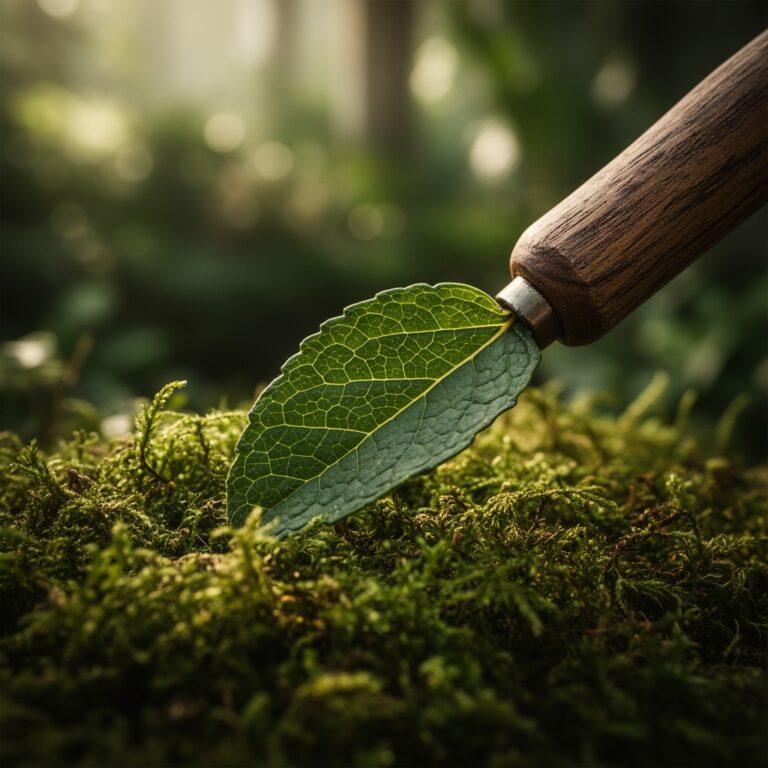
When harvesting crops grown in peat-heavy substrates, timing is dictated by the peak of sugar or essential oil accumulation. For leafy greens, harvest at 06:00 AM when turgor pressure is at its maximum. Use a sharp blade to make clean cuts, minimizing the wound area to prevent senescence triggers. For root crops, the friable nature of peat allows for easy extraction without bruising the epidermis. Post-harvest, immediately plunge produce into an ice-water bath (33-35 degrees Fahrenheit) to remove field heat and preserve "day-one" freshness.
FAQ:
How do I stop peat moss from repelling water?
Pre-hydrate the peat in a bucket of warm water before mixing it into your soil. Use a small amount of yucca extract or a biodegradable wetting agent to break the surface tension if the peat has already dried out in the garden.
Does peat moss ever expire or go bad?
Dry peat moss stored in a cool, dark place lasts indefinitely because it is sterile. However, once mixed with soil and hydrated, it slowly decomposes over 2 to 3 years, eventually losing its ability to aerate the soil effectively.
Can I use peat moss for all my garden plants?
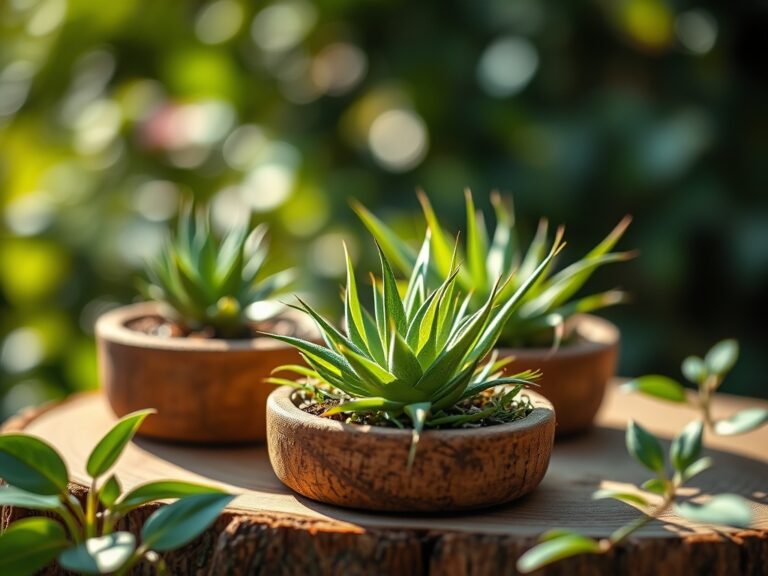
Peat is ideal for acid-loving plants and seed starting. However, for succulents or alkaline-loving plants like lavender, the high moisture retention and low pH can cause root rot. Always adjust the pH with lime for general garden use.
Is peat moss the same as compost?
No. Compost is rich in nutrients and microbial life but breaks down quickly. Peat moss is sterile, nutrient-poor, and lasts much longer in the soil. Use peat for structure and moisture, and compost for biological activity and nutrition.