9 Steps to Install Subsurface Irrigation for Healthy Roots
Subsurface irrigation transforms vegetable production by delivering water and nutrients directly to the root zone, reducing evaporation by 30–40% compared to overhead systems. The steps for installing a subsurface irrigation for veg require careful planning of drip line depth, emitter spacing, and soil texture compatibility to prevent waterlogging while maximizing cation exchange capacity. This method promotes deeper root penetration and reduces foliar disease pressure by keeping leaves dry throughout the growing season.
Materials and Components
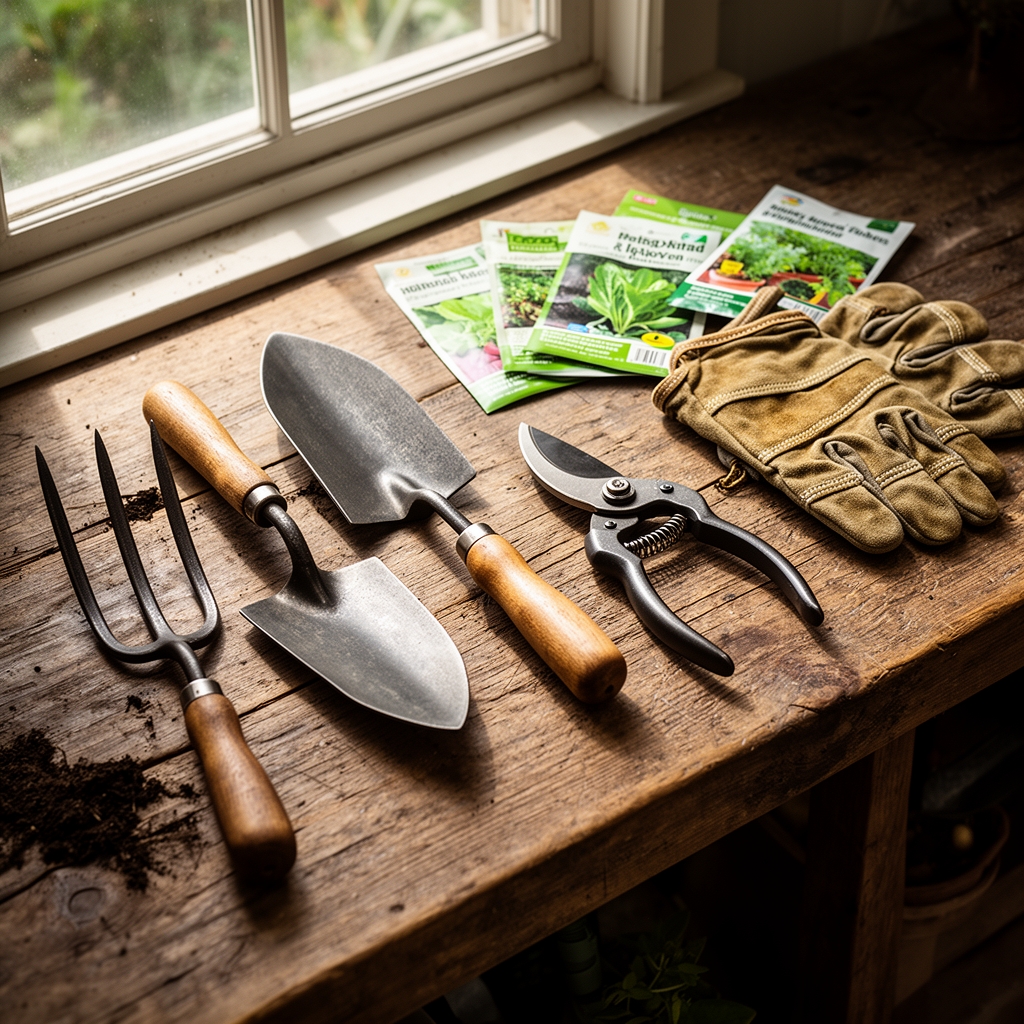
The system foundation requires polyethylene drip tubing rated for burial, with 0.6-inch diameter and emitters spaced 12–18 inches apart depending on soil type. Sandy soils demand closer spacing at 12 inches, while clay-rich soils distribute moisture laterally and tolerate 18-inch intervals. Pressure-compensating emitters delivering 0.5–1.0 gallons per hour maintain consistent flow across elevation changes.
A backflow preventer protects potable water sources from contamination. Install a 120-mesh disc filter to prevent particle clogging in emitters. A pressure regulator maintains 15–25 PSI throughout the system. Mainline PVC piping (3/4 to 1 inch) connects the water source to distribution manifolds.
Soil amendments establish optimal growing conditions before installation. Apply composted manure at 2–3 cubic yards per 1,000 square feet, providing a slow-release NPK ratio near 1-1-1. Incorporate a balanced organic fertilizer (4-4-4) at 50 pounds per 1,000 square feet for immediate nutrient availability. Adjust pH to 6.0–6.8 using dolomitic limestone for acidic soils or elemental sulfur for alkaline conditions.
Timing and Environmental Windows
Install subsurface irrigation systems 3–4 weeks before transplanting or direct seeding vegetables. This allows settling time and system testing. In USDA Hardiness Zones 5–7, complete installation between late March and early May, after the final frost date when soil temperatures reach 50°F at 4-inch depth. Zones 8–10 permit year-round installation but prioritize fall setup (September–October) to avoid summer heat stress during establishment.
Soil moisture content during trenching affects compaction and root development patterns. Install when soil reaches field capacity but not saturation. Soil at proper moisture crumbles when squeezed but does not form a muddy ball.
Installation Phases

Planning and Layout
Map planting rows with 24–36 inch spacing for compact vegetables like lettuce and spinach, 36–48 inches for sprawling crops like squash and cucumbers. Mark drip line paths parallel to rows, positioned centrally beneath future root zones. Calculate water requirements based on crop evapotranspiration rates. Tomatoes demand 1–1.5 inches weekly during fruiting, while leafy greens require 0.75–1 inch.
Pro-Tip: Apply mycorrhizal fungi inoculant (Glomus species) to planting zones at 2 ounces per 100 square feet before trenching. This colonization establishes symbiotic relationships that enhance phosphorus uptake by 40–60%.
Trenching and Line Placement
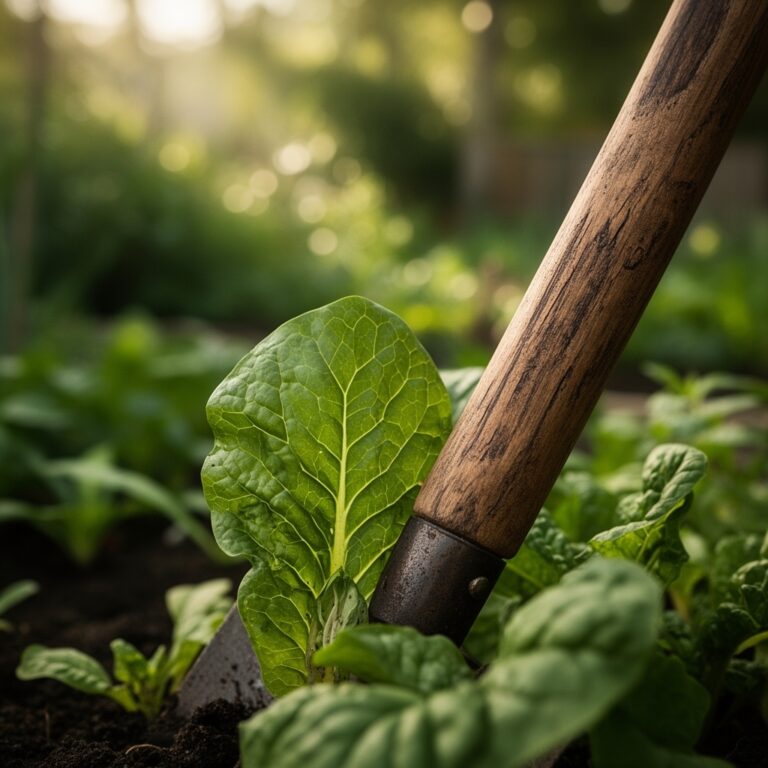
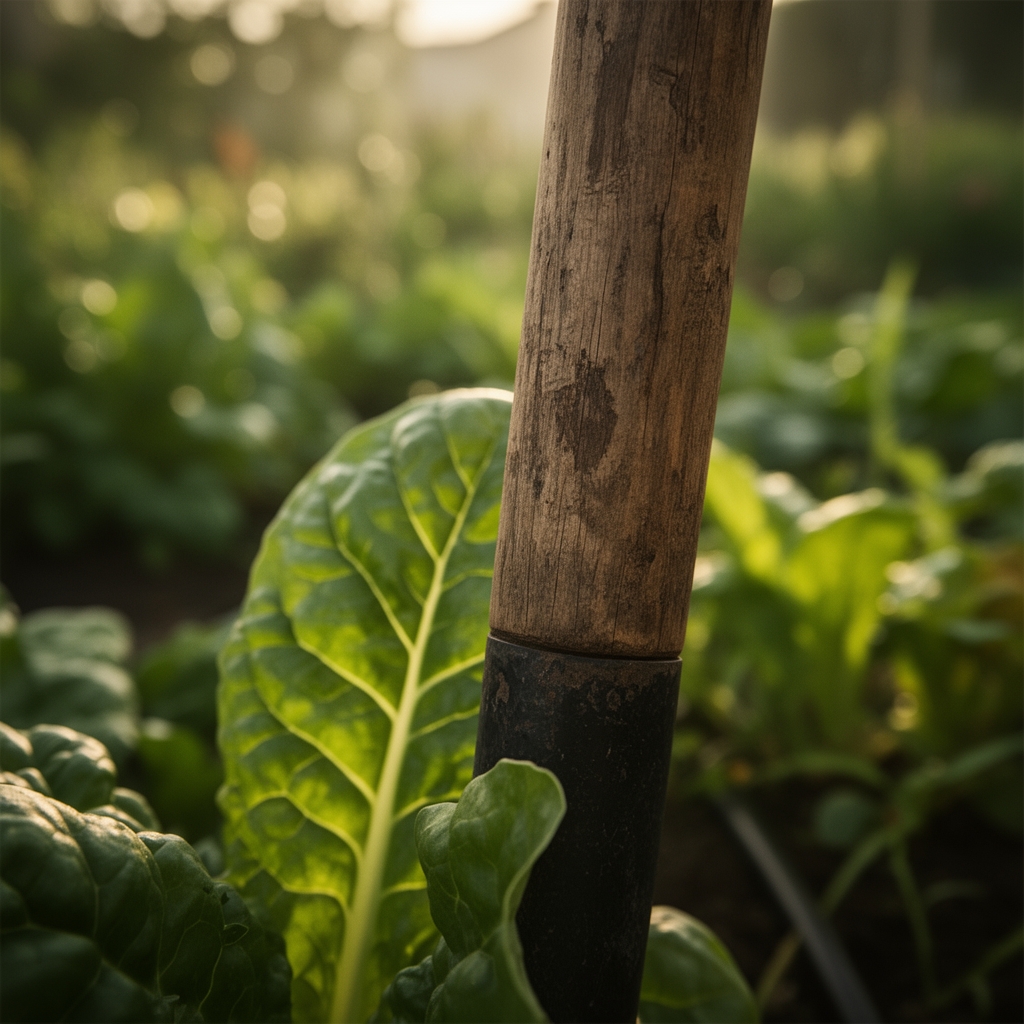
Excavate trenches 4–6 inches deep using a mechanical trencher or hand tools. Depth varies by crop: shallow-rooted crops like lettuce tolerate 4-inch depth, while deep-rooted tomatoes and peppers benefit from 6-inch placement. Maintain consistent depth to prevent pooling and ensure uniform auxin distribution for lateral root development.
Unroll drip tubing along trenches with emitters facing upward. This orientation prevents root intrusion and sediment accumulation. Flush lines thoroughly before burial, running water until clear flow emerges from terminal ends.
Pro-Tip: Position tubing 2 inches laterally from transplant sites rather than directly beneath stems. This encourages horizontal root exploration and prevents crown rot in susceptible species.
System Connection and Testing
Connect lateral lines to mainline manifolds using compression fittings. Install ball valves at each zone for independent control. Activate the system and verify emitter function across all zones. Pressure should remain stable at 20 PSI. Repair any leaks with coupling sleeves before backfilling.
Backfill trenches gradually, compacting soil lightly every 2 inches to eliminate air pockets without crushing tubing. Surface soil should remain level with surrounding beds.
Pro-Tip: Mark line locations with surface flags every 10 feet to prevent accidental damage during cultivation.
Troubleshooting Common Issues
Symptom: Uneven plant growth with dry patches.
Solution: Pressure imbalance or clogged emitters. Flush lines with acidified water (pH 4.5 using phosphoric acid) to dissolve mineral deposits. Inspect and replace damaged emitters.
Symptom: Waterlogged soil and stunted root development.
Solution: Excessive irrigation duration or poor drainage. Reduce run times by 25% and amend heavy clay soils with coarse sand at 2 cubic yards per 1,000 square feet to improve percolation.
Symptom: Algae growth at soil surface despite subsurface delivery.
Solution: Lines installed too shallow or emitter leakage. Re-trench and deepen lines to 6 inches. Replace defective emitters showing surface seepage.
Symptom: Wilting plants with moist soil.
Solution: Root-knot nematodes (Meloidogyne species) or Pythium root rot. Solarize soil pre-installation by covering with clear plastic for 4–6 weeks in summer. Apply beneficial nematodes (Steinernema feltiae) at 50 million per acre.
Maintenance Protocols
Deliver 1 inch of water per week through subsurface lines, divided into 2–3 cycles to prevent runoff. During peak summer heat, increase to 1.5 inches for fruiting vegetables. Monitor soil moisture at 6-inch depth using a tensiometer, maintaining readings between 20–40 centibars.
Flush lines monthly by opening terminal ends and running water for 5 minutes. Apply fertilizer through the system (fertigation) every 14 days using soluble formulations at half-strength (NPK 15-5-10 diluted to electrical conductivity of 1.5–2.0 mS/cm).
Inspect filters weekly during active growing season. Clean or replace filter elements when pressure drop exceeds 5 PSI. Winterize systems in zones experiencing freezing by draining lines completely and introducing compressed air at 20 PSI to evacuate residual water.
Frequently Asked Questions
How deep should subsurface drip lines be installed for tomatoes?
Install lines 6 inches deep for determinate and indeterminate tomato varieties. This depth supports extensive root systems while preventing surface evaporation.
Can subsurface irrigation work in heavy clay soil?
Yes, but increase emitter spacing to 18 inches and reduce flow rates to 0.5 gallons per hour. Amend clay with compost to improve infiltration rates.
What emitter spacing works best for leafy greens?
Space emitters 12 inches apart for uniform moisture distribution in shallow-rooted crops like lettuce, kale, and spinach planted at high density.
How often should filters be cleaned?
Clean filters every 7–10 days during active irrigation periods. Heavy sediment loads or algae growth require more frequent maintenance.
Does subsurface irrigation reduce fertilizer needs?
Nutrient efficiency increases 20–30% due to targeted delivery and reduced leaching. Reduce granular applications by one-quarter and supplement with liquid fertigation.