7 Steps to Build a Rustic Garden Fence with Natural Timbers
Crushing a handful of damp, friable loam reveals the structural integrity of your garden site. The smell of geosmin indicates a healthy microbial population within the rhizosphere, while the high turgor pressure of the surrounding vegetation confirms adequate hydration. Securing this environment requires physical boundaries that respect the land. Mastering the steps for building a rustic garden fence ensures your cultivated space remains protected from macro-fauna while maintaining a natural aesthetic. This process demands structural precision and an understanding of timber decomposition rates.
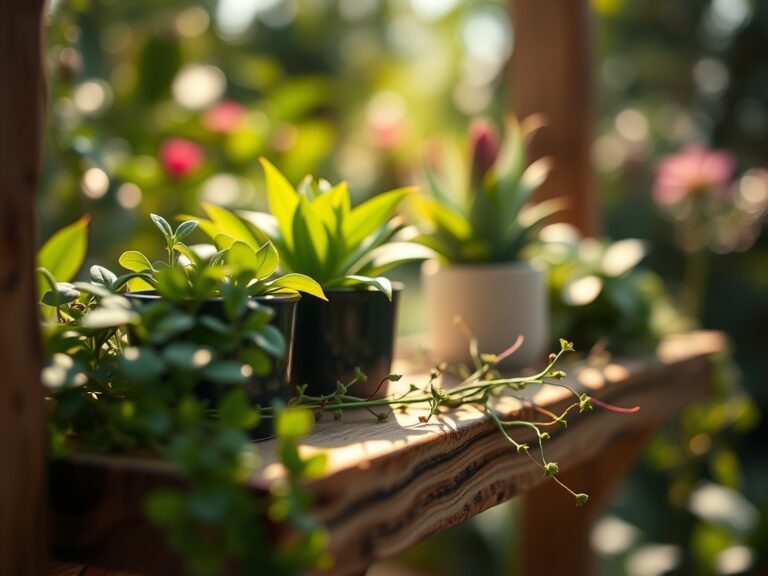
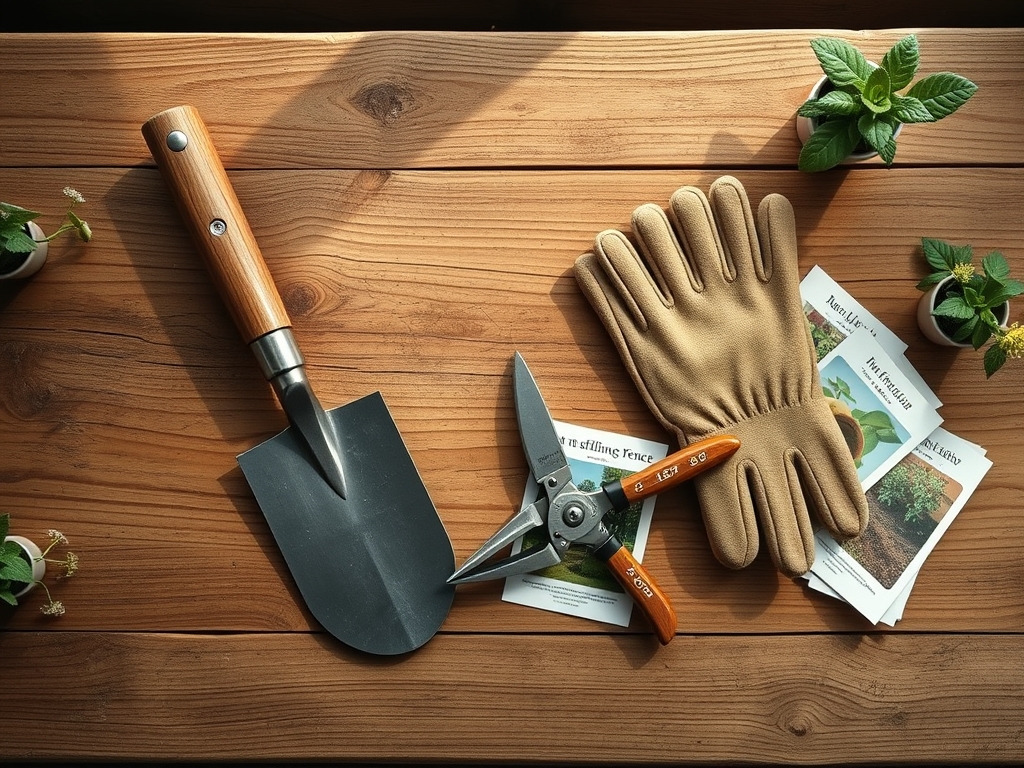
Materials:
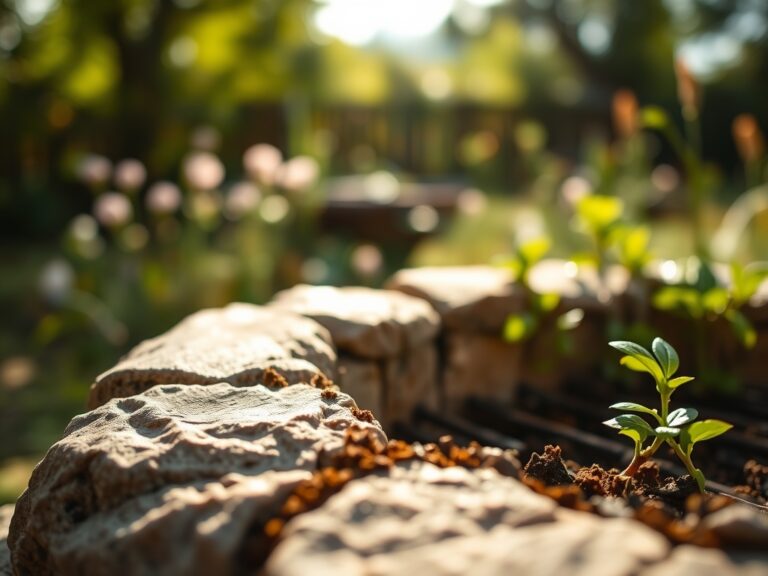
The foundation of any perimeter begins with the soil chemistry where posts will be seated. Ideal soil for post stability is a well-drained, **friable loam** with a **pH between 6.0 and 7.0**. High acidity (pH below 5.5) accelerates the oxidation of metal fasteners and the fungal decay of untreated wood. If the Cation Exchange Capacity (CEC) is high, the soil holds more moisture, which necessitates the use of rot-resistant species like Black Locust or Eastern Red Cedar.
For the surrounding plantings, maintain a balanced nutrient profile. Use an NPK ratio of 10-10-10 for general establishment. If you are planting nitrogen-fixing cover crops along the fence line to improve soil tilth, shift to a 5-10-10 ratio to prioritize root development over excessive vegetative biomass. Ensure the substrate has a bulk density of approximately 1.33 g/cm3 to provide sufficient mechanical support for the fence posts without restricting water infiltration.
Timing:
Timing the installation depends on your local Hardiness Zone and the hydrological state of the soil. In Zones 4 through 7, the optimal window is late autumn or early spring when the ground is not frozen but the plants have entered senescence. This dormant period prevents the compaction of the soil around active root systems.
Understanding the biological clock of your garden is essential. Avoid heavy construction during the peak vegetative stage (late spring) when high sap flow makes surrounding plants more susceptible to damage from physical impact. Aim for the window between the first hard frost and the ground freeze. At this time, the photoperiod has shortened, and plants have shifted their energy from leaf production to carbohydrate storage in the root zone, making them more resilient to the temporary disturbance of post-hole digging.
Phases:
Sowing the Perimeter
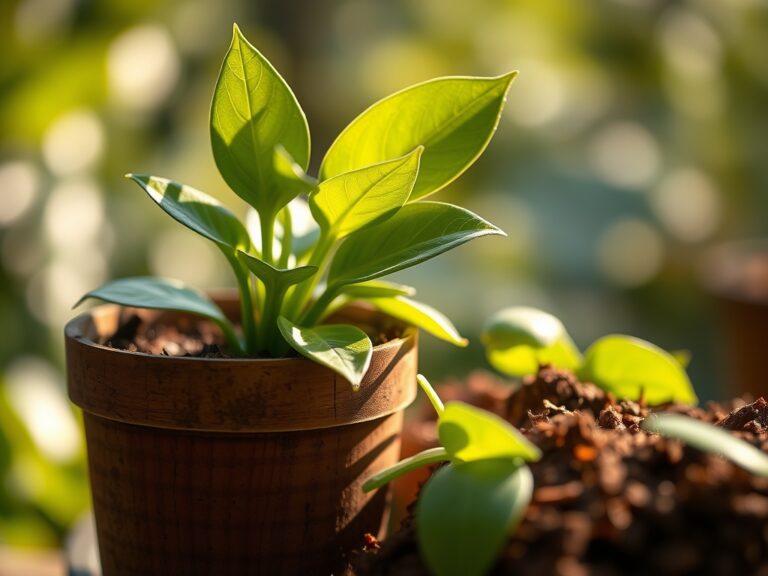
Before the first timber is set, establish a low-growing ground cover to prevent erosion. Sow white clover or creeping thyme in the disturbed soil. These species stabilize the soil aggregates and improve the Cation Exchange Capacity over time.
Pro-Tip: Utilize mycorrhizal symbiosis by inoculating the soil with beneficial fungi during sowing. This biological partnership extends the root reach of your perimeter plants, allowing for better water uptake and structural soil stability around the fence base.
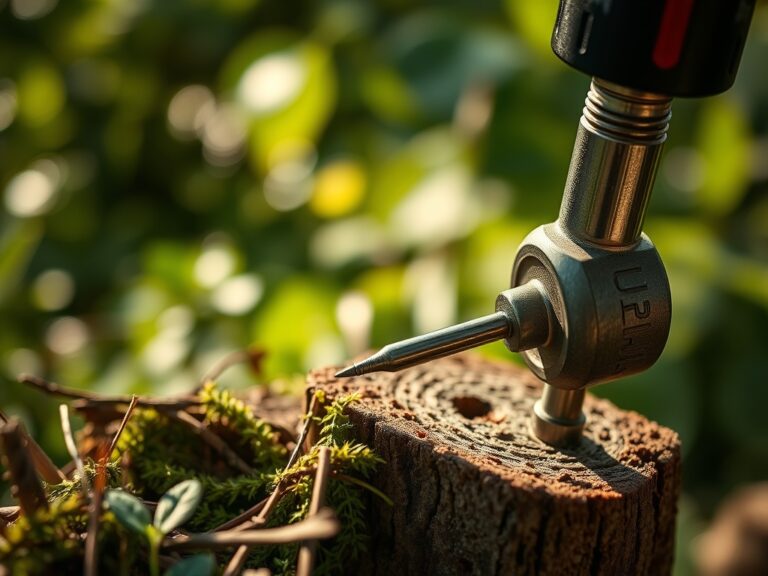
Transplanting and Post Setting
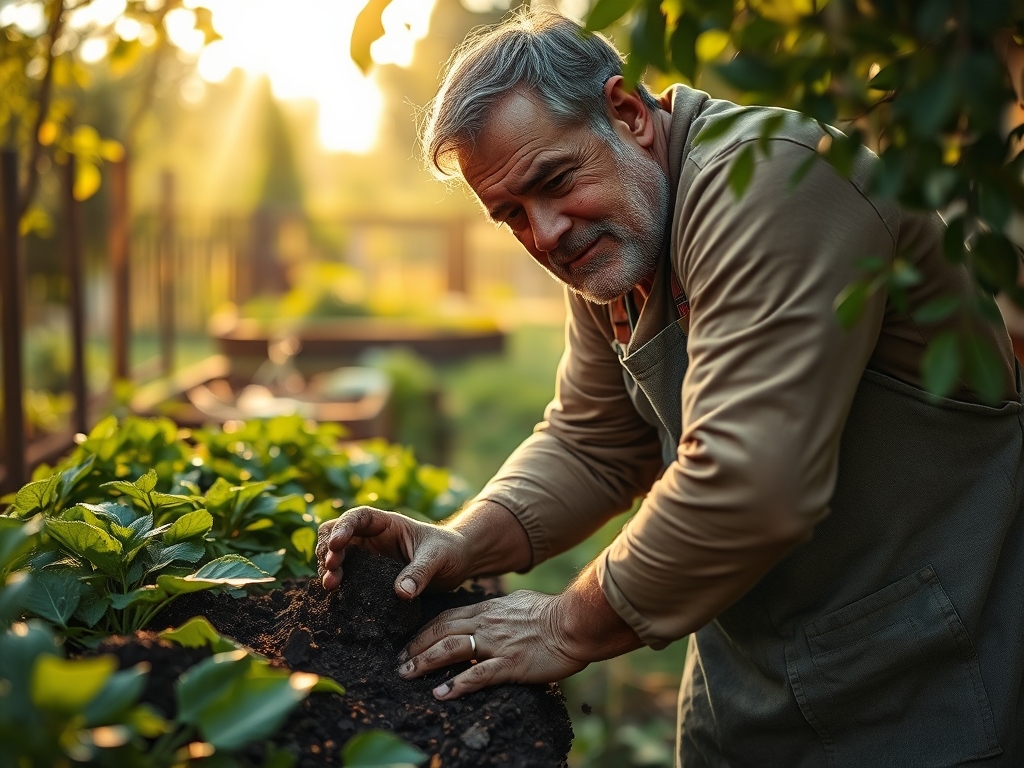
Dig post holes to a depth of at least 24 inches or below the local frost line. Use a hori-hori knife to clean the edges of the holes, ensuring you do not glaze the soil sides, which can prevent lateral water movement. Set your natural timbers, such as cedar or oak, directly into the earth or a gravel base for drainage.
Pro-Tip: When backfilling, avoid auxin suppression in nearby shrubs. If you prune roots to make room for a post, use clean, sharp bypass pruners to make a 45-degree cut. This stimulates the production of lateral roots rather than triggering a stress response that halts growth.
Establishing the Rails
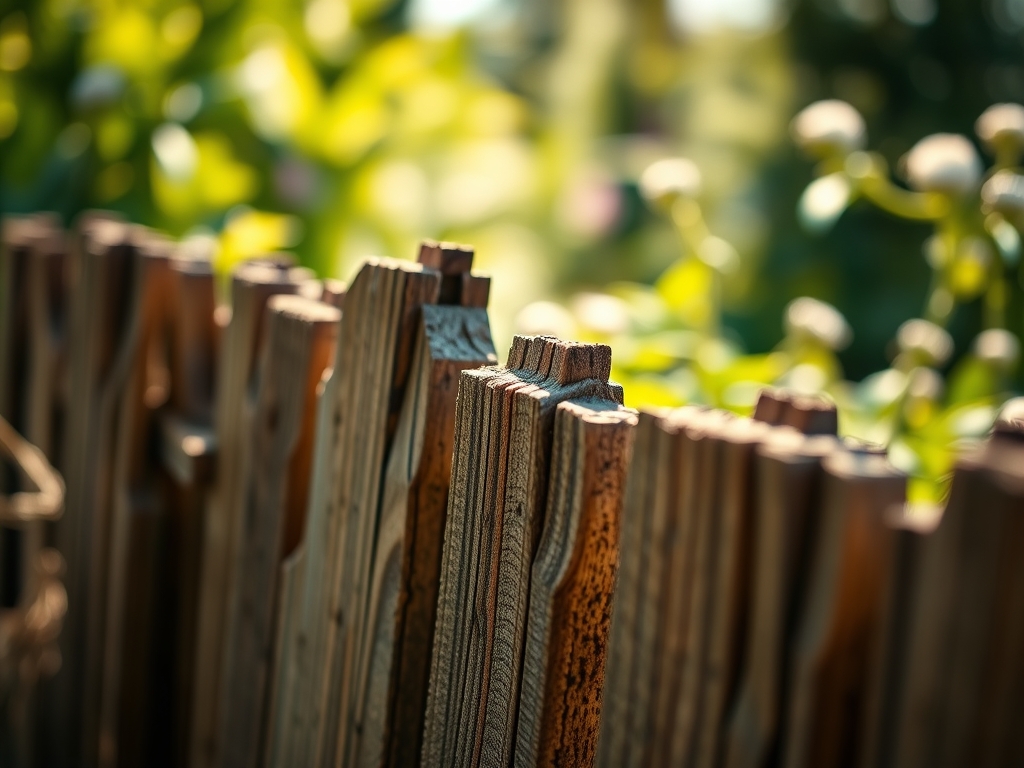
Attach horizontal rails using galvanized hardware. The rustic aesthetic is achieved by using unpeeled branches or split logs. Ensure the bottom rail sits at least 2 inches above the soil surface to prevent constant moisture contact and subsequent fungal colonization.
Pro-Tip: Align the rails to accommodate phototropism. If the fence is too tall and solid, it will create a "light shadow," causing interior plants to lean aggressively toward the light source. Using a spaced-paling or wattle design maintains airflow and light penetration.
The Clinic:
Physiological disorders in the garden often manifest near new structures due to changes in microclimates.
-
Symptom: Interveinal chlorosis on new leaves.
Solution: This indicates Iron deficiency, often caused by high soil pH near concrete post footings. Apply chelated iron or sulfur to lower the pH to 6.5. -
Symptom: Yellowing of older leaves (Nitrogen chlorosis).
Solution: The carbon-to-nitrogen ratio may be skewed if wood chips from the fence construction are mixed into the soil. Add a high-nitrogen fertilizer with an NPK of 21-0-0 to compensate. -
Symptom: Leaf wilt despite moist soil.
Solution: This suggests root rot (Phytophthora) caused by poor drainage around the fence line. Increase soil porosity by incorporating organic matter or installing a French drain. -
Symptom: Stunted growth and purple-tinted foliage.
Solution: Phosphorus deficiency is common in cold, wet soils. Ensure the fence is not causing a "cold sink" by blocking air drainage. Apply a 0-20-0 fertilizer to the root zone.
Maintenance:
A rustic fence requires consistent monitoring of the surrounding environment. Use a soil moisture meter to ensure the area along the fence line receives exactly 1.5 inches of water per week at the drip line. This prevents the soil from pulling away from the posts during drought or becoming a bog during heavy rains.
Inspect the timbers annually for signs of structural failure. Use your hori-hori knife to probe the base of the posts for softness. If the wood yields easily, fungal decay is present. Prune any encroaching vegetation with bypass pruners to maintain a 6-inch air gap between the fence and the foliage. This prevents the buildup of humidity, which can lead to powdery mildew or premature wood rot.
The Yield:
If your rustic fence supports climbing edibles like pole beans or hops, harvest timing is critical for nutrient density. Harvest beans when the pods are firm and exhibit high turgor pressure but before the seeds bulge significantly. This ensures the plant remains in a productive state rather than shifting into senescence.
For flowers like sweet peas, cut early in the morning when the temperature is lowest and the stems are fully hydrated. Use a sharp blade to avoid crushing the vascular tissue (xylem and phloem). Immediately plunge the stems into 40-degree Fahrenheit water to maintain "day-one" freshness and slow the metabolic rate of the cut bloom.
FAQ:
What is the best wood for a rustic fence?
Black Locust and Eastern Red Cedar are superior due to their high concentration of natural oils and tannins. These compounds resist fungal decay and insect infestation for 20 plus years without the need for chemical treatments.
How deep should fence posts be buried?
Posts must reach a minimum depth of 24 inches. In colder climates, they must extend below the frost line to prevent "heaving." This occurs when the freeze-thaw cycle of soil moisture physically ejects the post from the ground.
Can I use concrete to set natural timber posts?
Concrete is generally discouraged for natural timbers. It traps moisture against the wood grain, accelerating rot. A compacted gravel base allows for superior drainage and maintains a stable soil pH around the post base.
How do I prevent the fence from shading my plants?
Orient the fence line on an east-west axis to minimize midday shadows. Use a "gap" design with at least 3 inches between rails. This allows for maximum light penetration and maintains essential airflow to prevent fungal pathogens.
Does a rustic fence affect soil nutrients?
As natural timbers slowly decompose, they can temporarily tie up nitrogen in the immediate rhizosphere. Monitor your plants for signs of chlorosis and supplement with a high-nitrogen fertilizer if the wood-to-soil contact is significant.