6 Sturdy Steps to Build a Timber Retaining Wall
Damp earth releases a sharp, geosmin-heavy scent when you break the grade to begin the steps to build a timber retaining wall. This project is more than a structural necessity; it is a fundamental reconfiguration of the local topography to manage hydraulic pressure and soil stability. A wall fails not from the weight of the timber, but from the inability of the soil to maintain its internal friction. When the turgor pressure in nearby plant tissues remains high, it indicates a root system that is hydrated but not drowned by poor drainage behind the wall. Success requires a mastery of soil mechanics and an understanding of how gravity interacts with saturated organic matter.
Materials:
The substrate behind your timber wall must be a **friable loam** to ensure gas exchange within the rhizosphere. If you are planting along the terrace, aim for a **soil pH between 6.2 and 6.8**. This range optimizes the Cation Exchange Capacity (CEC), allowing the soil to hold onto essential nutrients like calcium and magnesium. For the backfill, avoid heavy clays that expand when wet. Instead, use a mix that supports an **NPK ratio of 10-10-10** for general establishment, or a **5-10-10** ratio if you are installing woody perennials that require phosphorus for root development rather than rapid vegetative growth. You will need **6-by-6 inch pressure-treated timbers**, **12-inch galvanized steel spikes**, and a **minimum of 4 inches of angular crushed stone** for the base.
Timing:
Construction and subsequent planting should align with your specific Hardiness Zone requirements. In Zones 5 through 7, the ideal window opens after the last spring frost when the soil temperature reaches a consistent 55 degrees Fahrenheit. This timing respects the biological clock of the surrounding flora, moving from the dormant winter state into the high-energy vegetative stage. Avoid building during periods of heavy autumnal senescence. When plants are pulling nutrients back into their root systems for winter storage, the soil disturbance can interrupt the transition to dormancy. Aim for a period of dry weather to prevent soil compaction, which destroys the macropores necessary for oxygen to reach subterranean microbes.
Phases:

Sowing the Foundation
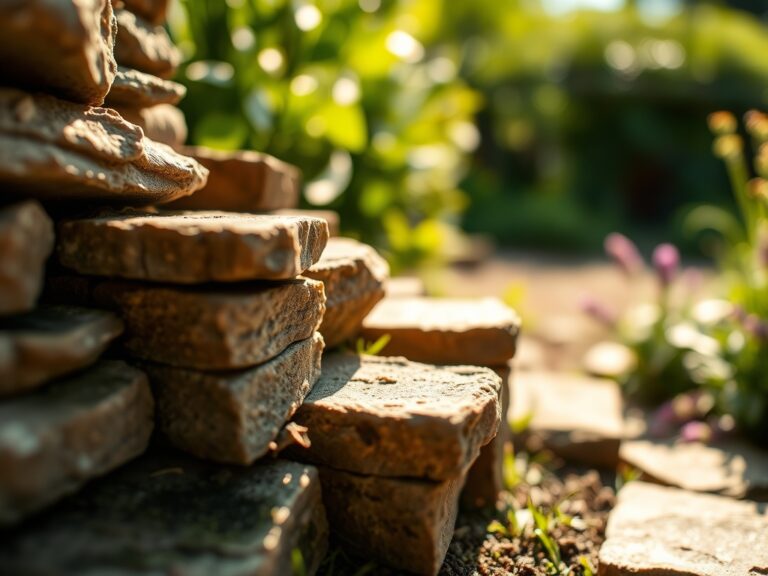
Excavate a trench 12 inches wide and 6 inches deep. The first course of timber must be buried to resist the lateral force of the earth. Level the trench with 3 inches of compacted gravel. This layer prevents capillary action from pulling moisture into the wood, which would otherwise accelerate fungal decay.
Pro-Tip: Proper leveling prevents localized soil compression. If the wall is uneven, it creates "hot spots" of pressure that can crush the delicate mycorrhizal networks in the soil, stalling the symbiotic nutrient exchange between fungi and plant roots.
Transplanting the Structure
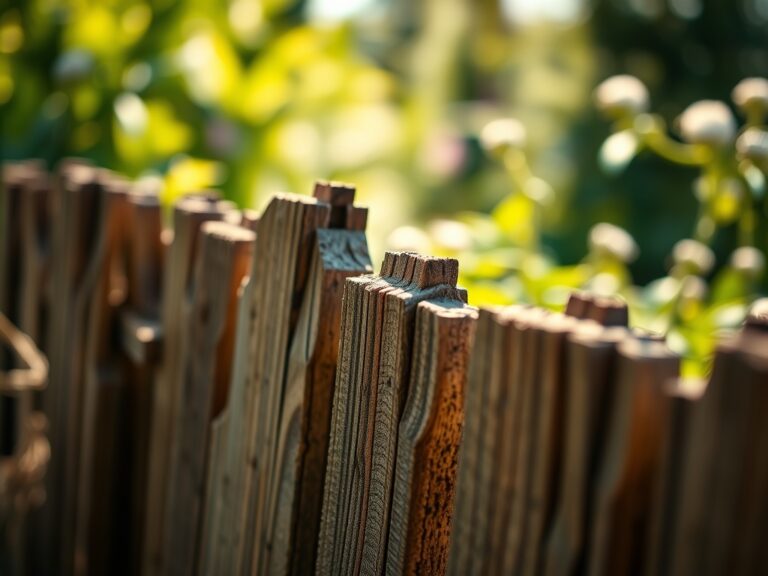
Stack the timbers in a "running bond" pattern, staggering the joints. Every second layer should include "deadmen" timbers that extend perpendicularly into the hillside. These anchors use the weight of the soil to hold the wall upright. Secure each layer with 10-inch or 12-inch steel spikes driven through the timber into the course below.
Pro-Tip: Staggering joints is a structural application of the same principle found in plant cell walls. By overlapping components, you distribute stress across a wider surface area, much like cellulose microfibrils reinforce a plant against turgor pressure.
Establishing Drainage
Install a 4-inch perforated drain pipe (weeping tile) behind the first course of timber. Wrap the pipe in a geotextile sleeve to prevent silt from clogging the system. Backfill the space behind the wall with clean, angular gravel rather than native soil. This creates a high-permeability zone that prevents hydrostatic pressure from bowing the wood.
Pro-Tip: Rapid drainage is essential to prevent anaerobic conditions. Without oxygen in the pore spaces, roots undergo fermentation, leading to a buildup of ethanol and lactic acid that kills the plant from the bottom up.
The Clinic:
Physiological disorders in the landscape often manifest after the soil is disturbed. Watch for these specific symptoms:
- Nitrogen Chlorosis: If leaves on the terrace turn a pale yellow while veins remain green, the soil may have a high C/N ratio due to sawdust or wood debris. Fix-It: Apply a high-nitrogen fertilizer (20-0-0) to restore the 10-10-10 balance.
- Iron Deficiency: Common in high pH soils (above 7.5). New growth appears bleached. Fix-It: Amend the backfill with elemental sulfur to lower pH and increase iron bioavailability.
- Leaf Epinasty: Downward curling of leaves may indicate soil compaction or waterlogging behind the wall. Fix-It: Ensure the drainage pipe is clear and the gravel backfill is at least 12 inches wide.
- Phosphorus Deficiency: Purplish tint on older leaves indicates cold soil or poor root development. Fix-It: Apply bone meal or a 0-20-0 fertilizer directly to the root zone.
Maintenance:
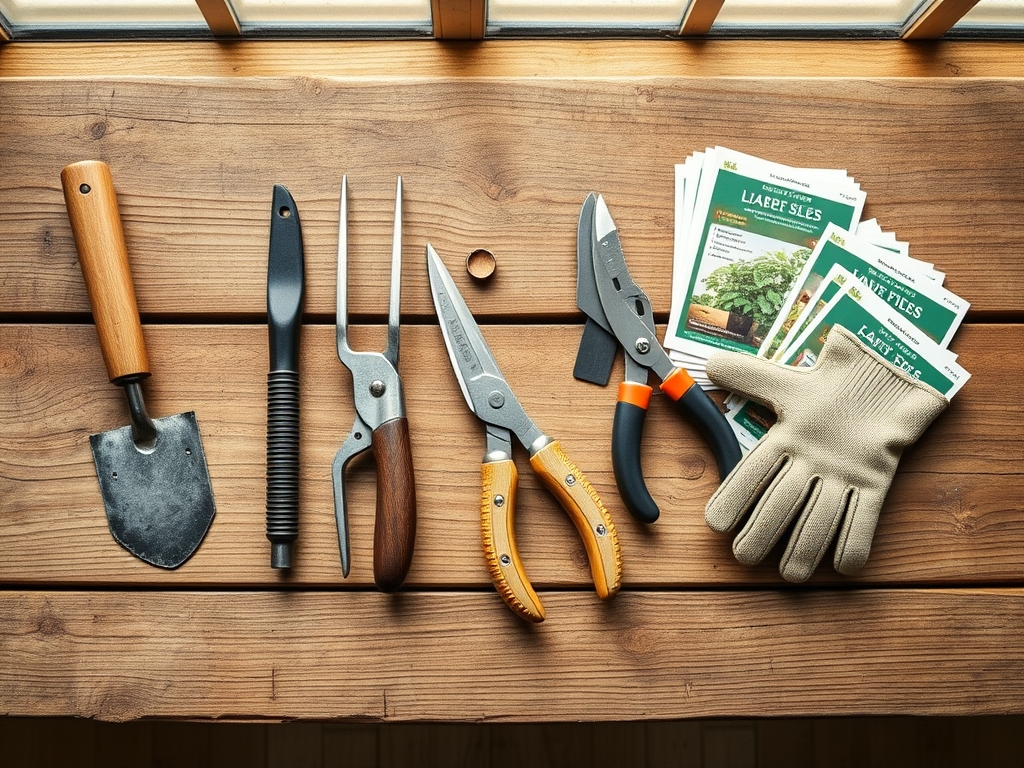
A timber wall requires active monitoring of the hydrological environment. Use a soil moisture meter to ensure the terrace maintains a consistent moisture level. Most established perennials require 1.5 inches of water per week delivered at the drip line. Avoid spraying the timber directly to minimize the risk of surface rot. Every spring, use a hori-hori knife to check for soil settling behind the timbers; fill any voids immediately to prevent air pockets from drying out roots. Inspect the wood for "checking" or deep cracks. If you notice structural shifting, use bypass pruners to thin the canopy of any heavy shrubs planted on the terrace, reducing the wind load and weight on the retaining structure.
The Yield:
If your timber wall supports an edible terrace, such as strawberries or herbs, harvest timing is critical for nutrient density. Harvest during the early morning hours when turgor pressure is at its peak. This ensures the plant tissues are crisp and have the highest concentration of volatile oils. For woody herbs like rosemary or thyme, never remove more than one-third of the vegetative growth at once. This prevents the plant from entering a state of shock and maintains the auxin levels necessary for new bud development. Place harvested greens immediately in a cool, shaded environment to slow the rate of respiration and preserve "day-one" freshness.
FAQ:
How deep should the first timber be buried?
The first course should be buried at least 3 to 6 inches deep. This provides a structural "toe" that prevents the base of the wall from kicking out under the weight of saturated soil.
What is the best drainage material for a timber wall?
Use 3/4-inch angular crushed stone. Unlike rounded pea gravel, angular stone locks together to provide stability while maintaining large voids for rapid water movement away from the timber.
Do I need to use pressure-treated wood?
Yes. Use wood rated for ground contact (UC4A or higher). Untreated timber will succumb to fungal decay and wood-boring insects within three to five years, compromising the structural integrity of the slope.
How do I prevent the wall from leaning over time?
Install deadmen timbers every 8 feet. These are 4-foot sections of timber buried perpendicularly into the bank. They act as anchors, using the soil's own weight to pull the wall back against the hillside.