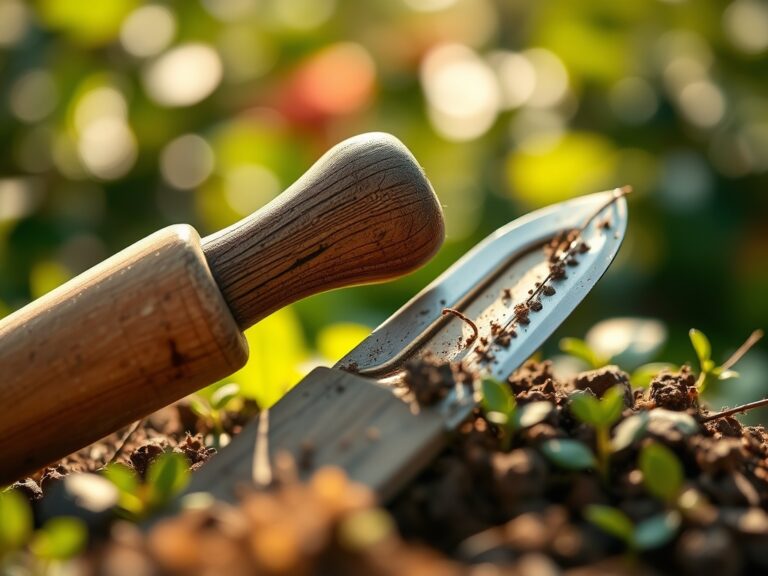
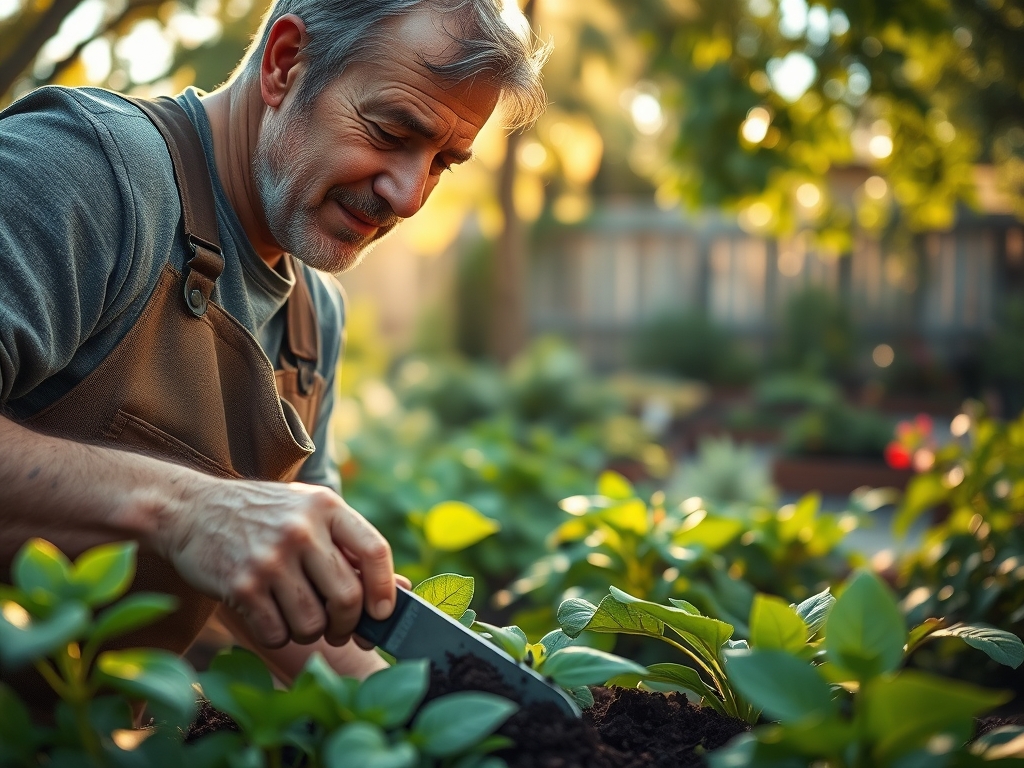
9 Tips to Use a Hand Trowel for Final Landscaping Touches
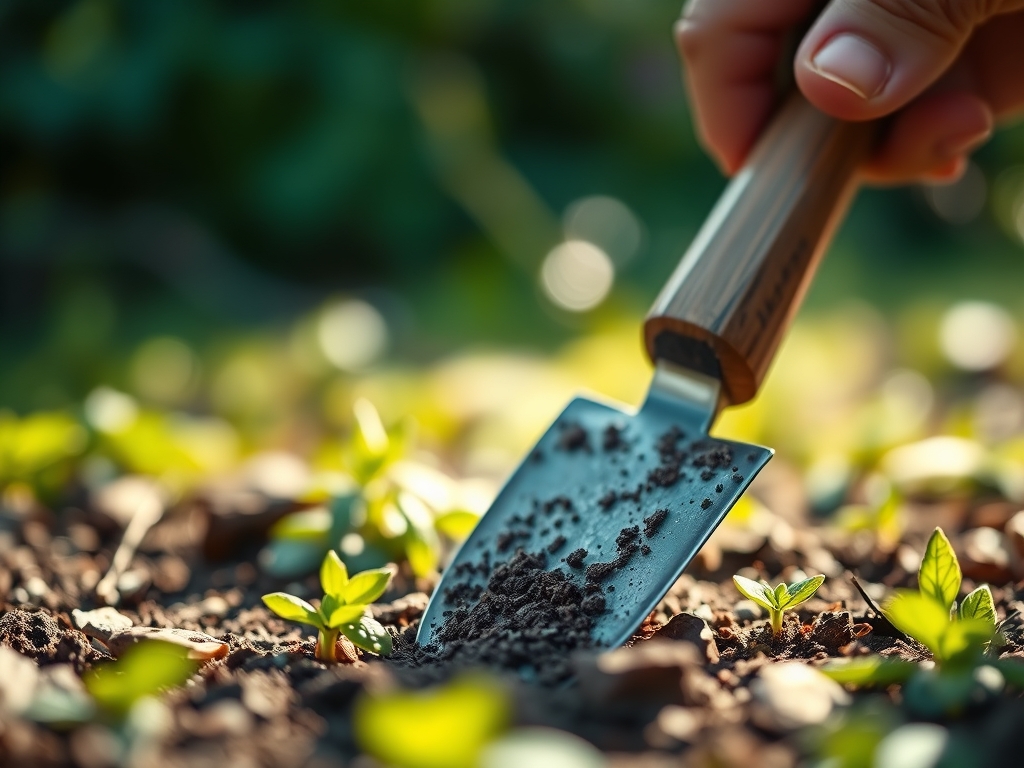
The scent of geosmin rises from the damp earth as the blade slices through the topsoil. A healthy leaf maintains high turgor pressure; it resists wilting because the central vacuole is fully hydrated. Achieving this level of plant health requires precision during the final stages of installation. Using a trowel for garden work is not merely about moving dirt. It is a surgical intervention within the rhizosphere. The hand trowel allows for the delicate manipulation of soil aggregates without destroying the complex pore spaces required for gas exchange. When you work at this scale, you are managing the immediate environment of the root hairs. Every flick of the wrist affects the capillary action of the soil. A master horticulturist understands that the trowel is an extension of the hand, used to refine the micro-topography of a bed or to seat a seedling at the exact depth required for its specific crown anatomy. Precision here prevents the catastrophic settling that leads to stem rot or root exposure.
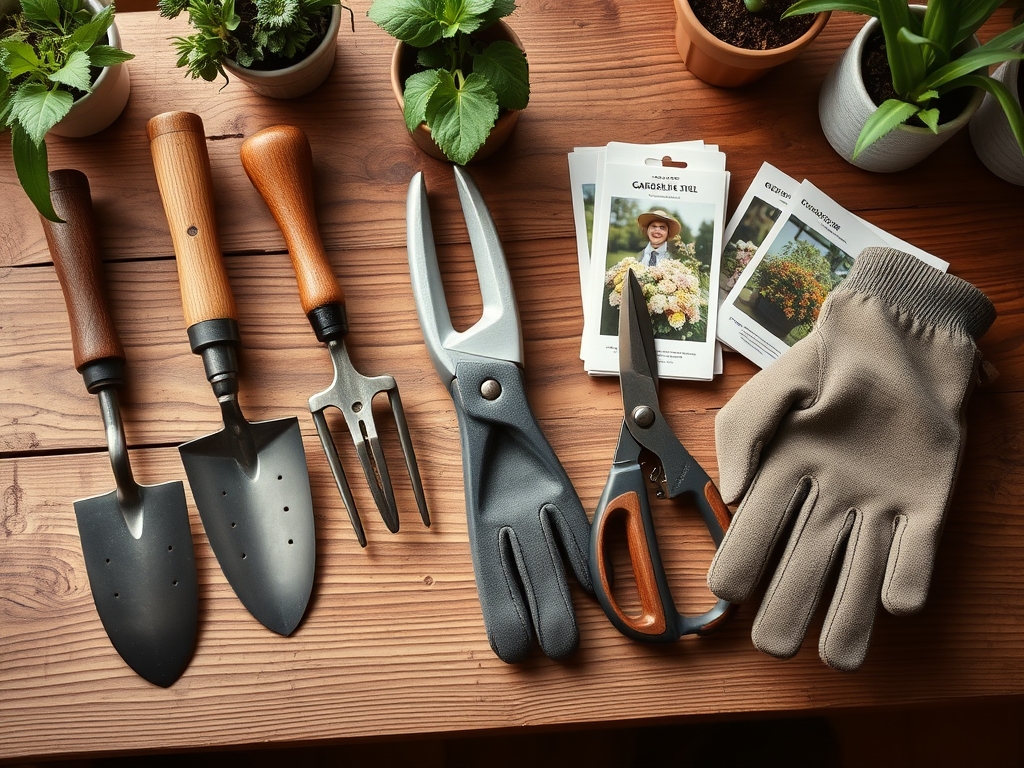
Materials:
Final landscaping touches require a substrate with a high Cation Exchange Capacity (CEC). This ensures that the soil can hold and release essential nutrients like potassium and magnesium. The ideal medium is a friable loam with a **pH range of 6.2 to 6.8**. This range ensures maximum bioavailability of macronutrients. For flowering perennials, integrate a slow-release fertilizer with an **NPK ratio of 5-10-5** to prioritize root development over excessive foliar growth. For leafy greens or vegetative shrubs, a **10-10-10 balanced ratio** is standard. The physical texture must be granular enough to crumble under light pressure, indicating a healthy balance of sand, silt, and organic matter. Avoid heavy clays that exceed **30 percent moisture content** during the finishing phase, as compaction will lead to anaerobic conditions.
Timing:
Successful finishing work is dictated by the United States Department of Agriculture (USDA) Hardiness Zones. In Zones 5 through 7, the window for final perennial placement typically closes four to six weeks before the first hard frost, which usually occurs between October 15 and November 15. This timing allows the root system to establish before the plant enters dormancy. Understanding the biological clock is essential. You must transition plants during their vegetative stage; moving a plant during its reproductive stage (flowering) redirects energy away from root repair toward seed production, increasing the risk of transplant shock. Monitor the photoperiod. As daylight hours drop below 12 hours per day, many species begin the process of senescence, where nutrients are pulled from the leaves into the root mass.
Phases:
Sowing
When using a trowel for garden work involving seeds, use the tip to create a furrow exactly two to three times the width of the seed. This depth ensures the seed remains moist while still allowing the hypocotyl to reach the surface before its stored energy is exhausted.
Pro-Tip: Proper depth management prevents "damping off" by ensuring the emerging stem is not smothered by excess soil. This relates to photomorphogenesis, where the plant uses light signals to transition from a subterranean sprout to a photosynthesizing seedling.
Transplanting
Use the trowel to excavate a hole twice the width of the root ball. This loosened "halo" of soil allows new, tender roots to penetrate the surrounding earth without meeting the resistance of compacted walls. Ensure the crown sits exactly at the soil line.
Pro-Tip: Inoculate the hole with mycorrhizal fungi. This creates a mycorrhizal symbiosis, extending the root system's reach by up to 100 times its original surface area, significantly increasing phosphorus uptake.
Establishing
The final touch involves "tucking in" the plant. Use the flat of the trowel blade to gently firm the soil around the base. This eliminates large air pockets that can desiccate the roots. Do not pack the soil so tightly that you crush the macropores needed for drainage.
Pro-Tip: Firming the soil encourages thigmotropism, a touch-response that can actually strengthen the plant's structural tissues as it senses the stability of its new environment.
The Clinic:
Physiological disorders often appear shortly after the final landscaping touches if the execution was flawed.
-
Symptom: Interveinal Chlorosis (yellowing between leaf veins).
-
Solution: This is often a sign of Manganese or Iron deficiency. Check the soil pH. If it is above 7.5, these nutrients become "locked."
-
Fix-It: Apply a chelated iron foliar spray or lower the pH using elemental sulfur at a rate of 5 pounds per 1,000 square feet.
-
Symptom: Marginal Leaf Burn (browning of leaf edges).
-
Solution: This typically indicates Potassium deficiency or high salt accumulation from over-fertilization.
-
Fix-It: Flush the soil with 2 inches of water to leach salts and adjust your NPK application to a 0-0-20 formula to boost potassium without adding nitrogen.
-
Symptom: Epinasty (downward curling of leaves).
-
Solution: This can be a sign of over-watering or oxygen deprivation in the root zone.
-
Fix-It: Use a soil moisture meter to ensure the substrate is not exceeding 80 percent saturation. Use your trowel to gently aerate the top 2 inches of soil to increase oxygen diffusion.
Maintenance:
Precision maintenance requires data. Most established landscapes require 1.5 inches of water per week, delivered at the drip line rather than the stem to prevent fungal pathogens. Use a soil moisture meter to verify that moisture is reaching a depth of 6 inches. Keep your tools sharp and sterile. Use a hori-hori knife for deeper weeding and bypass pruners for clean cuts that heal quickly. When using a trowel for garden work in an established bed, avoid digging within the "dripline" of woody shrubs to protect the shallow feeder roots. If you encounter a thick root, use the serrated edge of a hori-hori rather than prying with a trowel, which can cause splintering and invite disease.
The Yield:
For those finishing a kitchen garden, harvesting is the final act of the landscape. Harvest leafy greens when they reach 4 to 6 inches in height for peak flavor and nutrient density. Use sharp shears to cut 1 inch above the crown to allow for "cut and come again" regrowth. For flowers, harvest in the early morning when turgor pressure is at its maximum. Immediately plunge the stems into 110-degree Fahrenheit water (the "hardening off" process) to remove air bubbles from the xylem. This ensures "day-one" freshness and extends the vase life by preventing premature wilting.
FAQ:
How do I prevent rust on my hand trowel?
Clean the blade with a wire brush after use. Wipe the metal with a rag soaked in mineral oil. Store the tool in a bucket of dry sand mixed with motor oil to create an oxygen-free barrier against oxidation.
What is the best trowel for heavy clay soil?
Select a trowel made of forged stainless steel with a narrow, sharpened blade. A narrow profile reduces the surface area contact with the clay, making it easier to penetrate the dense, high-plasticity soil without bending the tool shank.
How deep should I dig when transplanting annuals?
Dig a hole that matches the depth of the nursery pot, usually 3 to 5 inches. Ensure the root ball sits level with the surface. Planting too deep causes stem rot; planting too shallow leads to root desiccation.
Can I use a trowel to divide perennials?
Yes, for small-clump perennials like hostas or daylilies. Use the trowel to lift the entire root mass. Then, use the sharp edge of the blade to slice through the rhizomes, ensuring each division has at least three healthy buds.
Why is the handle angle important on a trowel?
An ergonomic offset of 15 degrees reduces strain on the ulnar nerve. This allows for greater leverage when prying through compacted soil, ensuring you can apply the 10 to 15 pounds of pressure often required for deep excavation.