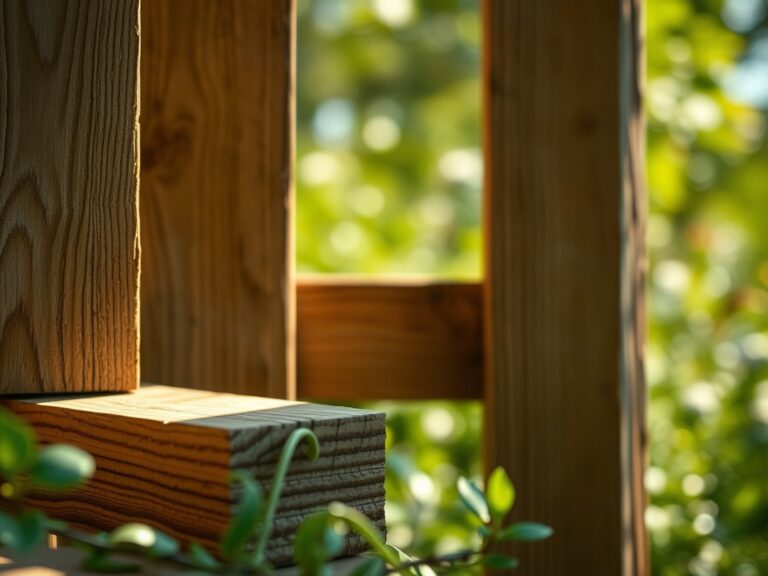
9 Steps to Prepare a Garden Layout for a New Fence
Crushing a handful of friable loam reveals the health of the rhizosphere through a distinct, earthy scent of geosmin. High turgor pressure in nearby foliage indicates a root system capable of handling the mechanical stress of site modification. Understanding how to prepare a garden for a fence requires more than clearing a path; it demands a surgical approach to soil compaction and root protection. You must calculate the structural footprint of the fence against the biological needs of your established perennials and shrubs to ensure long-term survival.
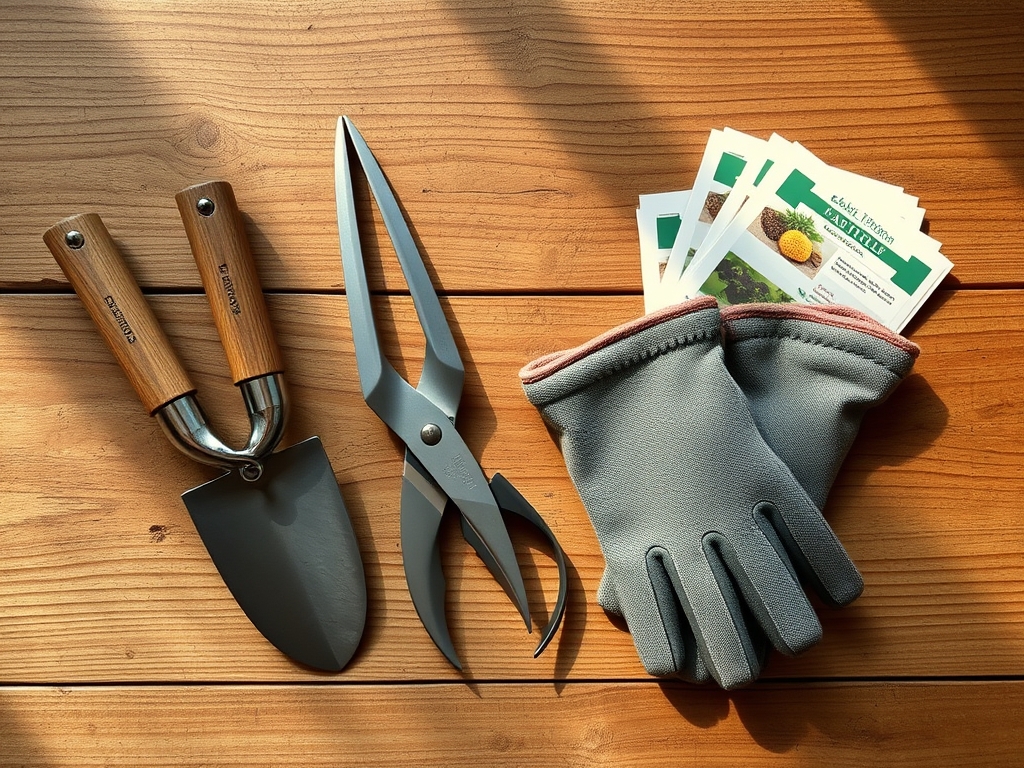
Materials:
Successful site preparation begins with stabilizing the substrate. The ideal soil for post-installation recovery is a **friable loam** with a Cation Exchange Capacity (CEC) between **15 and 25 meq/100g**. This ensures the soil can hold onto essential nutrients despite the disturbance of digging.
You must maintain a soil pH between 6.2 and 6.8 for optimal nutrient bioavailability. Before the fence installation, incorporate a slow-release fertilizer with an NPK ratio of 5-10-10. The high phosphorus content supports root regeneration, which is critical if the fencing crew severs lateral roots. Stockpile high-quality organic mulch to cover exposed soil immediately after the fence is set; this prevents the loss of moisture and protects the microbial community from UV degradation.
Timing:
The window for fence preparation is dictated by your USDA Hardiness Zone and the metabolic state of your plants. In Zones 5 through 7, the ideal time for site preparation is late autumn or early spring when plants are in a state of dormancy or early senescence. During these periods, the plant's biological clock has shifted energy from vegetative growth to root storage.
If you must prepare the garden during the growing season, monitor the photoperiod. Long-day plants are more susceptible to transplant shock during the peak of summer. Aim for a "cool-down" period where daytime temperatures remain below 75 degrees Fahrenheit. This reduces the transpiration rate, allowing the plant to maintain cellular turgor even if the root-to-shoot ratio is temporarily disrupted by trenching or post-hole digging.
Phases:

Sowing and Site Clearing
Clear a work zone at least 3 feet wide along the fence line. This prevents physical trauma to the stems and allows for the application of a pre-emergent herbicide if you are managing invasive rhizomatous grasses. Remove any annuals or low-growing groundcovers that will be smothered by foot traffic.
Pro-Tip: When clearing, avoid tilling the soil deeply. Excessive tillage destroys the mycorrhizal symbiosis between fungi and roots. These fungal networks extend the reach of the root system; preserving them ensures the plant can still access deep-channel water once the fence is installed.
Transplanting At-Risk Species
Any specimen located within 18 inches of a planned post-hole must be moved. Use a sharp spade to cut a clean root ball, ensuring you preserve the primary taproot where possible. Move these plants to a temporary "heeling-in" bed with consistent moisture.
Pro-Tip: When pruning roots for a move, you must also prune the canopy to balance the plant. This manages auxin suppression; by removing apical buds, you encourage the plant to divert its hormonal energy into root development rather than vertical growth.
Establishing the Buffer Zone
Once the fence line is marked, establish a temporary physical barrier using silt fencing or stakes. This prevents soil compaction from heavy machinery or repeated foot traffic. Compaction reduces pore space, which limits the oxygen available to the roots and can lead to anaerobic conditions.
Pro-Tip: Apply a 2-inch layer of wood chips over the entire work zone. This acts as a shock absorber for the soil structure. It prevents the collapse of soil aggregates, maintaining the capillary action necessary for water to move upward through the soil profile.
The Clinic:
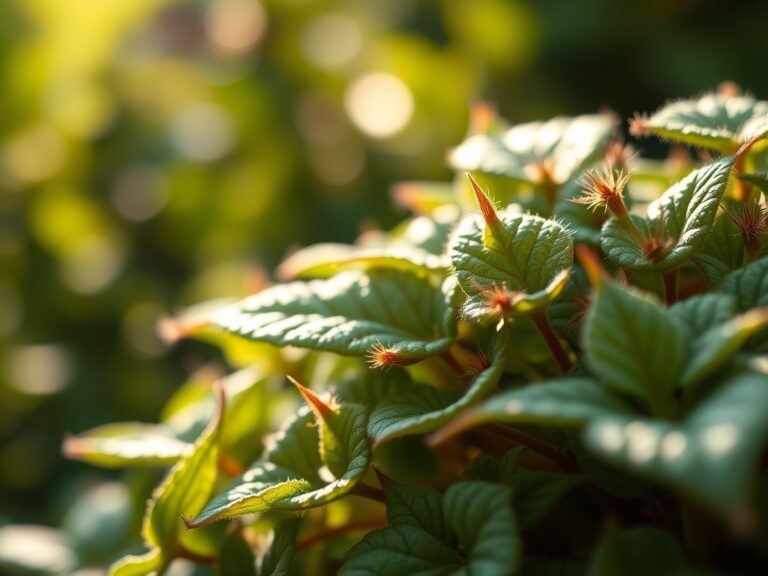
Physical construction near a garden often triggers physiological disorders. Monitor your plants for these specific symptoms during and after the fence installation.
- Symptom: Leaf Scorching. This appears as browning on the margins of the leaves. It is often caused by high transpiration rates combined with root damage.
- Solution: Apply a temporary shade cloth to reduce the heat load and mist the foliage in the early morning to increase local humidity.
- Symptom: Nitrogen Chlorosis. If you see yellowing of older leaves, the soil biology has been disrupted.
- Fix-It: Apply a water-soluble fertilizer with an NPK of 20-0-0 to provide an immediate nitrogen spike, helping the plant resume chlorophyll production.
- Symptom: Sudden Wilting. This suggests severe root severance or extreme soil compaction.
- Solution: Use a soil moisture meter to check for dry pockets. If the soil is wet but the plant is wilting, the roots are likely suffocating from lack of oxygen due to compaction. Use a garden fork to aerate the soil around the drip line carefully.
Maintenance:
Post-fence maintenance requires precision. Use a soil moisture meter daily for the first fourteen days. Your goal is to provide 1.5 inches of water per week delivered directly at the drip line. Avoid overhead watering, which can encourage fungal pathogens on stressed foliage.
Utilize a hori-hori knife to remove any weeds that emerge in the disturbed soil; do not pull them by hand if they are close to your desired plants, as this can further disturb fragile new root hairs. Use bypass pruners to remove any branches that were bruised or broken during the construction process. Make clean, slanted cuts just above a lateral bud to promote rapid healing and prevent the entry of wood-boring insects.
The Yield:
If your fence borders a vegetable or cutting garden, the "yield" is the successful resumption of the reproductive cycle. For fruiting crops, watch for the transition from vegetative growth to flowering. If the fence has changed the light patterns (creating new shade), you may notice a delay in ripening.
Harvest flowers or vegetables in the early morning when turgor pressure is at its peak. This ensures the longest possible shelf life. For woody perennials, the yield is measured in new terminal growth. Measure the "internode length" (the space between leaves); consistent spacing indicates the plant has fully recovered from the installation stress and has re-established its nutrient uptake channels.
FAQ:
How close can I plant to a new fence?
Maintain a minimum of 12 to 18 inches from the fence panel. This allows for air circulation to prevent powdery mildew and provides space for the plant to reach its mature width without crushing the foliage against the structure.
Will fence post concrete hurt my soil pH?
Yes; leaching lime from curing concrete can raise the soil pH locally. Monitor the area for alkalinity. If the pH rises above 7.5, incorporate elemental sulfur or peat moss to return the soil to a slightly acidic state.
How do I protect tree roots during fence digging?
Avoid cutting any root larger than 2 inches in diameter. If a large root is in the way, shift the post location. For smaller roots, use a sharp saw to make a clean cut, which heals faster than a jagged tear.
Should I fertilize immediately after the fence is built?
Wait for sign of new growth. Applying high-nitrogen fertilizer to a severely stressed plant can cause salt burn on the roots. Use a kelp-based bio-stimulant first to encourage root signaling before pushing for heavy vegetative foliage growth.