9 Bushier-Growth Steps for Repotting a Pothos
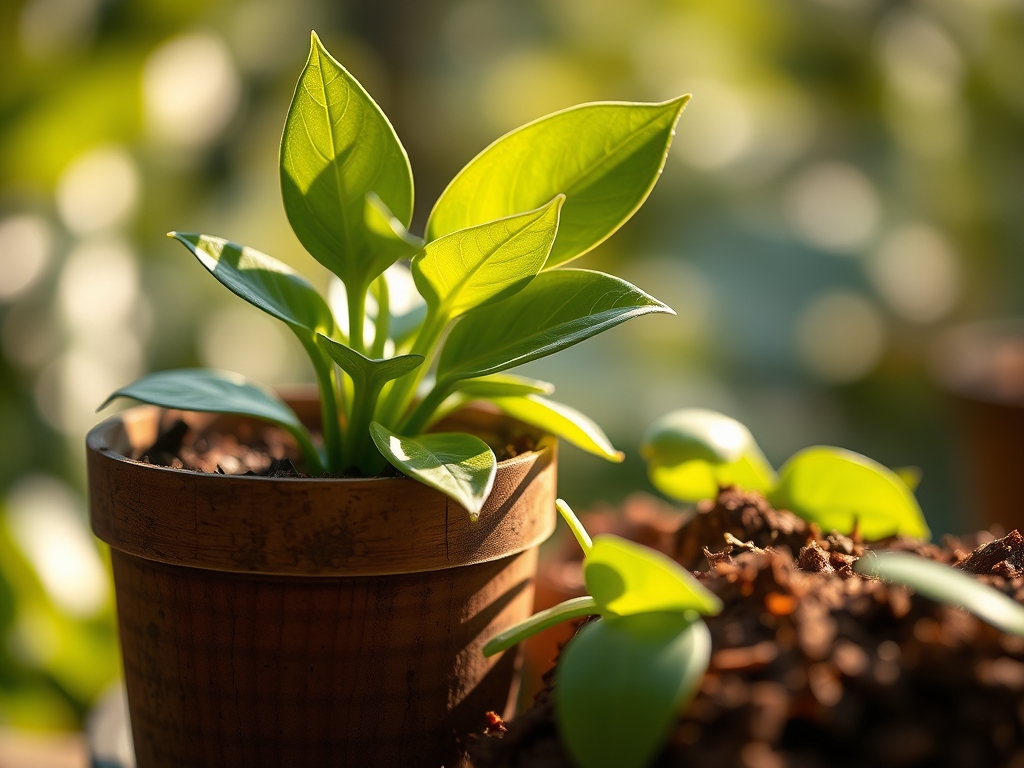
Damp soil smells of geosmin and fungal activity; a healthy Epipremnum aureum leaf feels firm with high turgor pressure. When the root mass begins to circle the interior of the pot, the plant enters a state of physiological stress. Following precise steps for repotting a pothos ensures the specimen transitions from a leggy, trailing vine into a dense, bushy centerpiece. This process requires more than a larger vessel; it demands an understanding of soil chemistry and root architecture.
The goal is to stimulate axillary bud growth while minimizing transplant shock. Most hobbyists wait too long, allowing the plant to become root-bound, which leads to lower leaf senescence and nutrient lockout. By intervening when the roots first emerge from the drainage holes, you maintain the momentum of the vegetative cycle. Proper repotting involves manipulating the rhizosphere to encourage lateral branching rather than just vertical elongation. We focus on substrate density and hormonal signaling to force the plant into a fuller habit.
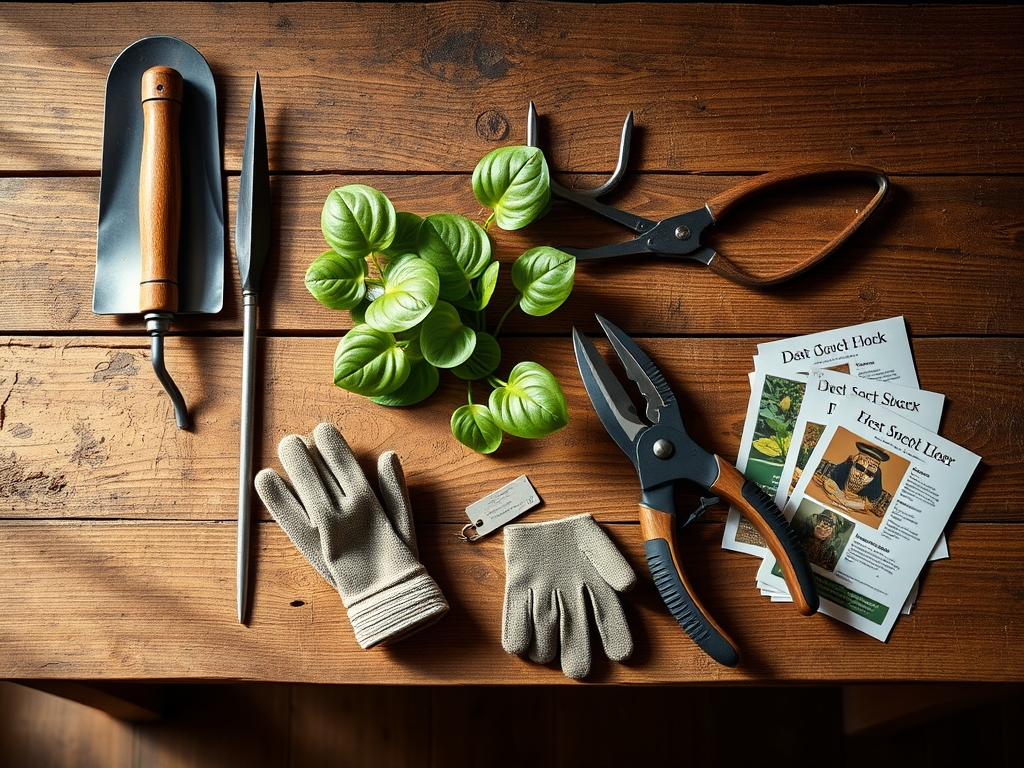
Materials:
The substrate is the most critical component of the repotting process. Epipremnum aureum thrives in a pH range of 6.1 to 6.5. This slightly acidic environment optimizes the Cation Exchange Capacity (CEC), allowing the roots to efficiently uptake essential macronutrients. You require a friable loam consisting of 40 percent peat moss or coconut coir, 30 percent perlite for aeration, and 30 percent composted pine bark.
For the initial establishment phase, use a slow-release fertilizer with an NPK ratio of 10-10-10. This balanced ratio supports root development without overstimulating nitrogen-heavy foliar growth that can lead to weak, spindly stems. If you prefer liquid amendments, select a formula with a 3-1-2 ratio to prioritize leaf density. Ensure your pot has at least two drainage holes; stagnant water at the root zone leads to anaerobic conditions and Pythium root rot.
Timing:
While pothos are typically indoor plants, their biological clock remains tethered to solar cycles. In Hardiness Zones 9 through 11, outdoor specimens should be repotted in early spring, specifically between the last frost date and the onset of the summer solstice. For indoor plants, the ideal window is late March through May. During this period, increasing photoperiods trigger the production of chlorophyll and growth hormones.
Avoid repotting during the winter dormancy phase when metabolic rates drop. If you repot during a period of low light, the plant lacks the photosynthetic energy to repair root hairs damaged during the move. The transition from the vegetative stage to a more aggressive growth phase requires a minimum of 12 hours of indirect light and ambient temperatures between 70 and 85 degrees Fahrenheit.
Phases:

Sowing the Foundation
Before moving the plant, hydrate it 24 hours in advance to ensure maximum turgor in the cells. Remove the plant by inverting the pot and supporting the base of the stems. If the roots are matted, use a hori-hori knife to make four vertical incisions roughly 0.5 inches deep around the root ball. This mechanical disruption breaks apical dominance within the root system and encourages new, outward-reaching feeder roots.
Pro-Tip: Breaking the root mat triggers a wound response that increases the production of cytokinins. These hormones travel from the roots to the stems, where they stimulate the development of dormant axillary buds, leading to a bushier appearance.
Transplanting and Positioning
Place the plant in a container that is no more than 2 inches wider in diameter than the previous one. Centering the plant is standard, but for a bushier look, you should "coil" long, bare runners back onto the soil surface. Pin these nodes down using U-shaped floral pins. Ensure the nodes make direct contact with the damp substrate.
Pro-Tip: This technique utilizes adventitious rooting. When a node touches the soil, it develops new roots; this process suppresses auxin flow from the primary growing tip, which removes the inhibition of side branches.
Establishing the Specimen
Fill the gaps with your friable loam, tamping down lightly to eliminate large air pockets while maintaining a bulk density that allows for gas exchange. Water the plant until the effluent runs clear from the drainage holes. Place the plant in a location with high humidity—roughly 50 to 60 percent—to reduce transpiration rates while the roots settle.
Pro-Tip: Maintaining high humidity during the first ten days prevents plasmolysis, a condition where the cell membrane shrinks away from the cell wall due to water loss, which is the primary cause of post-repotting wilt.
The Clinic:
Monitoring the plant post-repotting is essential for identifying physiological disorders early.
- Symptom: Yellowing of older, lower leaves (Chlorosis).
- Solution: This is often a Nitrogen deficiency. If the soil pH is correct, apply a water-soluble fertilizer at half-strength to restore nitrogen levels in the leaf tissue.
- Symptom: Soft, brown patches on leaves with a foul odor.
- Solution: This indicates bacterial leaf spot or overwatering. Increase airflow and ensure the substrate dries out to a depth of 2 inches before the next irrigation.
- Symptom: Stunted growth and white crust on the soil surface.
- Solution: This is salt accumulation from tap water minerals. Leach the soil by running distilled water through the pot for five minutes to flush the rhizosphere.
Fix-It for Micronutrients: If new leaves are small and distorted, the plant may suffer from Zinc or Iron deficiency. Check the pH; if it is above 7.0, the plant cannot absorb these metals. Lower the pH using elemental sulfur or iron chelates.
Maintenance:
Precision maintenance dictates the longevity of your pothos. Use a soil moisture meter to ensure you only water when the top 25 percent of the soil is dry. Typically, this equates to roughly 1.5 inches of water per week applied directly to the soil, not the foliage.
Use bypass pruners to trim the ends of the vines every three months. Cutting just above a node removes the terminal bud, forcing the plant to redirect energy to the lateral buds. This is the most effective mechanical way to maintain a bushy habit. Every six months, wipe the leaves with a damp cloth to remove dust, which can block up to 20 percent of available light, reducing the plant's ability to perform photosynthesis.
The Yield:
While pothos is not an edible crop, the "yield" is measured in healthy cuttings for propagation. When a vine exceeds your desired length, harvest a section containing at least three nodes. Use a sharp, sterilized blade to make a clean 45-degree cut.
To maintain "day-one" freshness for these cuttings, immediately submerge the bottom two nodes in room-temperature water. Keep these cuttings in a location with consistent 75-degree temperatures. Within 14 to 21 days, you will observe the emergence of primary roots. These can be replanted back into the mother pot to further increase the density of the parent plant.
FAQ:
How do I know if my pothos needs a larger pot?
Check the drainage holes. If roots are protruding or if water runs straight through the soil without being absorbed, the plant is root-bound. A lack of new growth during the spring also indicates the need for more space.
Can I use garden soil for repotting a pothos?
No. Garden soil is too dense and lacks the necessary porosity. It often contains pathogens and weed seeds. Stick to a professional-grade potting mix with high perlite content to ensure proper drainage and oxygenation of the root system.
Why is my pothos drooping after I repotted it?
This is likely transplant shock or air pockets around the roots. Ensure the soil is evenly moist and press down gently to ensure root-to-soil contact. High humidity and indirect light will help the plant recover within a week.
What is the best fertilizer for bushy growth?
Use a high-nitrogen or balanced 10-10-10 fertilizer. Nitrogen is the primary driver of vegetative leaf and stem growth. Apply at half-strength every four weeks during the growing season to avoid salt buildup in the container.