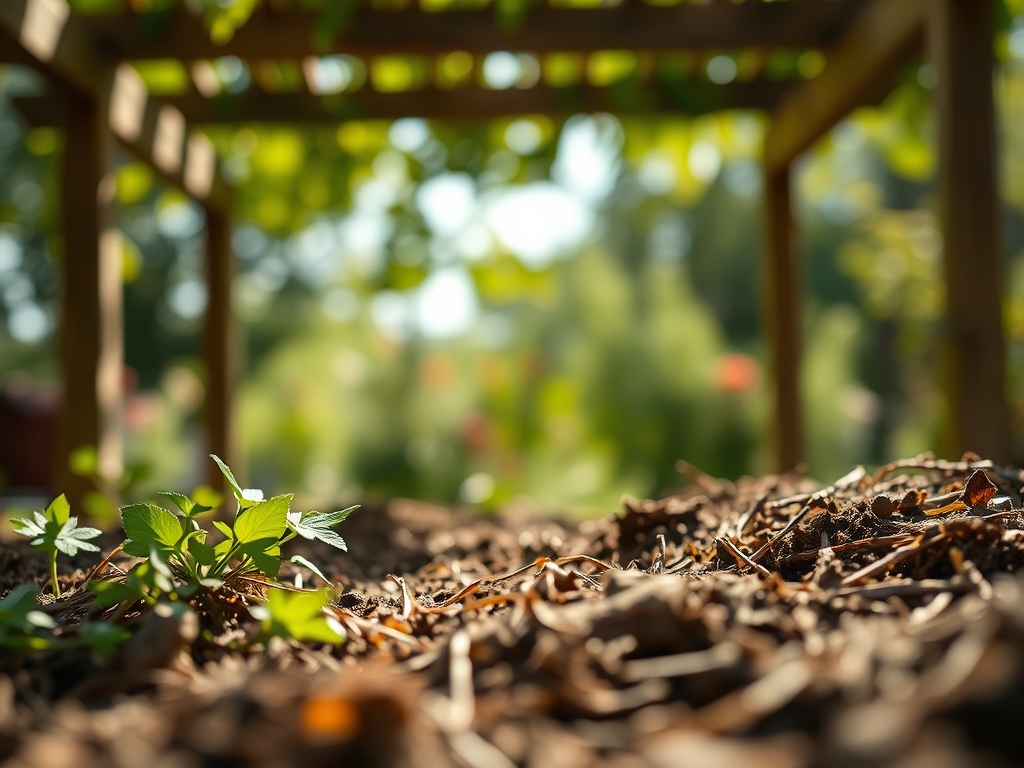
6 Steps to Prepare a Permanent Garden Pergola Site
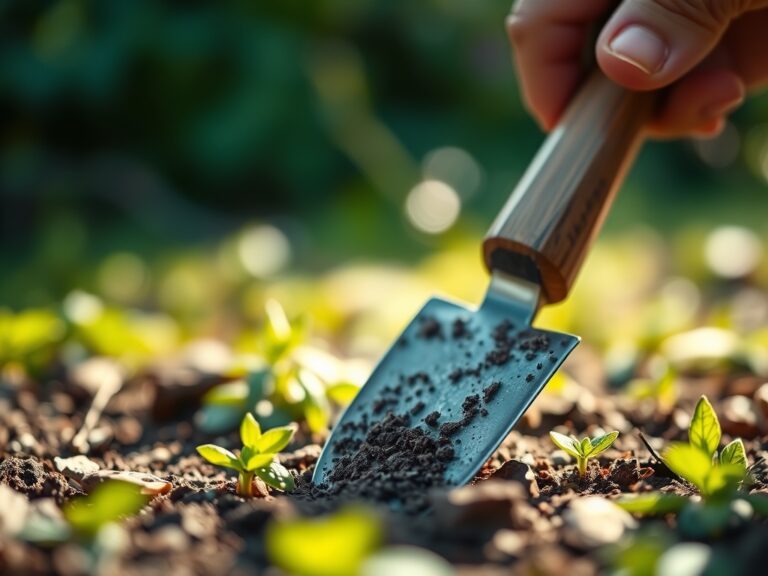
The scent of decomposing organic matter and the gritty texture of sandy loam under the fingernails define the start of any serious structural project. When you learn how to prepare a site for a garden pergola, you are not merely clearing land; you are managing the soil density and hydrology of a permanent horticultural anchor. A stable foundation requires understanding the turgor pressure of surrounding root systems and the load-bearing capacity of the undisturbed subsoil. Success depends on the precise calibration of the earth before the first post is set.
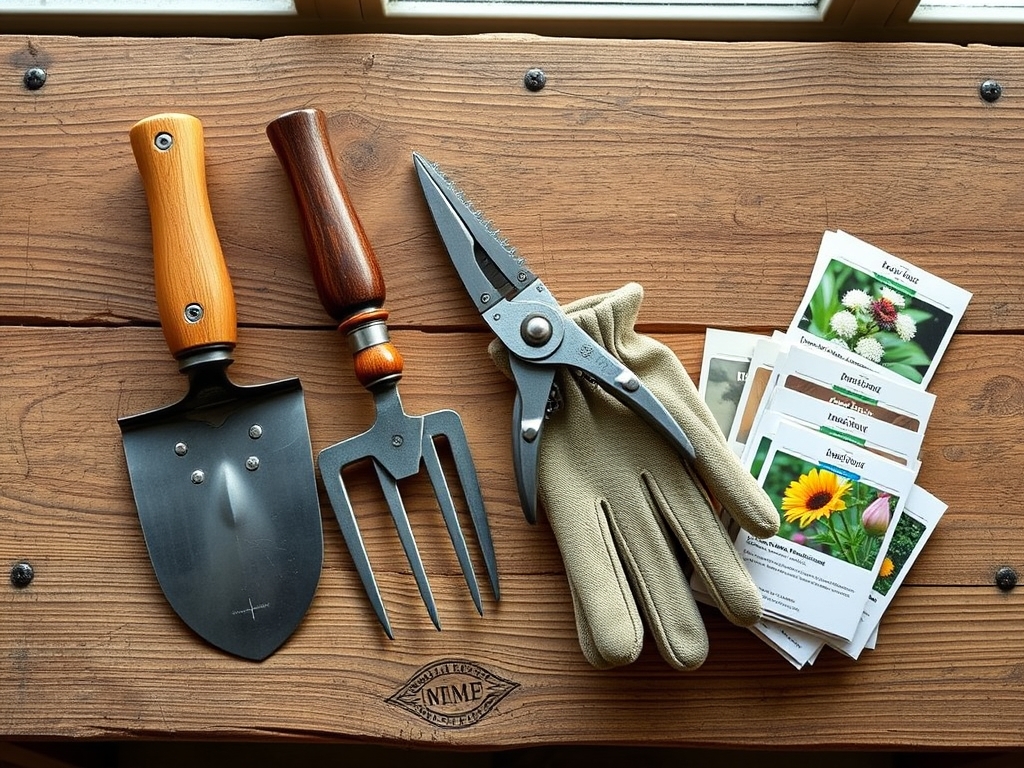
Materials:
Site preparation requires a substrate that balances structural integrity with biological health. The ideal soil profile for the surrounding planting area is a **friable loam** with a **Cation Exchange Capacity (CEC) between 15 and 25 milliequivalents per 100 grams**. You must maintain a **soil pH between 6.2 and 6.8** to ensure maximum nutrient bioavailability for the climbing species that will eventually colonize the pergola.
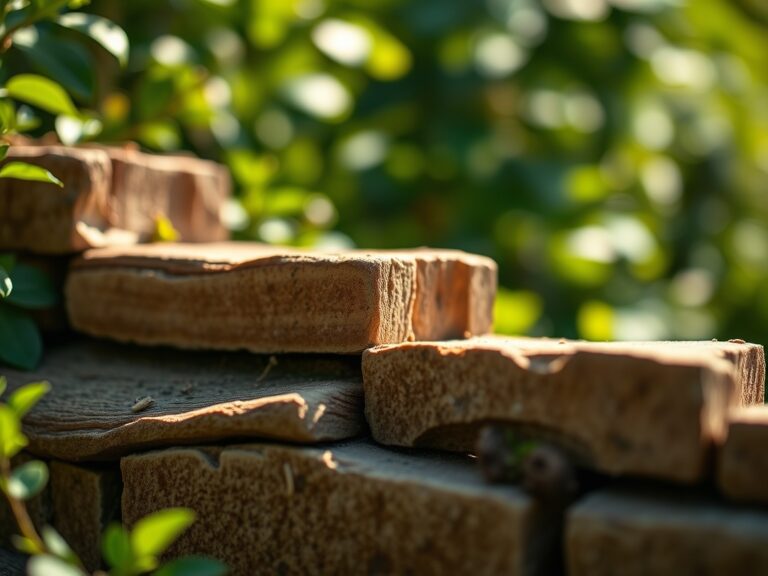
For the immediate footprint, you will need 3/4-inch crushed angular stone for drainage and Type S masonry lime to stabilize the backfill if the clay content is high. If you are integrating peripheral plantings, incorporate a slow-release organic fertilizer with an NPK ratio of 5-10-5. This phosphorus-heavy ratio encourages robust root architecture rather than excessive foliar extension during the initial establishment phase. Ensure you have high-density polyethylene (HDPE) root barriers if the site is within ten feet of aggressive woody perennials.
Timing:
Structural site preparation should occur during the dormant season to minimize soil compaction and root trauma to existing flora. In Hardiness Zones 5 through 7, the window opens after the first hard frost but before the ground freezes solid, typically between late October and early December. This timing respects the Biological Clock of the landscape; as plants enter senescence, their metabolic demands drop, allowing for significant soil disturbance with minimal risk of transplant shock.
If you are working in Hardiness Zones 8 through 10, schedule the excavation during the dry summer months to prevent "puddling" and the collapse of soil macropores. Avoid any site work when the soil moisture exceeds 25 percent by volume, as heavy machinery or even consistent foot traffic will destroy the soil structure, leading to anaerobic conditions in the rhizosphere.
Phases:

Sowing the Foundation
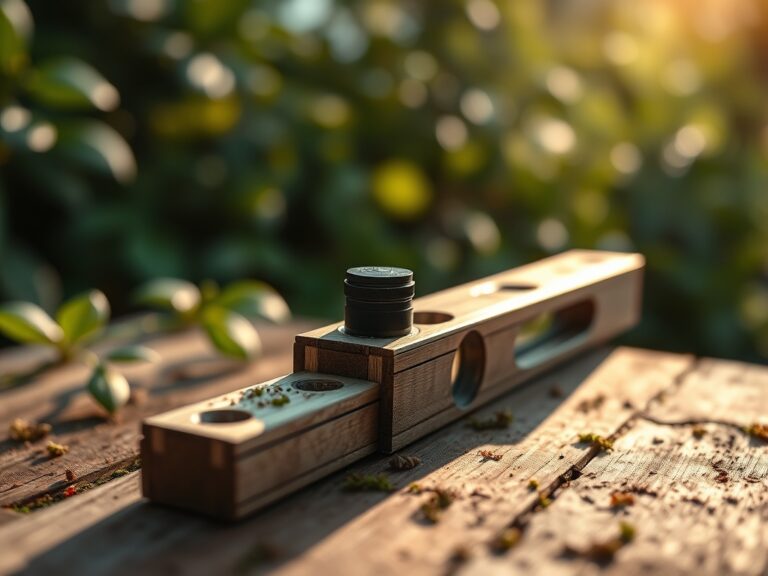
Excavate post holes to a depth of at least 36 inches, or 12 inches below the local frost line. The diameter of the hole should be three times the width of the post to allow for a significant gravel "envelope" that facilitates drainage. Use a soil moisture meter to ensure the base of the hole is not sitting in a perched water table.
Pro-Tip: Always flare the bottom of the concrete footing. This utilizes the principle of soil friction and frost heave resistance; a bell-shaped base prevents the vertical displacement of the structure when the ground undergoes freeze-thaw cycles.
Transplanting Peripheral Flora
When introducing vines like Wisteria or Clematis to the pergola base, dig a planting hole twice the width of the root ball. Position the crown exactly at the soil line to prevent stem rot. Backfill with the native soil modified by no more than 20 percent organic compost to prevent the "pot-bound" effect where roots refuse to leave the amended hole.
Pro-Tip: Inoculate the backfill with endomycorrhizal fungi. This creates a mycorrhizal symbiosis that extends the root surface area by up to 1,000 percent, significantly increasing the plant's ability to uptake phosphorus and water.
Establishing the Canopy
Once the structure is upright, training the primary leaders is essential. Use soft ties to secure the main stems. Monitor the photoperiod requirements of your selected species; most heavy climbers require at least six hours of direct solar radiation to trigger the transition from vegetative growth to the reproductive stage.
Pro-Tip: Prune the terminal buds of young climbers to stimulate auxin suppression. When the lead bud is removed, the plant redirects growth hormones to lateral buds, resulting in a fuller, more robust canopy across the pergola rafters.
The Clinic:
Physiological disorders often manifest shortly after site disturbance. Observe the foliage of nearby plants for specific stress indicators.
- Symptom: Interveinal chlorosis (yellowing between green veins) on new growth.
Solution: This indicates Iron deficiency, often caused by a pH above 7.0. Apply chelated iron and lower the pH with elemental sulfur. - Symptom: Stunted growth and purple tinting on the underside of leaves.
Solution: This is a classic Phosphorus deficiency. Incorporate bone meal or a 0-20-0 fertilizer into the top 4 inches of soil. - Symptom: Marginal leaf burn or "scorching" on older leaves.
Solution: This suggests Potassium deficiency or salt accumulation. Flush the soil with 2 inches of water and apply potassium sulfate.
Fix-It for Nitrogen Chlorosis: If the entire leaf turns pale green or yellow, the plant lacks Nitrogen. Apply a liquid fish emulsion with a 5-1-1 NPK ratio for immediate uptake through the root hairs.
Maintenance:
A pergola site requires rigorous hydrological management. Deliver 1.5 inches of water per week at the drip line, rather than at the base of the posts, to encourage outward root expansion. Use a soil moisture meter every three days during the first growing season to maintain a moisture level between 40 and 60 percent field capacity.
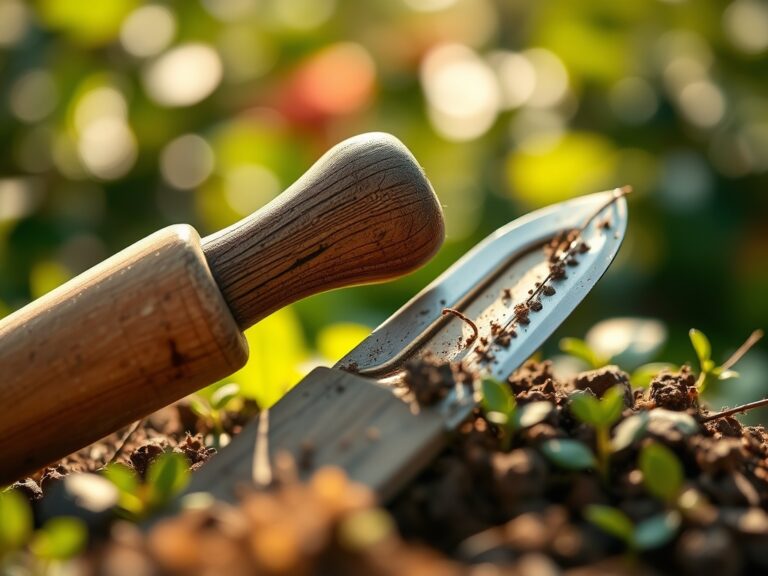
Utilize a hori-hori knife to remove deep-rooted weeds that compete for nutrients in the rhizosphere. Perform annual structural pruning with bypass pruners to remove dead, damaged, or diseased wood (the "3 Ds"). Always make cuts at a 45-degree angle just above a lateral bud to facilitate rapid callus formation and prevent water pooling on the wound.
The Yield:
For those growing fruiting vines like Vitis vinifera (grapes) on their pergola, harvest timing is dictated by the Brix level (sugar content). Use a refractometer to ensure a Brix reading of 18 to 22 for optimal flavor. Harvest during the cool early morning hours when turgor pressure is highest. This prevents the fruit from shriveling and maintains "day-one" freshness. Use sharp snips to cut the cluster stem; never pull the fruit, as this damages the permanent woody spurs required for next year's production.
FAQ:
How deep should pergola posts be set?
Posts must reach at least 36 inches deep or 12 inches below your local frost line. This prevents frost heaving from destabilizing the structure. Proper depth ensures the pergola can withstand lateral wind loads and the weight of mature vines.
What is the best soil for pergola plantings?
A friable loam with a pH of 6.2 to 6.8 is ideal. The soil should have a high Cation Exchange Capacity to retain nutrients. Avoid heavy clay, which limits oxygen in the rhizosphere and can lead to root rot.
How do I prevent wood rot in the ground?
Use pressure-treated lumber rated for ground contact or naturally rot-resistant species like Western Red Cedar. Set the post on a 6-inch bed of crushed stone to allow water to drain away from the base of the timber.
When should I plant vines around a new pergola?
Plant during the dormant season or early spring before the "bud break" occurs. This allows the root system to establish via mycorrhizal symbiosis before the high transpiration demands of the summer heat begin to stress the plant.