8 Tips to Use a Spirit Level for Accurate Layouts
The scent of crushed pine needles and damp, friable earth signals the start of a serious installation. When the turgor pressure in a plant is optimal, its stems stand rigid; however, without a stable foundation, even the healthiest specimen will fail due to poor drainage or structural collapse. Precision is the difference between a thriving rhizosphere and a stagnant pool of anaerobic decay. Using a level for garden layout ensures that hardscaping and raised beds maintain the exact pitch required for hydraulic efficiency. A deviation of just one percent can lead to significant erosion or the pooling of water, which suffocates roots by depriving them of oxygen. Gravity dictates the movement of every drop of moisture in the soil profile. Mastering the spirit level allows a horticulturist to manipulate this force, directing runoff away from foundations and toward the root zones of thirsty perennials. This technical approach transforms a simple plot into a high performance ecosystem where water distribution is calculated rather than accidental.
Materials:
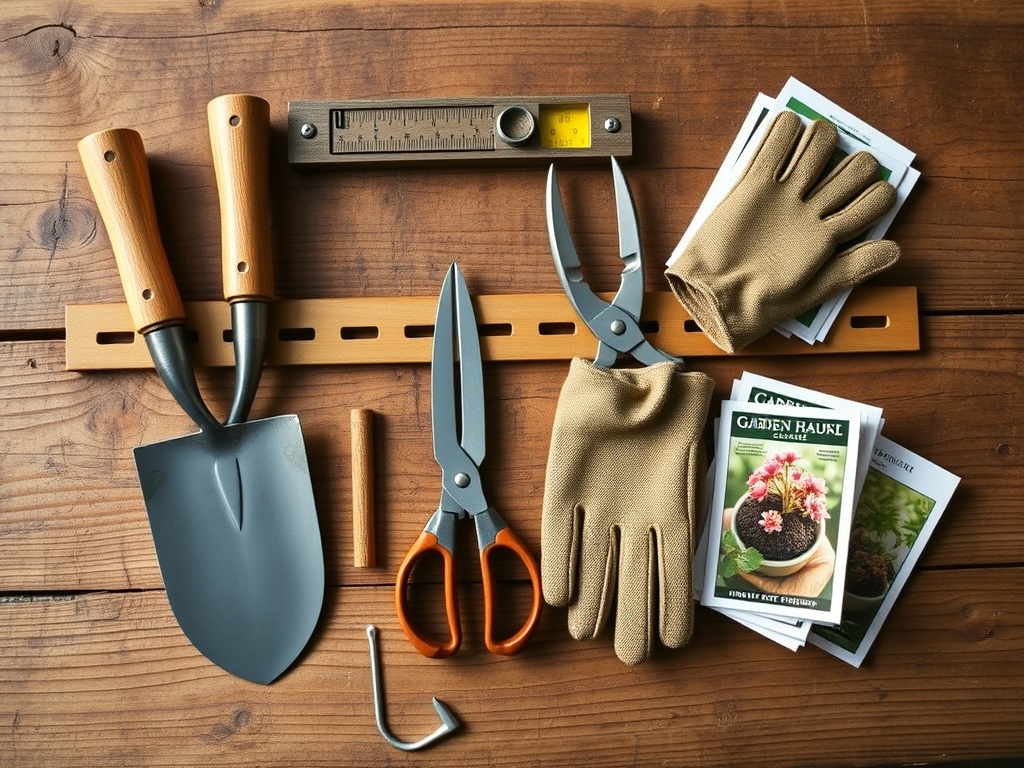
A successful layout begins with the substrate. For most temperate garden beds, aim for a **pH between 6.0 and 7.0** to maximize nutrient availability. The ideal soil is a **friable loam**, consisting of roughly 40 percent sand, 40 percent silt, and 20 percent clay. This texture provides a high **Cation Exchange Capacity (CEC)**, allowing the soil to hold onto essential cations like Calcium (Ca2+) and Magnesium (Mg2+). When prepping the site, incorporate organic matter to achieve an **NPK ratio of 5-10-5** for initial root establishment. Phosphorus is critical at this stage to encourage ATP production and cellular division in new root tips. You will also need a **48 inch box beam level**, a **line level** for long distances, and **hardwood stakes** to mark your elevations.
Timing:
Work should commence after the last spring frost when the soil temperature consistently reaches 55 degrees Fahrenheit. In Hardiness Zones 5 through 7, this typically occurs between late April and mid May. Proper timing aligns with the biological clock of the plant; specifically the transition from the vegetative stage to the reproductive stage. If the layout is uneven, the resulting uneven water distribution can trigger premature senescence, where the plant prematurely shuts down its metabolic processes due to stress. Avoid grading during heavy rains, as working wet soil destroys its structure, leading to compaction and reduced pore space for gas exchange.
Phases:

Sowing and Grading
Before a single seed hits the dirt, use the spirit level to establish a 2 percent slope away from permanent structures. This ensures that the gravitational water moves through the soil profile at a controlled rate. When sowing, consistent depth is mandatory. For small seeds, a depth of three times the seed diameter is the standard.
Pro-Tip: Proper grading prevents localized flooding that causes damping off, a fungal condition. By maintaining a level surface, you ensure uniform photoperiod exposure across the entire crop, preventing taller plants from shading out smaller ones.
Transplanting
When moving a plant from a container to the ground, use the level across the planting hole to ensure the root flare sits exactly at grade. Planting too deep leads to stem rot; planting too shallow leads to desiccation of the upper root mass. The spirit level acts as a bridge across the hole to verify the depth is millimetrically precise.
Pro-Tip: Maintaining the correct depth protects the mycorrhizal symbiosis occurring in the top six inches of soil. These beneficial fungi require specific oxygen levels found only near the surface to effectively transport phosphorus to the plant.
Establishing
As the garden grows, use the level to check for settling in raised beds. A bed that leans will have uneven moisture levels, causing auxin suppression on the "high" side of the plant. Auxins are hormones that regulate growth; when a plant tilts, these hormones migrate to the lower side of the stem, causing asymmetrical and weak structural development.
Pro-Tip: Straight lines and level planes facilitate phototropism, the process where plants grow toward light. If the base is level, the plant can allocate more energy to vertical biomass rather than corrective structural thickening.
The Clinic:
Physiological disorders often stem from poor layout and drainage issues.
- Symptom: Blossom End Rot. This appears as a sunken, leathery spot on the bottom of fruit.
- Solution: This is caused by a Calcium deficiency often triggered by uneven watering. Using a level for garden layout ensures uniform irrigation, allowing the plant to consistently uptake Calcium through the transpiration stream.
- Symptom: Nitrogen Chlorosis. The older leaves turn pale yellow while the veins remain green.
- Solution: This often occurs in "low spots" where water pools and leaches Nitrogen away from the roots. Re-level the area and apply a high Nitrogen fertilizer (20-10-10) to restore chlorophyll production.
- Symptom: Adventitious Roots on Stems. Roots growing above the soil line on the main stalk.
- Solution: This indicates the plant was buried too deep or the soil has shifted. Use a hori-hori knife to carefully remove excess soil and restore the proper grade.
Maintenance:
Precision does not end after the layout is finished. Use a soil moisture meter daily to ensure the root zone stays within the 60 to 80 percent field capacity range. Most established gardens require 1.5 inches of water per week delivered at the drip line. Use bypass pruners to remove any necrotic tissue, making cuts at a 45 degree angle to prevent water from sitting on the wound. Check the level of your retaining walls and bed edges twice a year; frost heave can shift soil and disrupt the hydraulic balance you worked to establish.
The Yield:
Harvesting is the culmination of technical accuracy. For fruiting crops, harvest when the fruit reaches its "mature green" or "fully ripe" stage depending on the species. Use a sharp blade to avoid tearing the vascular tissue. To maintain "day-one" freshness, immediately submerge the cut ends of greens in 40 degree Fahrenheit water to maintain turgor pressure. For root crops, harvest when the shoulders of the vegetable are visible at the soil surface, ensuring the soil was kept loose and level enough to allow for unhindered expansion.
FAQ:
Why is a level necessary for raised beds?
Raised beds must be level to prevent water from pooling at one end. Uneven moisture leads to localized anaerobic conditions, causing root rot and nutrient leaching on the lower side while the higher side suffers from drought stress.
How do I use a level for a long garden path?
Drive stakes into the ground every four feet. Run a string between them and use a line level to ensure the string is taut and horizontal. Measure down from the string to the ground to maintain a consistent grade.
What is the best slope for garden drainage?
A slope of one inch of fall for every four feet of distance is ideal. This 2 percent grade allows excess surface water to exit the site without gaining enough velocity to cause topsoil erosion.
Can I use a level to check soil compaction?
While a level measures grade, it can indirectly identify compaction. If water pools on a surface that your spirit level confirms is correctly sloped, the infiltration rate is compromised, indicating a need for aeration.