6 Expert Ways How to Grow Self Heal
The scent of damp, disturbed earth signals the start of a successful planting season. When you crush a leaf of Prunella vulgaris, the high turgor pressure within the cellular walls releases a crisp, herbaceous aroma that indicates a plant at peak physiological health. Understanding how to grow self heal requires a commitment to soil science and precise environmental management. This perennial herb thrives when the rhizosphere is kept at a consistent moisture level and the soil structure allows for maximum gas exchange. By mastering the specific nitrogen requirements and photoperiod needs of this species, a grower can transform a dormant patch of ground into a dense, low-growing carpet of purple inflorescences that persist through the heat of midsummer.
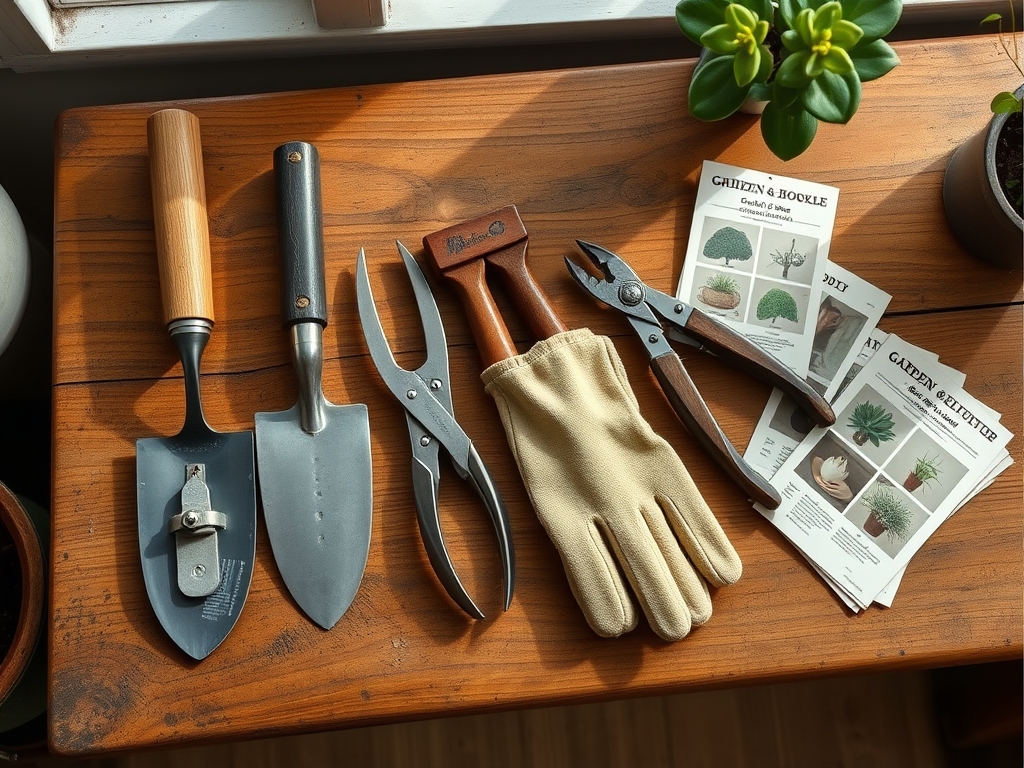
Materials:
To optimize the growth of Prunella vulgaris, you must begin with a **friable loam** that possesses a high Cation Exchange Capacity (CEC). This ensures that essential nutrients like potassium and magnesium remain available to the root system rather than leaching away during irrigation. The ideal soil pH for this species sits between **6.0 and 7.5**. If your soil is overly acidic, incorporate pelletized lime to raise the alkalinity.
Regarding nutrient management, avoid high-nitrogen fertilizers which can lead to leggy, weak stems and reduced flowering. Instead, utilize a balanced 5-10-10 NPK ratio during the initial planting phase. This lower nitrogen percentage prevents excessive vegetative biomass while the higher phosphorus and potassium levels encourage robust root development and floral production. Ensure your substrate contains at least 3 percent organic matter to maintain the structural integrity of the soil and support microbial activity.
Timing:
Prunella vulgaris is exceptionally hardy, thriving in USDA Hardiness Zones 3 through 9. The biological clock of the plant is governed by both temperature and day length. For outdoor sowing, the window opens as soon as the soil temperature reaches a consistent 55 degrees Fahrenheit. In cooler climates, this typically occurs two to three weeks before the last frost date.
The transition from the vegetative stage to the reproductive stage is triggered by the lengthening days of late spring. This photoperiodic response ensures that the plant allocates energy toward flower spikes once the risk of a hard freeze has passed. If you are starting seeds indoors, begin the process 8 to 10 weeks before the final spring frost to allow for sufficient root mass development before the plant enters its rapid growth phase in May or June.
Phases:
Sowing
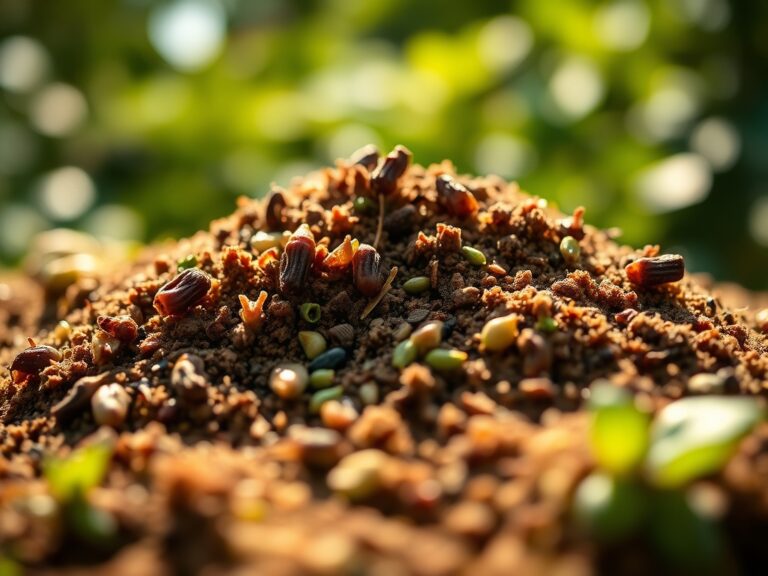
Self heal seeds are photoblastic, meaning they require light to stimulate the germination process. Surface sow the seeds onto a finely raked seedbed and press them firmly into the soil to ensure good seed-to-soil contact. Do not cover them with more than 1/8 inch of fine vermiculite.
Pro-Tip: Maintaining light exposure is critical because the seeds contain phytochrome receptors that detect specific wavelengths of red light. This biological mechanism prevents the seed from germinating too deep in the soil where the emerging cotyledon would exhaust its energy reserves before reaching the surface.
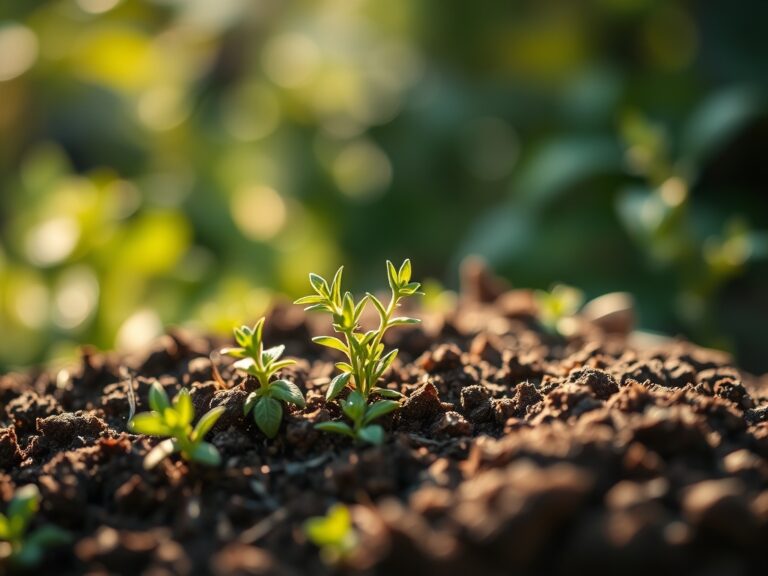
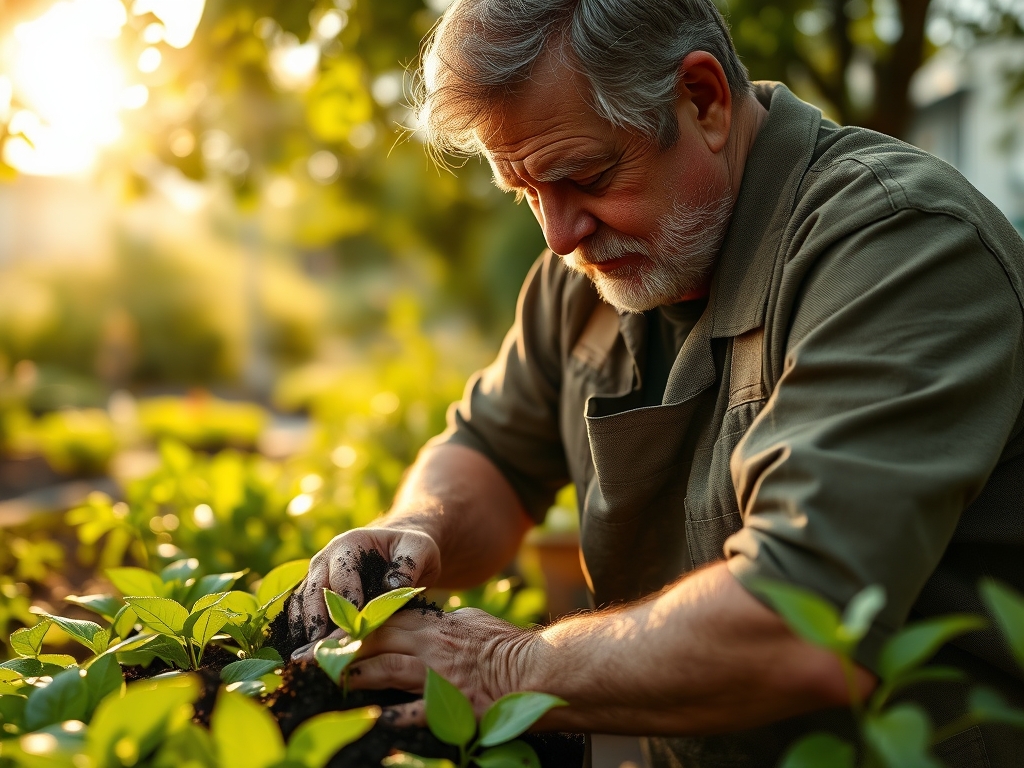
Transplanting
When seedlings have developed at least two sets of true leaves, they are ready for transplanting. Space the plants 9 to 12 inches apart. This spacing allows for adequate airflow, which reduces the incidence of fungal pathogens in the lower canopy.
Pro-Tip: When moving the plant, inoculate the planting hole with endomycorrhizal fungi. This creates a symbiotic relationship where the fungi extend the reach of the root system, increasing the uptake of phosphorus and water in exchange for plant sugars.
Establishing
During the first six weeks, the focus is on root establishment rather than upward growth. Keep the soil consistently moist but not saturated. If the plant begins to bolt prematurely, pinch back the central leader.
Pro-Tip: Pinching the terminal bud suppresses apical dominance by reducing the concentration of auxins at the tip. This chemical shift redirects energy to the lateral buds, resulting in a bushier, more resilient plant structure.
The Clinic:
Physiological disorders in Prunella vulgaris often stem from environmental stressors or nutrient imbalances. Monitoring the foliage daily allows for early intervention.
Symptom: Interveinal Chlorosis
If the leaves turn yellow while the veins remain green, the plant is likely suffering from a magnesium deficiency or a pH imbalance that locks out micronutrients.
Solution: Conduct a soil test to verify pH. If the pH is within the correct range, apply a foliar spray of magnesium sulfate (Epsom salts) at a rate of one tablespoon per gallon of water.
Symptom: Powdery Mildew
A white, talc-like substance on the leaf surface indicates high humidity and poor air circulation.
Solution: Increase spacing between plants and ensure you are watering at the base rather than over the foliage. Prune back surrounding vegetation to improve wind penetration.
Symptom: Stunted Growth and Purpling Leaves
This is a classic sign of phosphorus deficiency, often exacerbated by cold soil temperatures which inhibit phosphorus uptake.
Solution: Apply a high-phosphorus liquid starter fertilizer and ensure the soil has warmed to at least 60 degrees Fahrenheit.
Maintenance:
Precision is the hallmark of a master horticulturist. Prunella vulgaris requires approximately 1.5 inches of water per week, delivered directly to the drip line. Use a soil moisture meter to verify that the moisture has penetrated at least 4 inches deep into the soil profile.
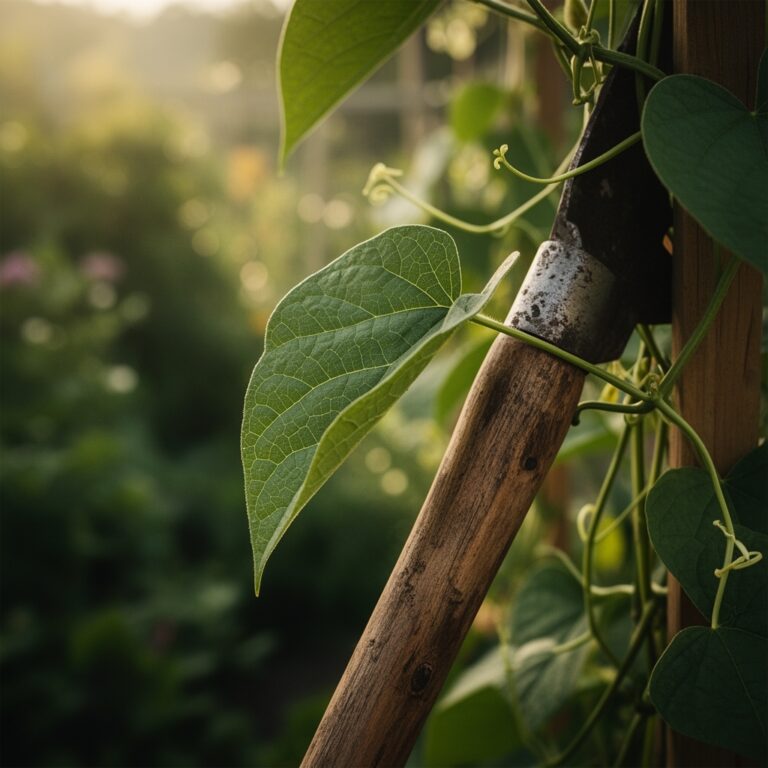
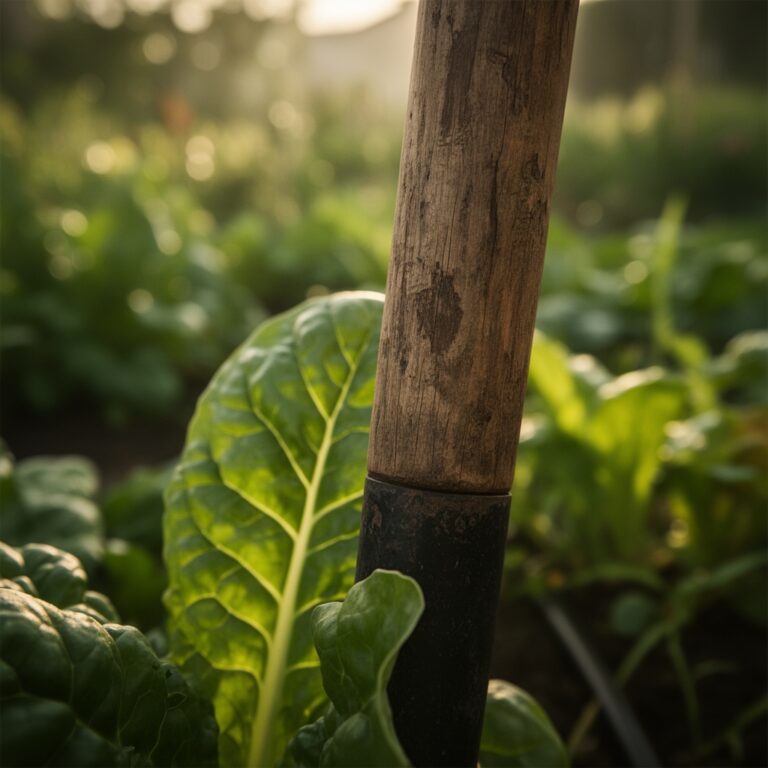
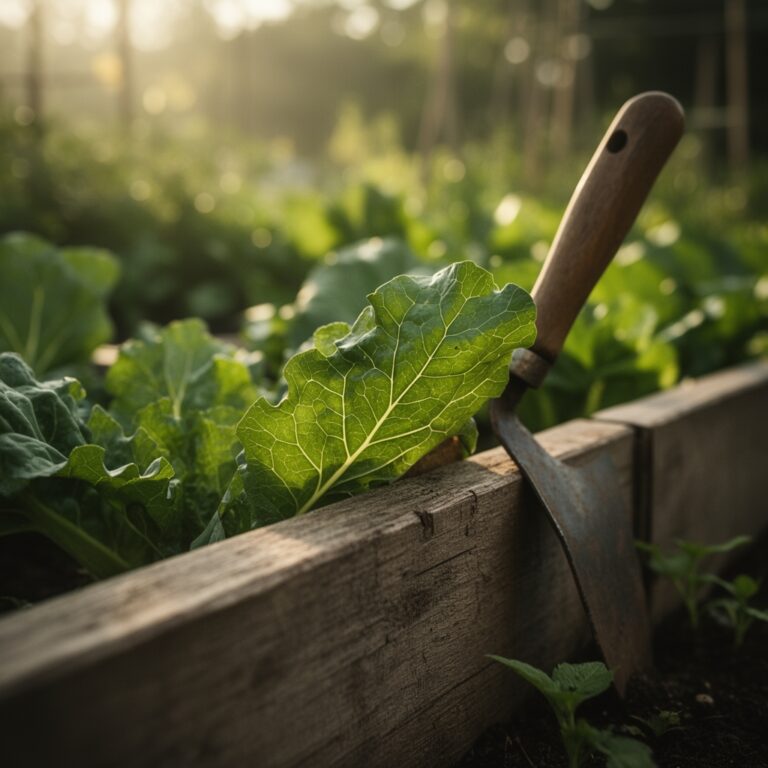
For weed management, use a hori-hori knife to extract deep-rooted perennials without disturbing the shallow rhizomes of the self heal. In midsummer, after the first flush of flowers begins to fade, use bypass pruners to deadhead the spent spikes. This prevents the plant from entering early senescence and encourages a second bloom cycle in late summer. If the patch becomes too dense, use a sharp spade to divide the clumps every three years, which rejuvenates the colony and prevents the center of the plant from dying out due to resource competition.
The Yield:
Harvesting self heal is best performed when the flower spikes are approximately halfway open. At this stage, the concentration of essential compounds is at its peak. Use sharp shears to cut the stems about two inches above the ground level.
To maintain day-one freshness and prevent cellular breakdown, harvest in the early morning after the dew has evaporated but before the sun reaches its zenith. This timing ensures the plant is at maximum turgidity. Immediately place the cut stems in a cool, shaded area. If you are drying the harvest, bundle the stems and hang them upside down in a well-ventilated space with low humidity to prevent mold growth during the desiccation process.
FAQ:
Does self heal grow better in sun or shade?
Self heal is highly adaptable but performs best in full sun to partial shade. In hotter climates (Zones 8-9), provide afternoon shade to prevent leaf scorch and maintain a soil temperature below 75 degrees Fahrenheit.
How long does it take for seeds to germinate?
Under optimal conditions with a soil temperature of 65 to 70 degrees Fahrenheit, germination typically occurs within 14 to 21 days. Ensure the seeds remain moist and exposed to light throughout this period.
Is Prunella vulgaris invasive in a garden setting?
While not classified as an invasive species in most regions, it spreads via creeping rhizomes and self-seeding. Use physical barriers or regular edging with a sharp spade to contain the plant within its designated garden boundaries.
What is the best way to propagate without seeds?
Division is the most efficient asexual propagation method. In early spring, use a hori-hori knife to lift a section of the root mass. Ensure each division has at least three healthy nodes before replanting it in prepared soil.