8 Smart Ways How to Design a Xeriscape Front Yard
Crushing a handful of dry, friable loam reveals the structural integrity of your soil. When the earth crumbles without sticking, the pore space is optimized for gas exchange and moisture retention. Learning how to design a xeriscape front yard requires moving beyond simple aesthetics to embrace hydraulic efficiency and thermal regulation. You must manage the turgor pressure of succulents and the deep taproots of woody perennials to create a landscape that thrives on minimal supplemental irrigation.
Materials:

The foundation of a xeriscape is the substrate. Most drought-tolerant species require a soil pH between 6.0 and 7.5 to ensure nutrient bioavailability. High alkalinity can lead to iron chlorosis, while extreme acidity inhibits the uptake of phosphorus. For the initial establishment of woody shrubs, utilize a slow-release fertilizer with an NPK ratio of 10-10-10 to support balanced root and shoot development.
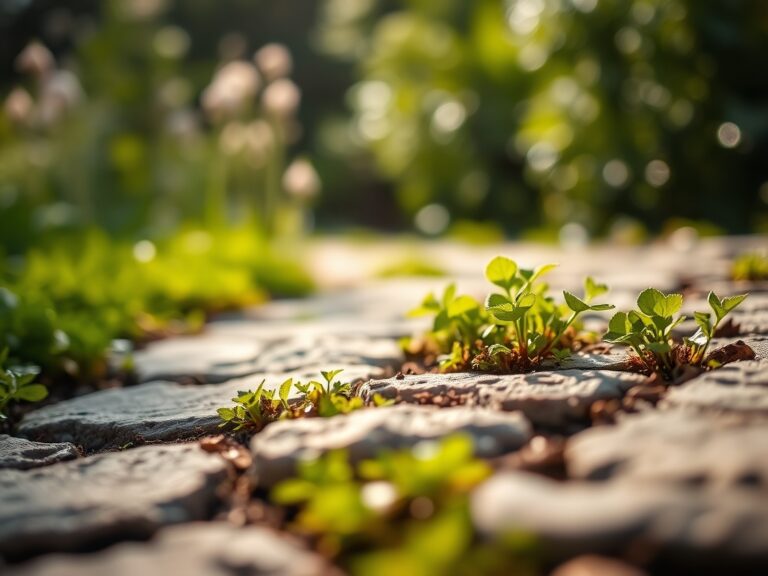
The physical texture must be a well-draining sandy loam. This allows for a high Cation Exchange Capacity (CEC) while preventing the anaerobic conditions found in heavy clays. Incorporate 3 inches of organic compost into the top 8 inches of soil to improve water-holding capacity without sacrificing drainage. Use inorganic mulches, such as 3/4-inch crushed granite or river rock, to suppress weed germination and reduce surface evaporation. These materials reflect solar radiation, keeping the rhizosphere cooler during peak thermal loads.
Timing:
Successful xeriscaping depends on the local frost-date window and Hardiness Zone specifications. In Zones 7 through 10, the ideal planting window occurs in late autumn or early spring when soil temperatures reach a consistent 55 degrees Fahrenheit. This timing allows the plant to focus energy on root expansion before the atmospheric demand for transpiration increases in summer.
Understanding the biological clock is essential. Plants transition from the vegetative stage (leaf and stem growth) to the reproductive stage (flowering) based on the photoperiod. For xeriscapes, you want to establish a robust root system before the plant enters its reproductive cycle. If a plant undergoes heat stress during its reproductive phase, it may trigger premature senescence, leading to leaf drop and structural decline. Monitor the local weather data to ensure at least six weeks of growth before the first hard freeze or the first 90-degree heatwave.
Phases:

Sowing and Soil Preparation
Begin by removing all existing turfgrass. Use a sod cutter to clear the area, then till the soil to a depth of 12 inches. Incorporate expanded shale if your soil has high clay content to increase macropores. If sowing native wildflower seeds, ensure a seeding rate of 1 pound per 1,000 square feet. Lightly rake the seeds into the top 1/4 inch of soil to ensure seed-to-soil contact.
Pro-Tip: Mycorrhizal fungi inoculation during the sowing phase is vital. These fungi form a symbiotic relationship with plant roots, effectively increasing the surface area for water absorption by up to 100 times. This symbiosis is the biological why behind long-term drought resistance.
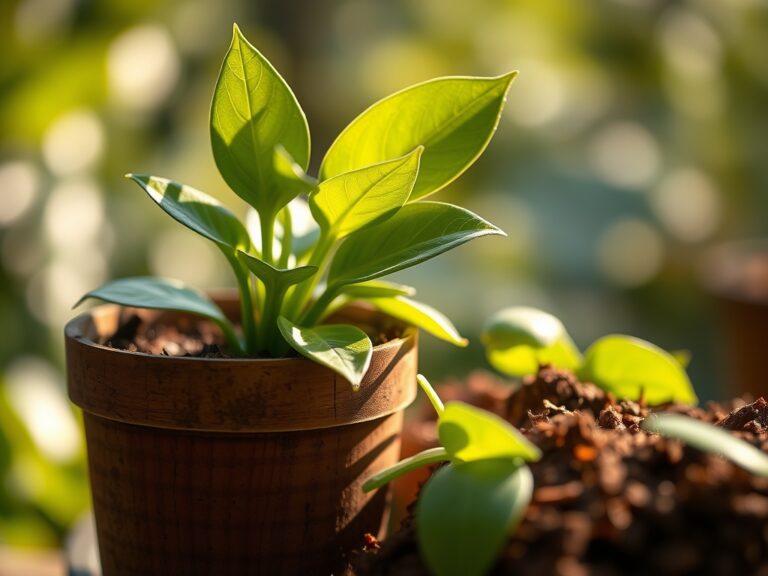
Transplanting
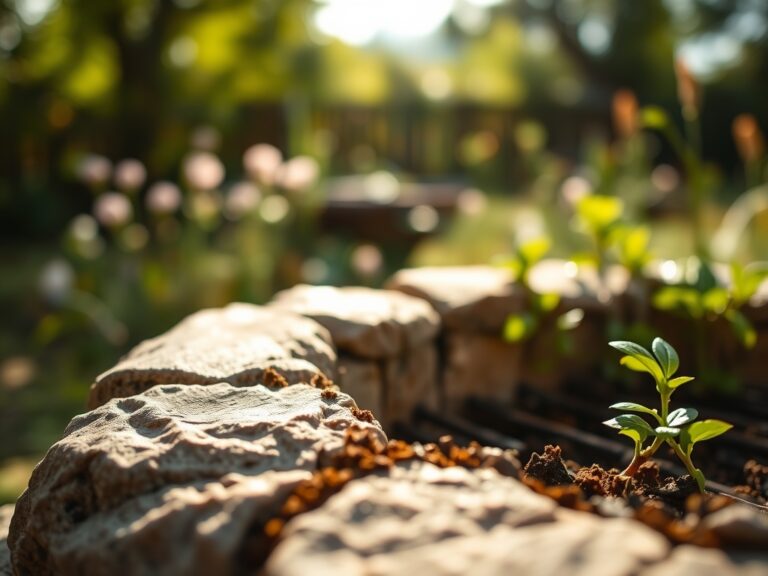
When moving nursery stock into the ground, dig a hole two times wider than the root ball but no deeper. The root flare must remain at or slightly above the soil surface to prevent stem rot. If the roots are circling the pot, use a hori-hori knife to make three vertical cuts to encourage outward growth.
Pro-Tip: Directing the root tips outward utilizes the principle of geotropism. By breaking the mechanical memory of the nursery pot, you force the plant to send roots into the surrounding native soil, which stabilizes the plant against wind and drought.
Establishing
During the first 90 days, the plant is in its establishment phase. It requires regular hydration to maintain turgor pressure. Apply water directly to the root zone using a soaker hose or drip emitters. Avoid overhead irrigation, which increases the risk of fungal pathogens and results in a 30 percent loss due to evaporation.
Pro-Tip: Use auxin suppression by pinching back the terminal buds of young shrubs. This redirects the plant's hormones to the lateral buds, creating a denser, more compact form that is less susceptible to wind desiccation.
The Clinic:
Physiological disorders in xeriscapes often stem from improper drainage or nutrient imbalances.
- Symptom: Interveinal chlorosis (yellowing between green veins) on new growth.
- Solution: This indicates an iron deficiency, often caused by a pH above 7.5. Apply chelated iron to the soil or use a foliar spray to bypass soil lock-up.
- Symptom: Leaf scorch or marginal necrosis on older leaves.
- Solution: This usually indicates salt accumulation from reclaimed water or over-fertilization. Flush the soil with 3 inches of fresh water to leach the salts below the root zone.
- Symptom: Soft, mushy stems at the soil line (Damping off/Root rot).
- Solution: This is caused by anaerobic conditions. Reduce irrigation frequency immediately and ensure the mulch is not touching the plant stem.
Fix-It for Nitrogen Chlorosis: If the entire leaf turns pale green or yellow, the plant lacks nitrogen. Apply a high-nitrogen organic fertilizer, such as blood meal, at a rate of 1 pound per 100 square feet to restore chlorophyll production.
Maintenance:
Xeriscapes are low-maintenance, not "no-maintenance." Use a soil moisture meter to check the moisture levels at a depth of 6 inches. Once established, most xeriscape plants require only 0.5 to 1 inch of water every two weeks during the growing season.
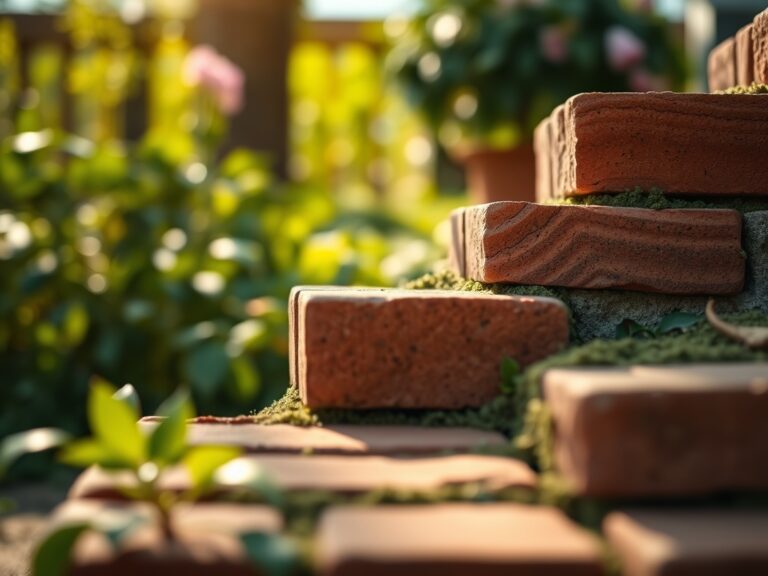
Pruning should be performed with sharp bypass pruners to ensure clean cuts that heal quickly. Remove dead or crossing branches in late winter to improve airflow through the canopy. Maintain a 3-inch layer of mulch to suppress weeds and regulate soil temperature. If weeds appear, remove them manually with a hori-hori knife, ensuring the entire taproot is extracted to prevent regrowth.
The Yield:
If your xeriscape includes edible perennials like rosemary, lavender, or prickly pear, timing the harvest is critical for essential oil density. Harvest herbs in the early morning after the dew has evaporated but before the sun reaches its zenith. This is when the concentration of volatile oils is at its peak. Use sharp shears to cut the top one-third of the plant. To maintain "day-one" freshness, place the stems in a cool, shaded area immediately and avoid bruising the cell walls, which leads to rapid oxidation and flavor loss.
FAQ:
How much water does a xeriscape need?
Established xeriscapes typically require 0.5 to 1 inch of water every 10 to 14 days. During extreme heat, increase frequency to once per week. Always apply water at the drip line to reach the active root zone.
Can I use wood chips for xeriscape mulch?
Wood chips are effective for moisture retention and soil cooling. Apply a 3-inch layer, keeping it 2 inches away from plant stems. Note that wood chips decompose and may require nitrogen supplementation as they break down.
What is the best soil for xeriscaping?
A well-draining sandy loam with a pH between 6.0 and 7.5 is ideal. The soil should have enough organic matter to support a high Cation Exchange Capacity while remaining porous enough to prevent waterlogging.
How do I prevent weeds in a xeriscape?
Maintain a consistent 3-inch layer of inorganic or organic mulch. For stubborn areas, use a landscape fabric under the mulch, though manual extraction with a hori-hori knife is preferred to maintain soil gas exchange.