8 Recovery Steps for Repotting a Fiddle Leaf Fig
The smell of damp, anaerobic peat signals a failing root system while the snap of a leaf with high turgor pressure indicates a plant ready for transition. Mastering the steps for repotting a fiddle leaf fig (Ficus lyrata) requires more than aesthetic intuition; it demands a clinical understanding of the rhizosphere. When the root mass begins to circle the interior of the pot, it chokes off oxygen and nutrient uptake. This guide provides the technical framework to execute a successful transplant without triggering lethal transplant shock.
Materials:

The substrate must be a friable loam with a high Cation Exchange Capacity (CEC) to ensure nutrient availability. Aim for a soil pH between 6.0 and 7.0. The ideal potting mix consists of two parts aged pine bark, one part coarse perlite, and one part coconut coir to prevent compaction. Avoid heavy garden soils that collapse and suffocate the fine feeder roots.
For the initial establishment phase, select a slow-release fertilizer with an NPK ratio of 3:1:2. High nitrogen levels (3) are essential for vegetative leaf production; phosphorus (1) supports root elongation; and potassium (2) regulates stomatal opening and water transport. Ensure the new container is only 2 inches larger in diameter than the current one to prevent perched water tables, which lead to root rot.
Timing:
Ficus lyrata is native to lowland tropical rainforests and operates on a strict biological clock governed by light intensity and temperature. For those in USDA Hardiness Zones 9 through 11, outdoor repotting can occur during the long days of late spring. For indoor specimens in cooler zones, the optimal window is between April and June.
During this period, the plant exits its semi-dormant winter state and enters a phase of rapid vegetative growth. Increasing the photoperiod triggers the production of auxins in the apical meristem, which signal the roots to expand. Repotting during the winter senescence phase is high risk; the plant lacks the metabolic energy to repair root hairs damaged during the move.
Phases:

Sowing and Preparation
Before the plant leaves its current vessel, hydrate it thoroughly 24 hours in advance. This ensures the cells are at maximum turgidity, making the root tissues more resilient to physical handling. Use a hori-hori knife to slice around the inner perimeter of the pot, severing any roots that have fused to the ceramic or plastic walls.
Pro-Tip: Maintaining high turgor pressure prevents the collapse of the xylem vessels during the transition. If the plant is dehydrated, the vascular system may develop air embolisms that block future water transport.
Transplanting
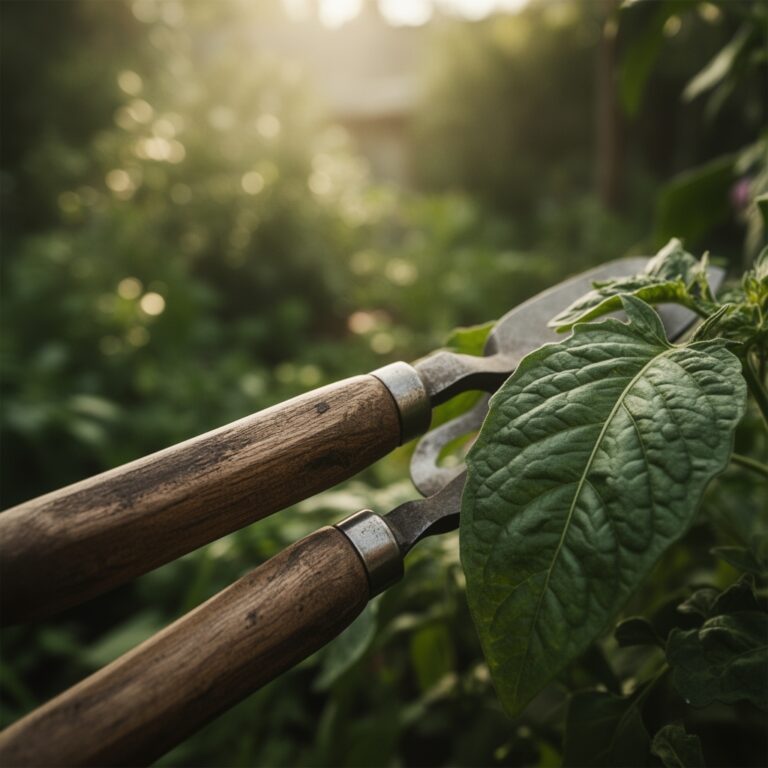
Grasp the plant at the base of the woody trunk and slide it out. Inspect the root ball for signs of circling. Use bypass pruners to make vertical cuts in four places around the root ball and one "X" across the bottom. This mechanical disruption breaks apical dominance in the roots, forcing lateral branching into the new substrate. Position the plant so the top of the root ball sits 1 inch below the rim of the new pot.
Pro-Tip: This pruning triggers a surge in cytokinins. These hormones promote cell division in the root tips, ensuring the plant colonizes the new soil volume rapidly through a process called gravitropism.
Establishing
Fill the voids with your prepared substrate, tamping down lightly with your fingers to eliminate large air pockets without compressing the soil. Water the plant until the effluent runs clear from the drainage holes. This "settling water" is critical for ensuring direct contact between the root hairs and the soil particles. Place the plant in a location with at least 400 to 600 foot-candles of light.
Pro-Tip: Avoid fertilizing for the first 4 to 6 weeks. The plant must first establish a symbiotic relationship with beneficial soil microbes. Introducing high salt concentrations from synthetic fertilizers can desiccate new, sensitive root hairs through osmotic pressure.
The Clinic:
Physiological disorders often manifest immediately following a repotting event. Monitoring the foliage provides a real-time data feed on the plant's internal health.
Symptom: Lower leaves turning yellow (Chlorosis).
Solution: This typically indicates Nitrogen deficiency or overwatering. If the soil is saturated, the roots cannot perform cellular respiration. Ensure the drainage holes are not blocked.
Symptom: Brown spots in the center of the leaf.
Solution: This is often a sign of Root Rot (Phytophthora). Use a soil moisture meter to ensure the top 2 inches of soil are dry before the next irrigation cycle.
Symptom: Brittle, curling leaf edges.
Solution: Low humidity or high salt buildup. Flush the substrate with distilled water to leach out excess minerals and maintain ambient humidity above 50 percent.
Fix-It for Nutrient Deficiencies:
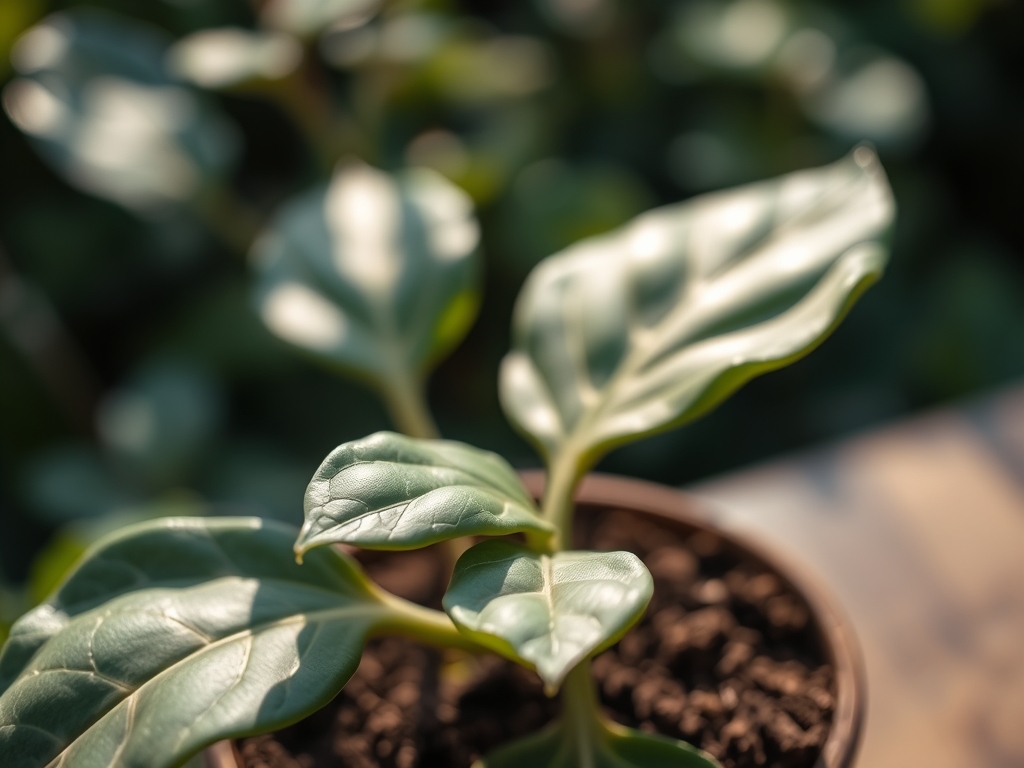
If you observe interveinal chlorosis on new growth, it is likely a Magnesium or Iron deficiency. Apply a chelated micronutrient spray at half strength to bypass the root system and deliver nutrients directly to the leaf tissue.
Maintenance:
Post-repotting care requires surgical precision. A fiddle leaf fig requires approximately 1 to 1.5 inches of water per week, delivered evenly across the soil surface. Use a soil moisture meter to verify that the root zone is neither desiccated nor waterlogged.
Pruning should be limited to the removal of necrotic tissue using sterilized bypass pruners. To encourage "branching" or a fuller canopy, you may perform "notching" above a dormant bud. This interrupts the flow of auxins down the stem, allowing the dormant bud to activate. Clean the broad leaves with a damp cloth every 30 days to remove dust, which can reduce photosynthetic efficiency by up to 30 percent.
The Yield:
While Ficus lyrata is grown for its architectural foliage rather than fruit, the "yield" is measured in leaf size and canopy density. To maximize leaf surface area, maintain a consistent environment. Sudden drops in temperature below 60 degrees Fahrenheit can trigger leaf abscission. If the plant must be moved, do so gradually over 10 days to allow the stomata to adapt to new light levels.
FAQ:
How do I know if my fiddle leaf fig needs repotting?
Check for roots emerging from drainage holes or water sitting on the soil surface. If the plant requires water every 2 to 3 days, the root-to-soil ratio is too high. The plant has become "root-bound."
What is the best soil for a fiddle leaf fig?
A well-draining, peat-based or coco-coir-based mix with a pH of 6.0 to 7.0. Incorporate perlite or bark to ensure oxygen reaches the rhizosphere. This prevents the anaerobic conditions that lead to root rot and fungal pathogens.
Can I repot a fiddle leaf fig in the winter?
It is not recommended. During winter, the plant experiences reduced metabolic activity. Repotting during this period of senescence increases the risk of transplant shock because the plant cannot rapidly grow new roots to replace those damaged during the move.
How much larger should the new pot be?
Select a container only 2 inches larger in diameter than the previous one. A pot that is too large holds excess moisture in the unoccupied soil, which leads to "wet feet" and eventually lethal root decay.
Should I prune the roots when repotting?
Yes. Use sterilized bypass pruners to trim away any mushy, brown roots. If the roots are healthy but circling, make several vertical nicks in the root ball to encourage outward growth into the fresh, nutrient-rich substrate.