7 Minimalist Steps to Prepare a Minimalist Plant Hanger
The smell of damp peat moss and the snap of a leaf with high turgor pressure define the successful indoor garden. Structural integrity is the foundation of any vertical display; a failure in the suspension system leads to root shock and mechanical damage. Learning how to prepare a DIY plant hanger requires more than an aesthetic eye. It demands an understanding of load-bearing physics and the physiological needs of the specimen. You must calculate the saturated weight of the substrate and the tensile strength of your cordage to prevent catastrophic descent. This guide provides the technical framework for securing your botanical assets while optimizing the rhizosphere for sustained growth.
Materials:

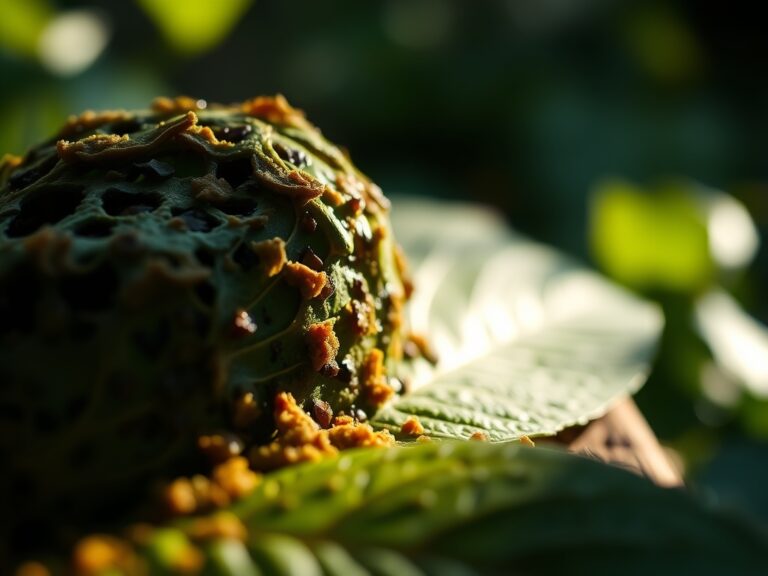
The substrate is the engine of your plant hanger. For most epiphytes and hanging specimens, aim for a pH range of 5.8 to 6.5. The ideal medium is a friable loam composed of 40 percent coco coir, 30 percent perlite, and 30 percent composted pine bark. This ensures high porosity and oxygen diffusion to the root zone.
Your nutrient profile must be precise. Incorporate a slow-release granular fertilizer with an NPK ratio of 10-10-10 for balanced vegetative growth. If you are housing flowering species like Hoya, shift to a 5-10-5 ratio to prioritize phosphorus for bud development. The Cation Exchange Capacity (CEC) of this mix should remain high to ensure minerals like magnesium and calcium are available for uptake rather than leaching through the drainage hole during irrigation cycles.
Timing:
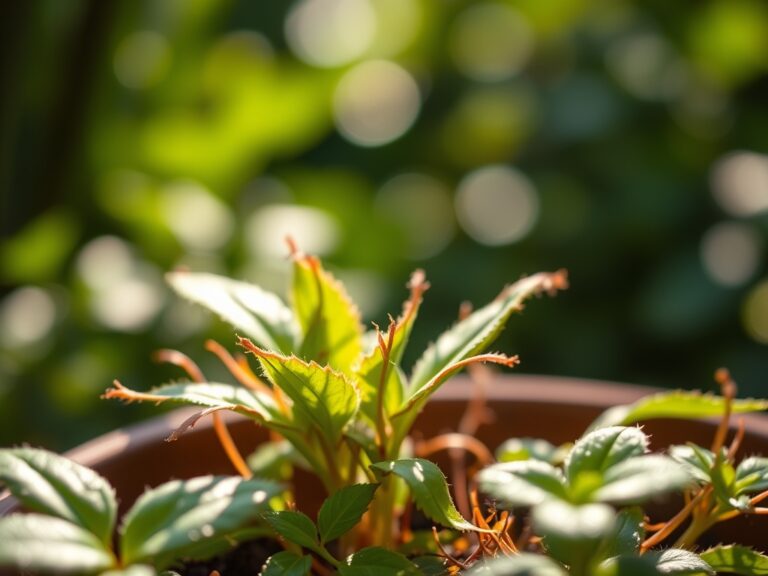
Successful installation depends on the plant's biological clock. Most indoor species should be transitioned into a new hanger during their active growth phase, typically between USDA Hardiness Zones 4 through 11 from late March to early September. Avoid transplanting during the dormant winter months when the photoperiod is less than 10 hours; low light levels reduce the plant's metabolic rate and slow the recovery of damaged root hairs.
The "Biological Clock" is the transition from vegetative to reproductive stages. When a plant is moved to a hanger, it often experiences a brief period of stasis. By timing your DIY project to coincide with the spring equinox, you leverage increasing light intensity to stimulate auxin production, which accelerates root anchorage in the new vessel.
Phases:

Sowing and Preparation
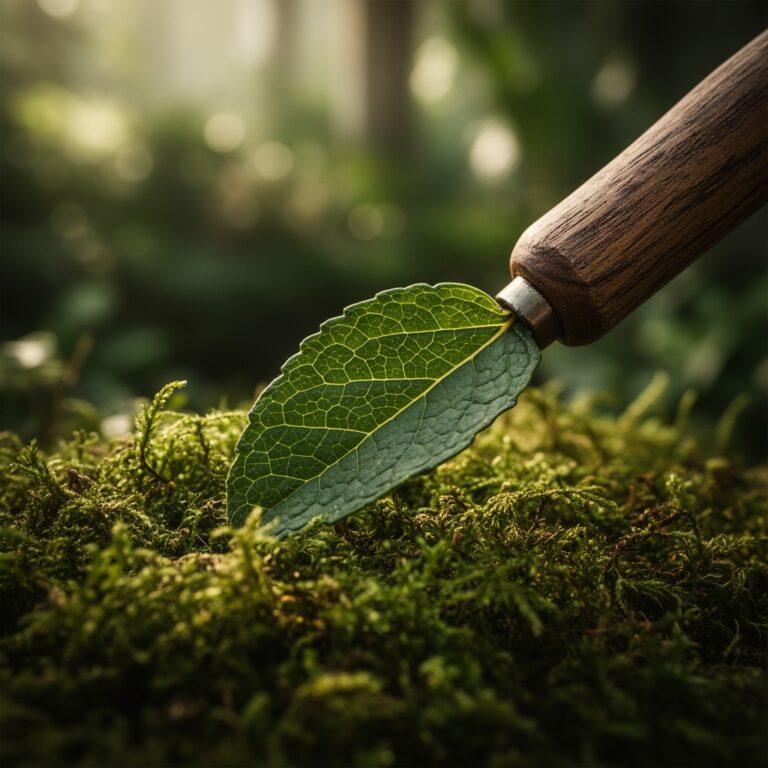
Before the plant enters the hanger, inspect the root ball. If the specimen is pot-bound, use a hori-hori knife to make four vertical incisions along the root mass. This mechanical disruption breaks the circular growth pattern and encourages lateral branching into the new substrate.
Pro-Tip: Mycorrhizal symbiosis is critical. Dust the root ball with endomycorrhizal fungi to increase the surface area for water absorption. This biological partnership allows the plant to access phosphorus that is otherwise chemically bound in the soil.
Transplanting
Position the plant so the crown sits 0.5 inches below the rim of the pot. This prevents water runoff and ensures the hydration reaches the core of the root zone. Use a cotton or nylon cord with a minimum breaking strength of 50 pounds to construct the hanger, ensuring the knots are cinched under tension.
Pro-Tip: Proper positioning exploits phototropism. Ensure the hanger allows for 360-degree rotation. This prevents the plant from leaning toward the light source, which causes asymmetrical growth and weakened stems due to uneven distribution of growth hormones.
Establishing
Once suspended, the plant requires a stabilization period of 14 days. Do not apply liquid fertilizers during this window. The focus is on hydraulic conductivity. Monitor the soil moisture daily using a soil moisture meter to ensure the core remains at a "4" or "5" on a 10-point scale.
Pro-Tip: Auxin suppression occurs if the plant is moved frequently. Once the hanger is hung, leave it. Constant movement disrupts the plant's ability to orient its chloroplasts toward the light, leading to reduced photosynthetic efficiency and potential leaf abscission.
The Clinic:
Physiological disorders in hanging plants often stem from the microclimate created by elevated positions, where temperatures are typically 3 to 5 degrees Fahrenheit warmer than floor level.
- Symptom: Interveinal chlorosis (yellowing between leaf veins).
Solution: This indicates a Magnesium deficiency. Apply a solution of 1 tablespoon of Epsom salts per gallon of water to restore chlorophyll production. - Symptom: Leaf tip burn or necrosis.
Solution: This is often caused by salt accumulation from tap water. Flush the substrate with two volumes of distilled water to leach out excess sodium and boron. - Symptom: Loss of turgor despite wet soil.
Solution: This is a sign of root rot (Pythium). The substrate is anaerobic. Increase aeration by adding perlite and reduce watering frequency to allow the top 2 inches of soil to dry.
Fix-It for Nitrogen Chlorosis: If the entire leaf turns pale green or yellow, the plant is scavenging nitrogen from old growth to support new leaves. Apply a high-nitrogen foliar spray (NPK 20-0-0) for immediate uptake through the stomata.
Maintenance:
Precision is the difference between a surviving plant and a thriving one. Hanging plants dry out faster due to increased airflow. Provide 1.5 inches of water per week at the drip line. Use bypass pruners to remove any senescent (dying) foliage; this prevents the plant from wasting carbohydrates on non-productive tissues.
Check the structural integrity of the hanger every 90 days. UV degradation can weaken natural fibers like jute. If the cord feels brittle, replace it immediately. Use a soil moisture meter before every watering session. Never guess. If the meter reads below 20 percent at a depth of 4 inches, the plant is approaching its permanent wilting point.
The Yield:
For those growing hanging herbs like prostrate rosemary or trailing nasturtiums, harvest timing is essential. Collect foliage in the early morning when essential oil concentration is at its peak and turgor pressure is highest. Use sharp snips to make a clean cut at a 45-degree angle just above a node.
To maintain "day-one" freshness, immediately place the cut ends in a 10 percent sucrose solution or wrap them in a damp paper towel and refrigerate at 40 degrees Fahrenheit. This slows the respiration rate and prevents the rapid breakdown of cellular structures.
FAQ:
What is the best cord for a DIY plant hanger?
Use 3mm or 4mm macrame cord made of cotton or synthetic nylon. These materials offer the necessary tensile strength to support a 5-pound to 15-pound saturated pot while resisting the tension of gravity over long durations.
How do I prevent my hanging plant from leaking?
Install a deep saucer or a cachepot without drainage holes to act as a reservoir. Ensure the internal grow pot is lifted slightly with pebbles to prevent the roots from sitting in stagnant water, which causes anaerobic rot.
How often should I fertilize a hanging plant?
Apply a balanced liquid fertilizer at half-strength every 14 days during the active growing season. Hanging plants have limited soil volume, meaning nutrients leach faster. Regular, dilute feeding maintains a consistent Cation Exchange Capacity in the rhizosphere.
Why are the leaves on my hanging plant turning brown?
This is typically caused by low humidity or salt buildup. Hanging plants are exposed to rising warm air. Increase local humidity to 50 percent and flush the soil with distilled water monthly to remove mineral salts from the substrate.