9 Moisture-Loving Steps to Prepare a Fern Plant Shelf
The smell of damp forest floor and the high turgor pressure of a rigid frond define the success of an indoor pteridophyte collection. Mastering how to prepare a plant shelf for ferns requires more than aesthetic placement; it demands the engineering of a microclimate that mimics a humid understory. You must manage transpiration rates and substrate saturation to prevent desiccation. A fern shelf is a living laboratory where humidity, light intensity, and soil chemistry intersect.
Materials:

The foundation of fern health is a pH range of 5.5 to 6.5. Most ferns thrive in a friable loam composed of two parts peat moss or coconut coir, one part perlite, and one part pine bark fines. This mixture ensures high Cation Exchange Capacity (CEC), allowing the roots to efficiently transition nutrients from the soil solution into the plant tissue.
For fertilization, use a water-soluble NPK ratio of 20-10-20 or 15-5-15. Ferns are sensitive to salt buildup; therefore, the nitrogen source should ideally be nitrate-based rather than urea-based to prevent ammonium toxicity in low-light conditions. The substrate must feel spongy and fibrous, maintaining structural integrity even when saturated. Avoid heavy garden soils that collapse and suffocate the rhizosphere.
Timing:
Successful fern cultivation follows the "Biological Clock" of the species, typically dictated by the photoperiod. In Hardiness Zones 8 through 11, many ferns can remain outdoors year-round, but for indoor shelves, the critical window for setup is early spring. This coincides with the transition from dormancy to the vegetative stage, usually when indoor ambient temperatures stabilize between 65 and 75 degrees Fahrenheit.
Avoid major shelf overhauls or repotting during the late autumn senescence, as the plant's metabolic rate drops and root recovery slows. If you are integrating temperate species, they may require a vernalization period (cold treatment) to trigger new growth cycles. Monitor the local frost-free date; even for indoor plants, the shift in external barometric pressure and light duration influences internal auxin levels.
Phases:

Sowing and Spore Propagation
Ferns do not produce seeds; they reproduce via spores. Collect spores from the underside of mature fronds when the sori turn dark brown. Sow them on a sterilized, moist peat substrate in a sealed container. Maintain a constant temperature of 70 degrees Fahrenheit. Germination begins with the development of a prothallus, a heart-shaped gametophyte.
Pro-Tip: Keep the propagation chamber sealed to maintain 100 percent relative humidity. This is vital because the sperm cells of ferns are flagellated and require a film of liquid water to swim to the egg for fertilization.
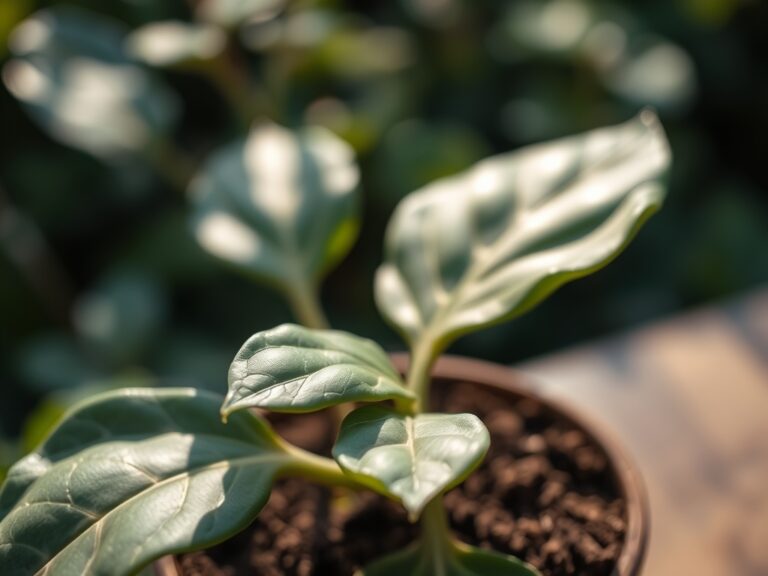
Transplanting and Spacing
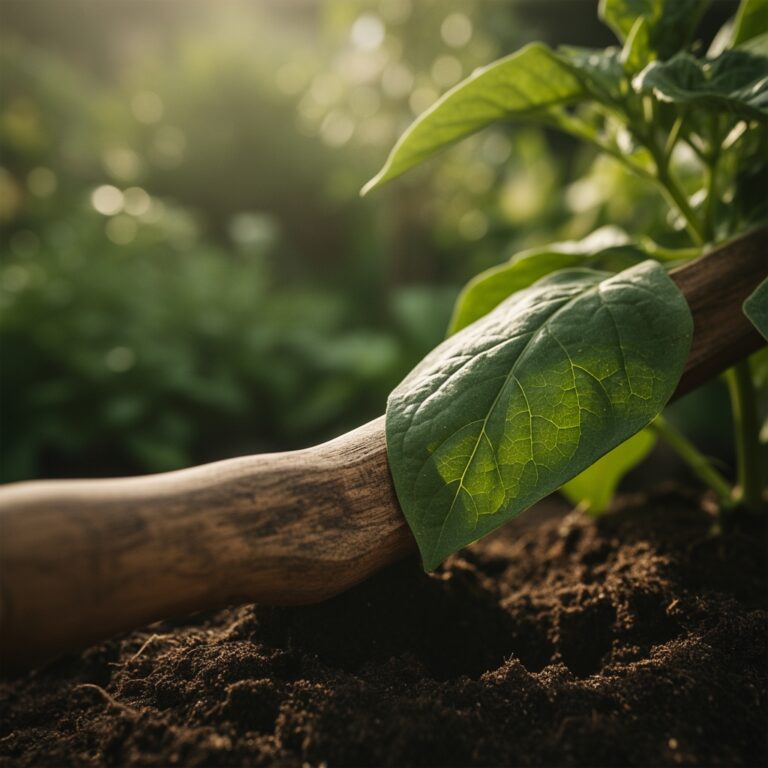
When moving ferns to the shelf, ensure the crown is level with the soil surface. Planting too deep causes crown rot; planting too shallow leads to rhizome desiccation. Space pots at least 4 to 6 inches apart to allow for adequate air circulation, which prevents fungal pathogens like Botrytis.
Pro-Tip: Use a hori-hori knife to gently loosen the root ball. This minor root disturbance triggers a localized increase in cytokinin production, which encourages the plant to establish new lateral roots in the fresh substrate.
Establishing the Microclimate
Once the ferns are positioned, implement a humidity strategy. Grouping plants together creates a collective transpiration effect, raising the local humidity. Use a pebble tray filled with water beneath the pots, ensuring the base of the pot does not touch the water to avoid capillary saturation of the soil.
Pro-Tip: Rotate the pots 90 degrees every week to counteract phototropism. This ensures even distribution of light across the fronds, preventing the plant from becoming "leggy" as it reaches toward the primary light source.
The Clinic:
Physiological disorders in ferns often manifest through foliage changes.
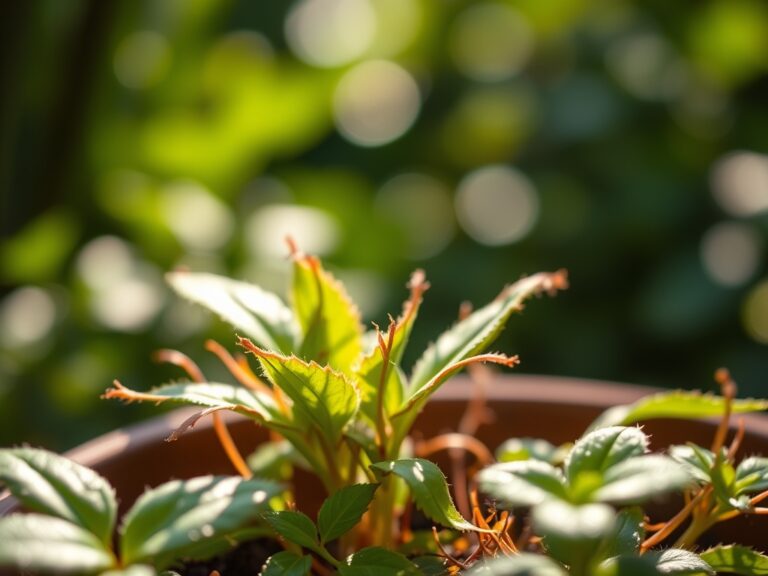
Symptom: Brown, brittle frond tips.
Solution: Increase relative humidity to at least 50 percent. This is usually a sign of excessive vapor pressure deficit (VPD), where the plant loses water faster than the roots can provide it.
Symptom: Yellowing of older fronds (Nitrogen chlorosis).
Solution: Apply a balanced liquid fertilizer at half-strength. Nitrogen is a mobile nutrient; the plant will pull it from old growth to support new fronds if the soil is deficient.
Symptom: Mushy, black stems at the soil line (Pythium root rot).
Solution: Reduce watering frequency and improve drainage. Ensure the pot has at least three drainage holes and the substrate is not compacted.
Fix-It for Magnesium Deficiency: If you notice interveinal chlorosis on older leaves, apply a solution of one tablespoon of Epsom salts per gallon of water once a month to restore magnesium levels.
Maintenance:
Precision is mandatory for long-term fern health. Use a soil moisture meter daily; do not water on a set schedule. Instead, provide water when the top 0.5 inch of soil feels dry. For most 6-inch pots, this equates to approximately 1.5 cups of filtered water twice a week, depending on ambient evaporation rates.
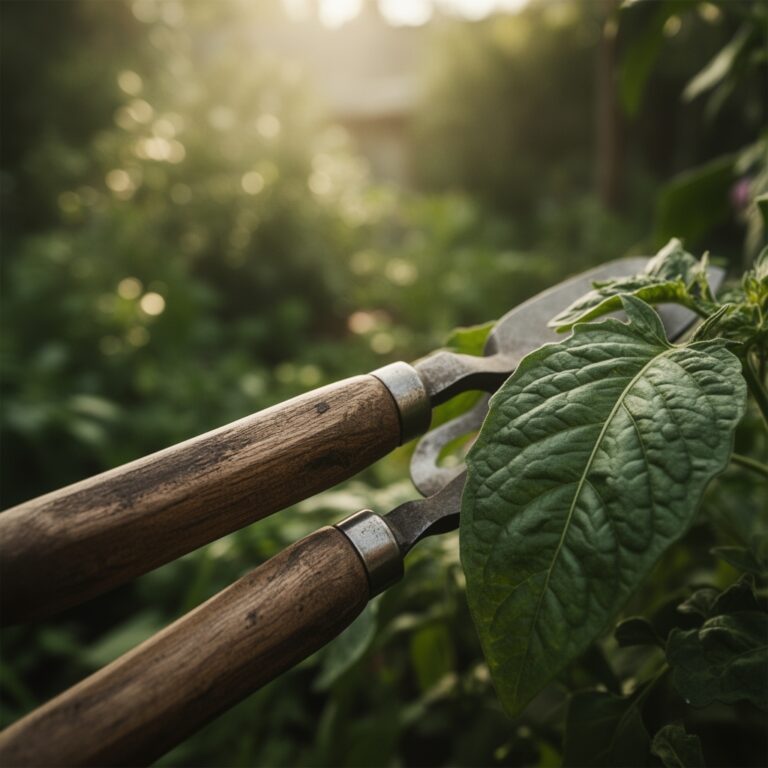
Pruning is essential for hygiene. Use bypass pruners to remove senescent or damaged fronds at the base. This redirects energy to the apical meristem. Clean the shelf surfaces with a mild isopropyl alcohol solution once a month to eliminate spores of opportunistic fungi. Monitor light levels with a light meter; most ferns require 100 to 500 foot-candles of indirect light.
The Yield:
While most ferns are ornamental, species like the Ostrich Fern (Matteuccia struthiopteris) produce edible "fiddleheads." Harvest these in early spring when they are tightly coiled and no taller than 6 inches. Use a sharp knife to cut them at the soil line, leaving at least half of the emerging fiddleheads to ensure the crown has enough photosynthetic capacity to survive the season. For maximum freshness, blanch them immediately in boiling water for two minutes followed by an ice bath to stop the enzymatic breakdown.
FAQ:
What is the best light for a fern shelf?
Ferns require bright, indirect light. Aim for 100 to 500 foot-candles. Avoid direct afternoon sun, which causes leaf scorch and destroys chlorophyll. North or East-facing windows provide the most consistent, low-intensity light suitable for most species.
How often should I mist my ferns?
Misting is largely ineffective for raising long-term humidity. It only provides a temporary spike for roughly 10 to 15 minutes. Use a dedicated humidifier or a pebble tray to maintain a constant relative humidity of 50 to 70 percent.
Why are my fern's leaves turning yellow?
Yellowing, or chlorosis, typically indicates a nitrogen deficiency or overwatering. Check the root system for rot. If roots are white and firm, apply a balanced, water-soluble fertilizer at half-strength to replenish mobile nutrients in the rhizosphere.
Can I use tap water for ferns?
Many ferns are sensitive to fluoride and chlorine in municipal water. These chemicals can cause tip burn. Use filtered water or allow tap water to sit for 24 hours to dissipate chlorine before hydrating the substrate.
What is the ideal pot type for ferns?
Plastic or glazed ceramic pots are superior to terracotta. Terracotta is porous and pulls moisture away from the soil, leading to rapid desiccation. Non-porous materials help maintain the consistent moisture levels that ferns require for turgor.