10 Pro Ways How to Build Compost Bins
The scent of damp, decaying organic matter signals the transition of complex polymers into stable humus. High turgor pressure in a healthy leaf depends entirely on the nutrient density of the soil; this density begins in the heap. Learning how to build compost bins is the foundational step in managing the nitrogen cycle within your garden. A properly constructed bin regulates heat and moisture to optimize the metabolic rate of aerobic bacteria. This process ensures that raw cellulose and lignin transform into bioavailable nutrients.
Materials:
The construction of a bin requires materials that facilitate gas exchange while maintaining structural integrity. For a permanent three-bin system, use rot-resistant lumber like cedar or heat-treated pallets. The ideal substrate within these bins should eventually resemble a **friable loam** with a **pH range of 6.0 to 7.5**.
To achieve a balanced NPK ratio in the finished product, your input materials must follow a strict Carbon-to-Nitrogen (C:N) ratio of 30:1. High-carbon "browns" (straw, dried leaves) provide the energy source for microbes, while high-nitrogen "greens" (vegetable scraps, fresh grass clippings) provide the protein required for microbial reproduction. When these materials break down, the resulting compost typically tests at an NPK ratio of 1-1-1 or 0.5-0.5-0.5, serving as a slow-release soil conditioner rather than a high-octane fertilizer. This material increases the Cation Exchange Capacity (CEC) of your soil, allowing the rhizosphere to hold onto positively charged ions like Calcium (Ca2+) and Magnesium (Mg2+).
Timing:
Composting efficiency is tethered to the ambient temperature and the hardiness zone of your region. In Zones 3 through 6, microbial activity slows significantly when soil temperatures drop below 40 degrees Fahrenheit. Construction of new bins should occur in late spring, following the final frost date, to capitalize on the increasing photoperiod and rising ambient heat.
Understanding the biological clock of the compost pile is essential. The transition from the mesophilic phase (50 to 105 degrees Fahrenheit) to the thermophilic phase (105 to 160 degrees Fahrenheit) marks the peak of decomposition. During the thermophilic stage, heat-loving bacteria like Actinomycetes break down tough proteins and fats. If the pile does not reach at least 131 degrees Fahrenheit for three consecutive days, weed seeds and pathogens will remain viable.
Phases:

Sowing the Pile
Begin by layering coarse woody debris at the base of the bin. This creates a "plenum" or air space that allows oxygen to enter from the bottom. Layer your green and brown materials in 3-inch to 6-inch increments. Ensure the moisture level resembles a wrung-out sponge, roughly 50% to 60% water content by weight.
Pro-Tip: Incorporate a shovel of active garden soil or finished compost into each layer. This introduces a diverse microbial inoculum immediately to the fresh substrate, bypassing the lag phase of bacterial colonization.
Transplanting and Turning
As the center of the pile reaches its peak temperature, the volume will decrease by 30% to 50%. This indicates that the oxygen has been consumed and the pile requires turning. Use a pitchfork to move the outer, less-decomposed materials into the center of the bin.
Pro-Tip: Turning the pile prevents anaerobic fermentation. Without oxygen, facultative anaerobes take over, producing organic acids and methane which drop the pH and can lead to root phytotoxicity if the unfinished compost is applied to plants.
Establishing Stability
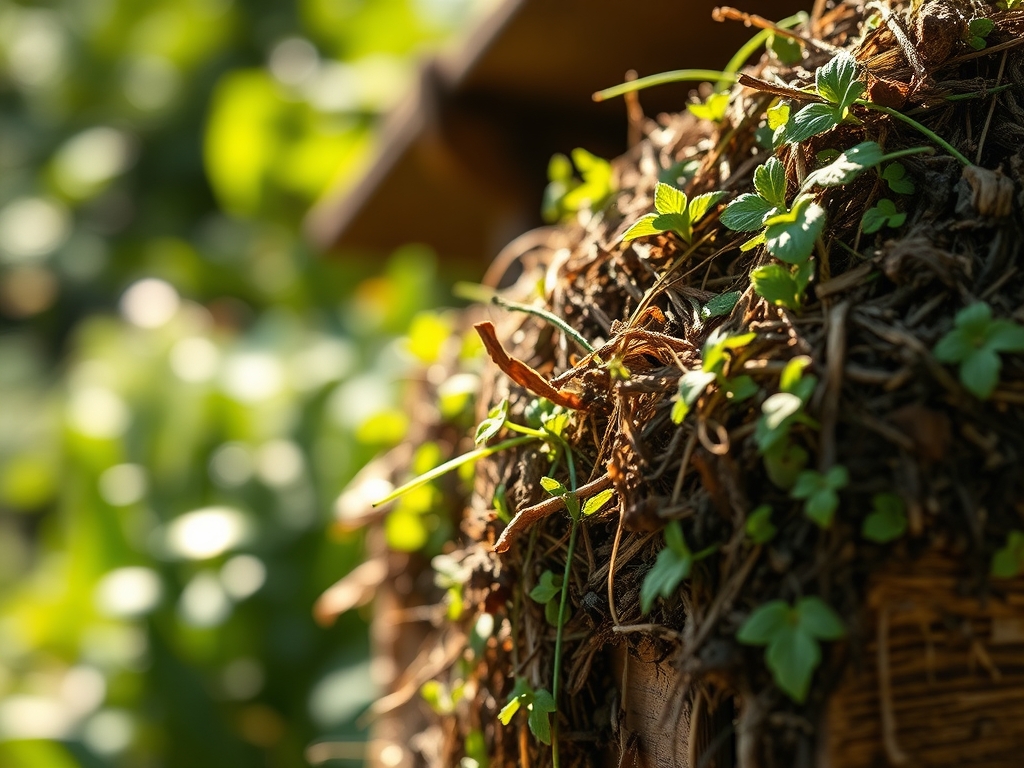
Once the pile no longer heats up after turning, it enters the curing phase. During this time, the microbial population shifts back to mesophilic fungi and macro-organisms like earthworms. This phase can last from three to six months.
Pro-Tip: Curing allows for the complexation of humic and fulvic acids. This process is vital because it stabilizes the nitrogen into organic forms, preventing ammonium toxicity and ensuring the nutrients do not leach away during heavy rain events.
The Clinic:
Monitoring the physiological state of your compost bin prevents system failure.
- Symptom: Rotten egg odor (Sulfur dioxide).
- Solution: The pile is anaerobic due to excess moisture or lack of pore space. Turn the pile immediately and incorporate dry, high-carbon materials like wood chips to restore oxygen flow.
- Symptom: The pile is damp but cold.
- Solution: Nitrogen deficiency. The C:N ratio is too high. Add "green" materials such as blood meal or fresh grass clippings to jumpstart microbial metabolism.
- Symptom: Presence of white, thread-like filaments.
- Solution: This is usually Actinomycetes or beneficial fungi. This is a positive sign of lignin breakdown; no corrective action is required.
Fix-It: Nitrogen Chlorosis
If plants amended with fresh compost show yellowing of older leaves, the compost was likely "immature." The microbes are still consuming soil nitrogen to break down excess carbon. Fix this by applying a liquid kelp or fish emulsion to provide immediate nitrate (NO3-) to the plants.
Maintenance:
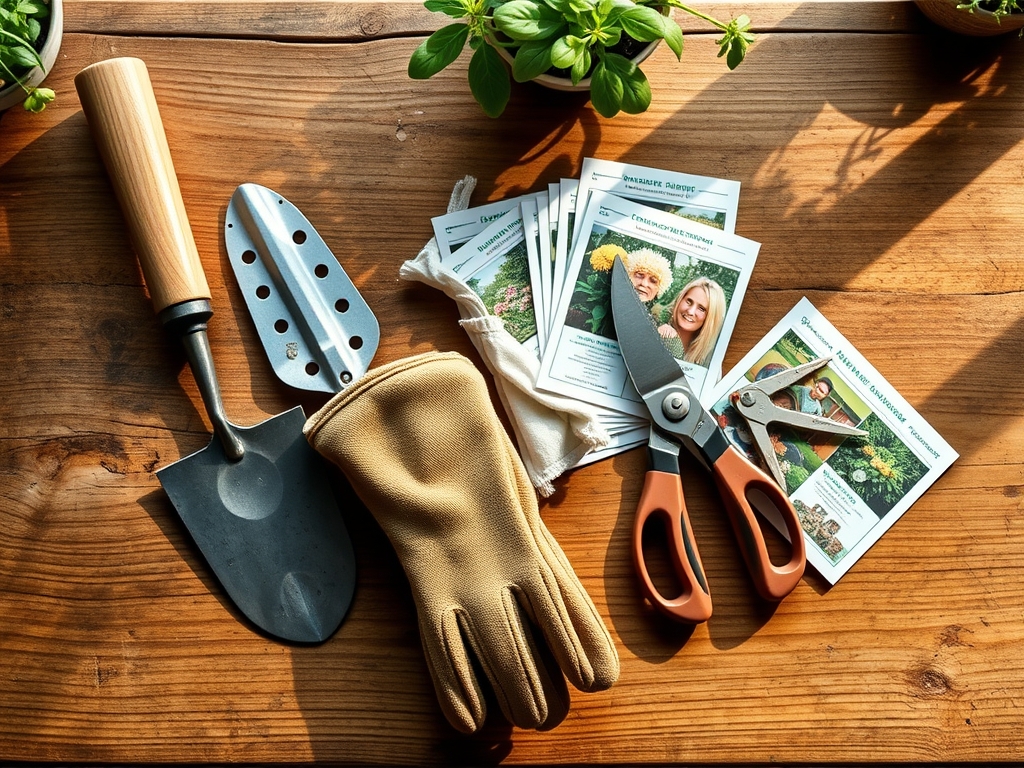
A professional composting operation requires precise monitoring tools. Use a long-stemmed compost thermometer to track internal temperatures daily. Maintain moisture levels by providing 1.5 to 2 inches of water per week if the pile is not covered; adjust based on evaporation rates in your climate.
When extracting finished compost, use a hori-hori knife to cut through any persistent root systems that may have invaded the bin from nearby trees. Use bypass pruners to shred any large woody stalks that did not fully decompose before they are applied to the garden beds. A soil moisture meter can be inserted into the pile to ensure the core remains hydrated without becoming waterlogged, which would extinguish the aerobic process.
The Yield:
Finished compost is ready for harvest when it is dark, crumbly, and smells of geosmin (earthy). It should no longer generate heat. For maximum efficacy, screen the compost through a 1/2-inch hardware cloth mesh to remove large debris.
To maintain "day-one" freshness and microbial vitality, do not allow the finished compost to dry out completely. Store it in a shaded area and keep it slightly moist. If the compost becomes bone-dry, the beneficial microbial populations will go into dormancy or die, significantly reducing the biological value of the amendment when it is finally integrated into the soil.
FAQ:
How big should a compost bin be?
A functional bin must be at least 3 feet by 3 feet by 3 feet. This volume (one cubic yard) provides enough mass to insulate the core, allowing internal temperatures to reach the thermophilic range required for pathogen destruction.
Can I put meat or dairy in the bin?
Avoid meat and dairy in standard bins. These materials have high fat content that slows aerobic decomposition and attracts scavengers. They require specialized anaerobic digesters or "Bokashi" systems to process safely without creating significant odor issues.
How often should I turn the pile?
Turn the pile every 3 to 7 days during the active thermophilic phase. Once the temperature stabilizes and the pile no longer generates heat, turning can be reduced to once a month to facilitate the curing process.
Why is my compost pile shrinking?
Shrinkage is a sign of success. As microbes consume carbon and release carbon dioxide, the physical structure of the organic matter collapses. A pile can lose up to 60% of its original volume during the decomposition process.